Dear Liza,
Since I have starting drawing, painting, sewing, and generally crafting every day, I have decided that just SITTING on my long flight to Denmark this summer would be a real waste of creative time.

I started up hunting up new hand-sewing ideas and found videos on “Slow Stitching” which looked easy enough to do on a plane, but new and interesting enough to keep my brain busy.
The process is a sort of fabric collage, and some of the stitching is like the Kawandi stitching I learned a few years ago.

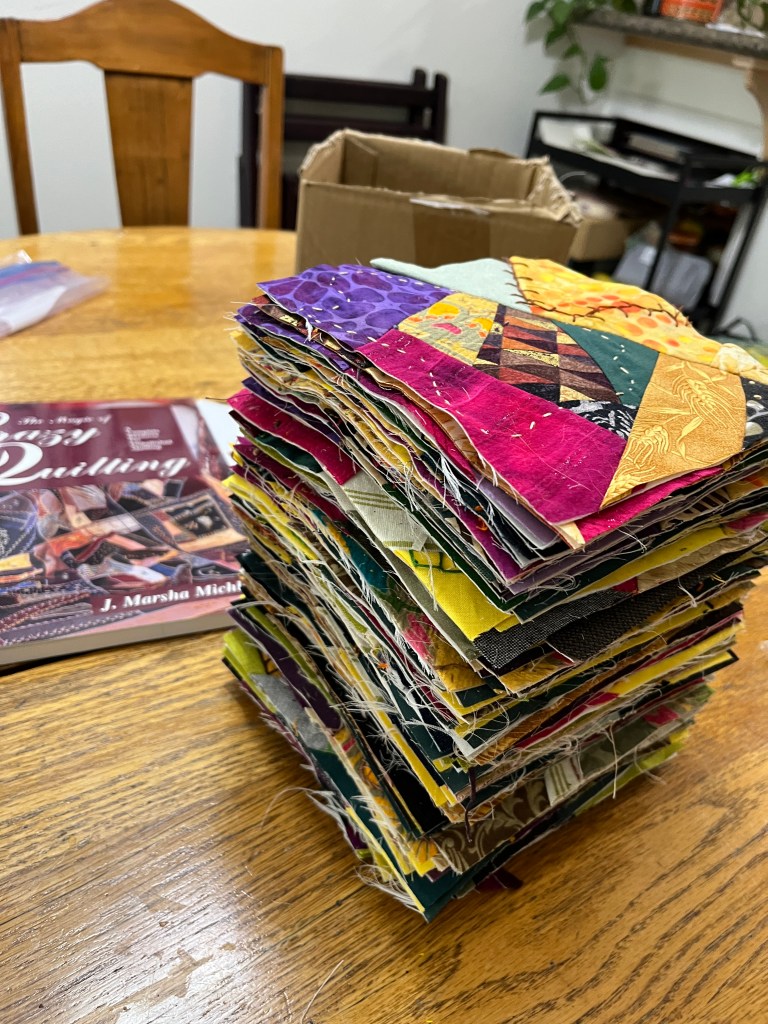
First, I chose my colors, which Auntie Bridgett calls “The Scooby-Doo Palette”. I made a sandwich of old sheeting, felt, and my purple background for a nice thick surface to work on.

I watched YouTubers Jo Peaceofpi and Daniela Mellen and got directions and inspiration, and am working on something that I hope, by the end of our trip, will be a gift for you. The piece is about 7 inches wide and 20 inches long.

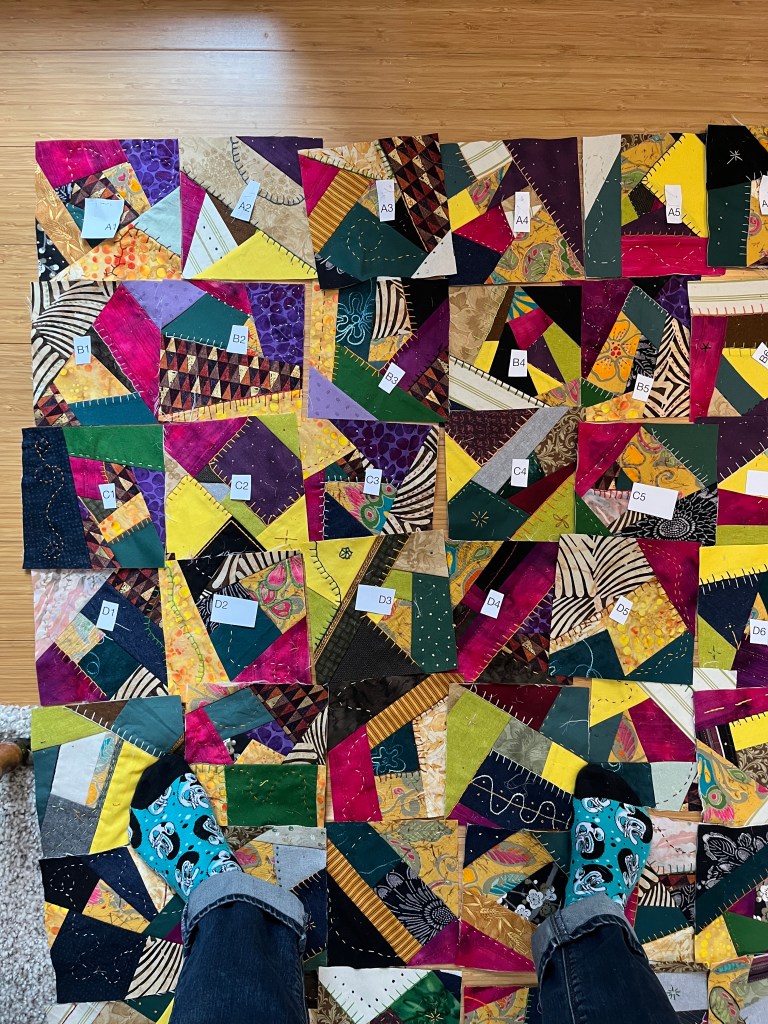
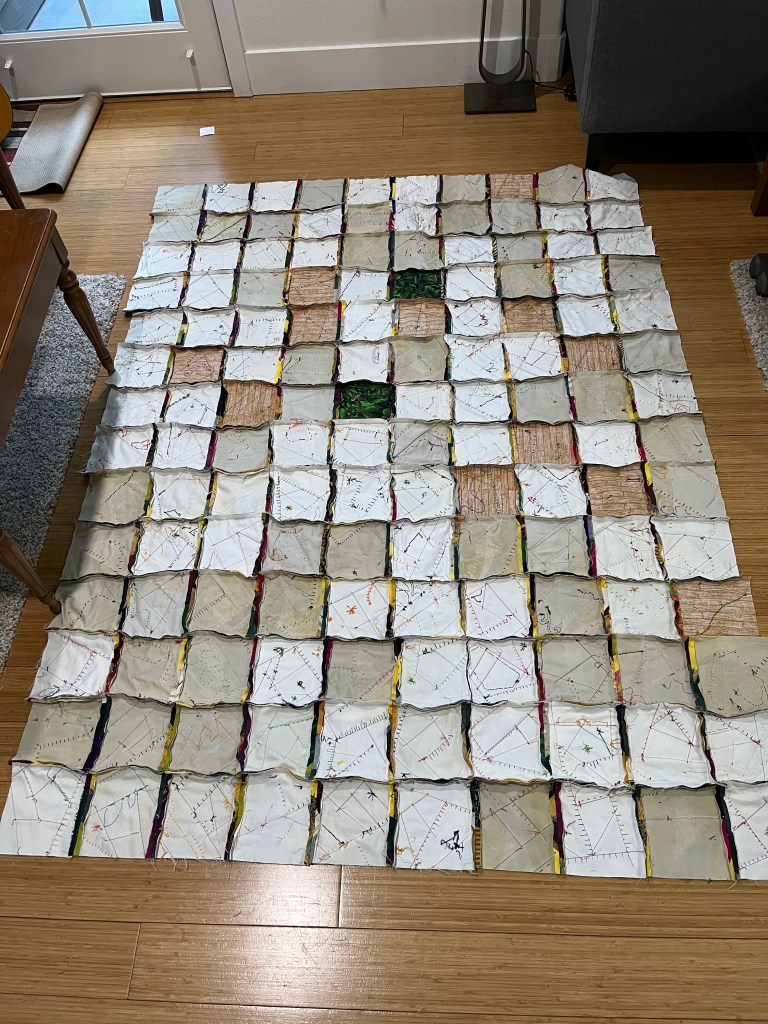
I cut the colors into rectangles and starting laying them down, not being too fussy, but looking for a good balance. Some slow stitch pieces completely cover their background piece, and others let it show between the patches. For this one, I am going to let it show. I pinned, then basted, the pieces so they would stay where I put them.

I used some embroidery floss to stitch around the edges of each patch. These will all get done before the running stitches get put in. And yes, in Slow stitching, the edges are left raw. It will be fun to see how it turns out.

Then I took my first few rows of stitching, to make sure I knew what I was doing and liked how they looked. They looked like they were supposed to. Hooray!

I collected some buttons, bits of fabric, needles and embroidery floss, and little school scissors into a traveling pouch for the trip, and rolled up the piece into a nice-sized scroll.

Now I can put the whole thing away in my carry-on bag to be taken out somewhere over Canada! I feel like I am giving myself a present with a “Do Not Open Before Take-off” sign on it.

My brain is so happy! See you soon!
Love,
Grandma Judy