February 21, 2026
Dear Liza,
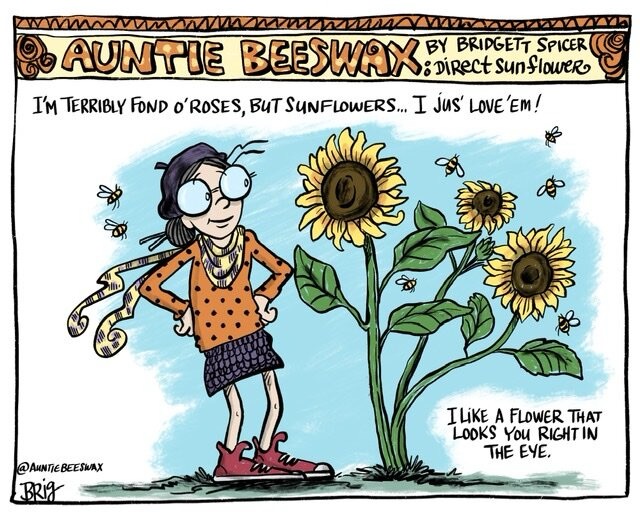
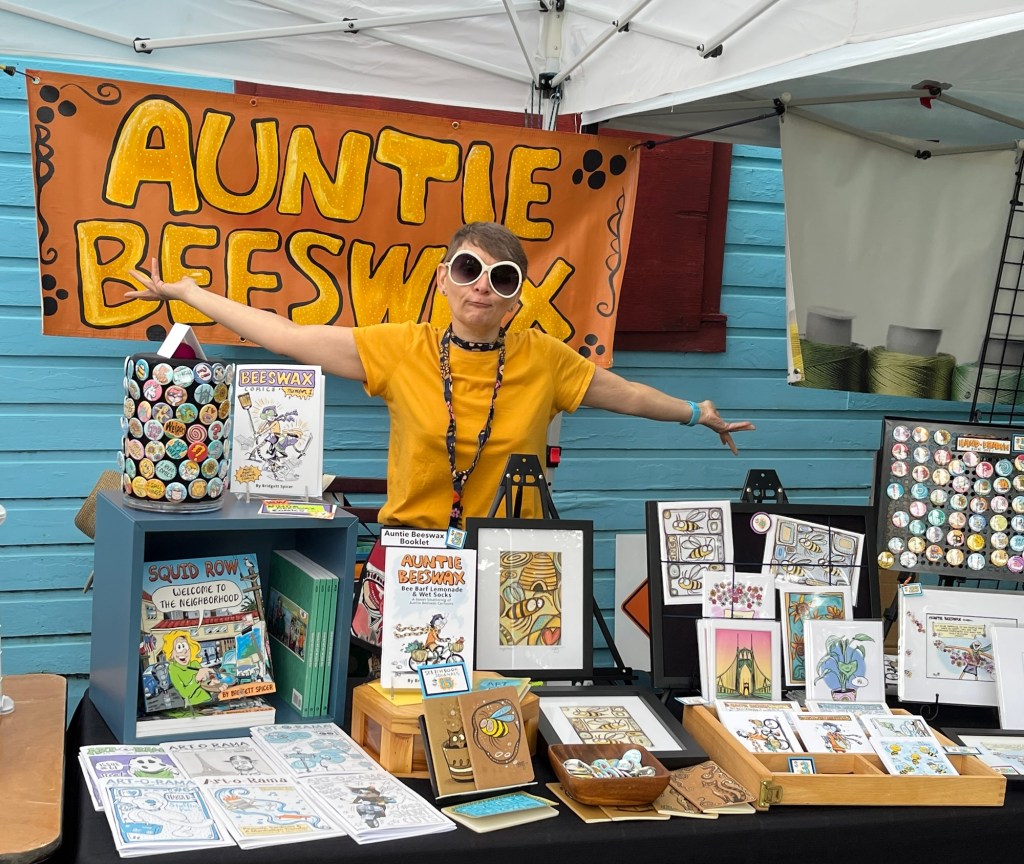
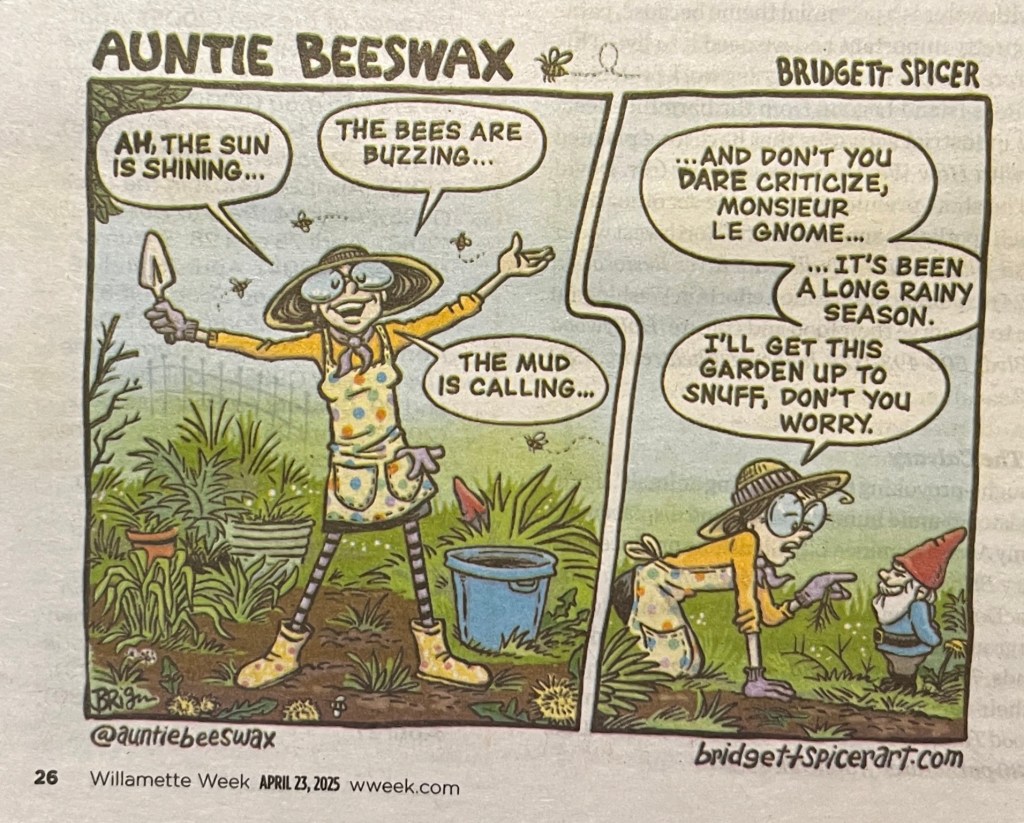
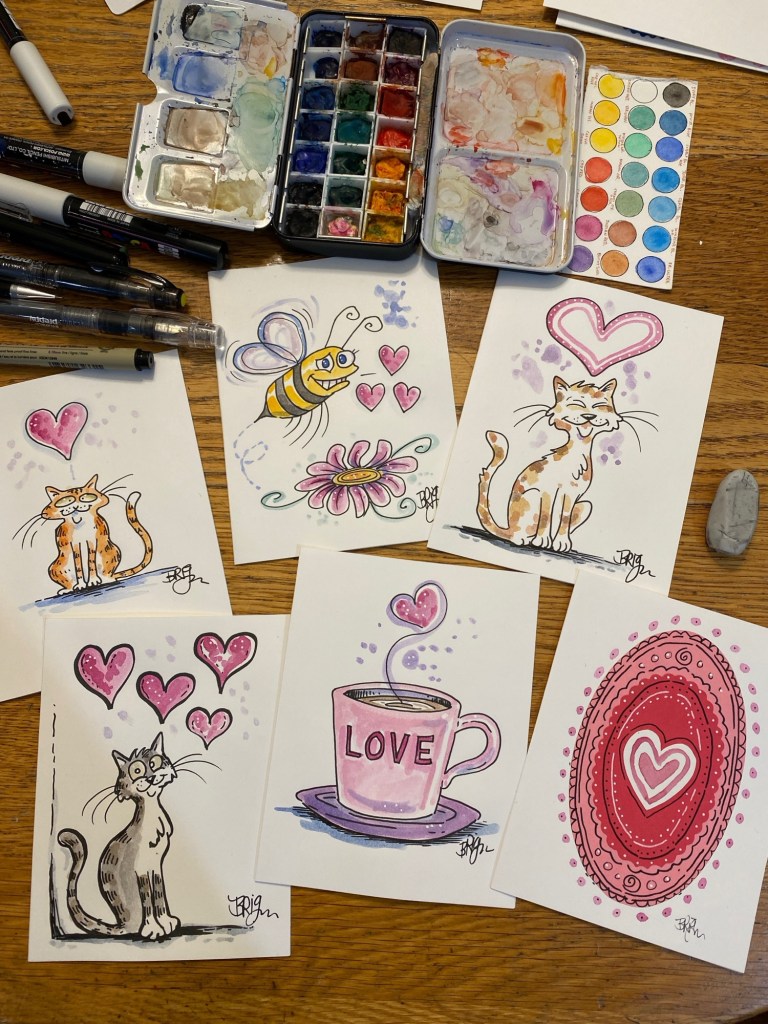
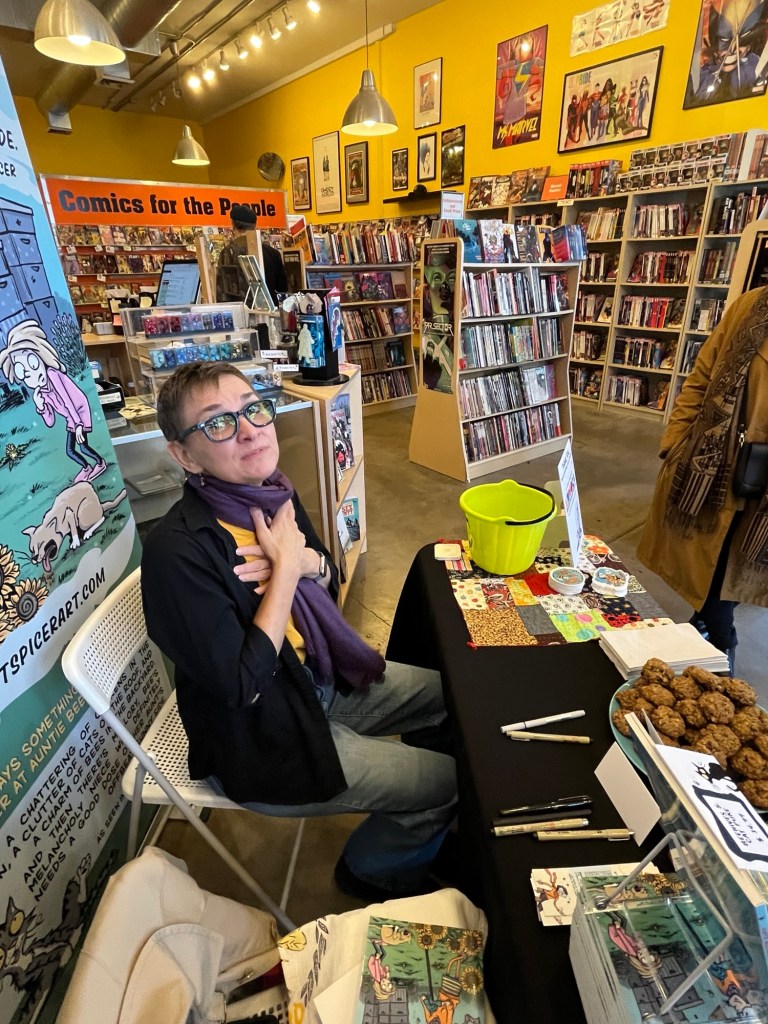
What a busy day!! Today was the launch of Auntie Bridgett’s new collection of cartoons, “Auntie Beeswax: Beehives and Cat Puke.”
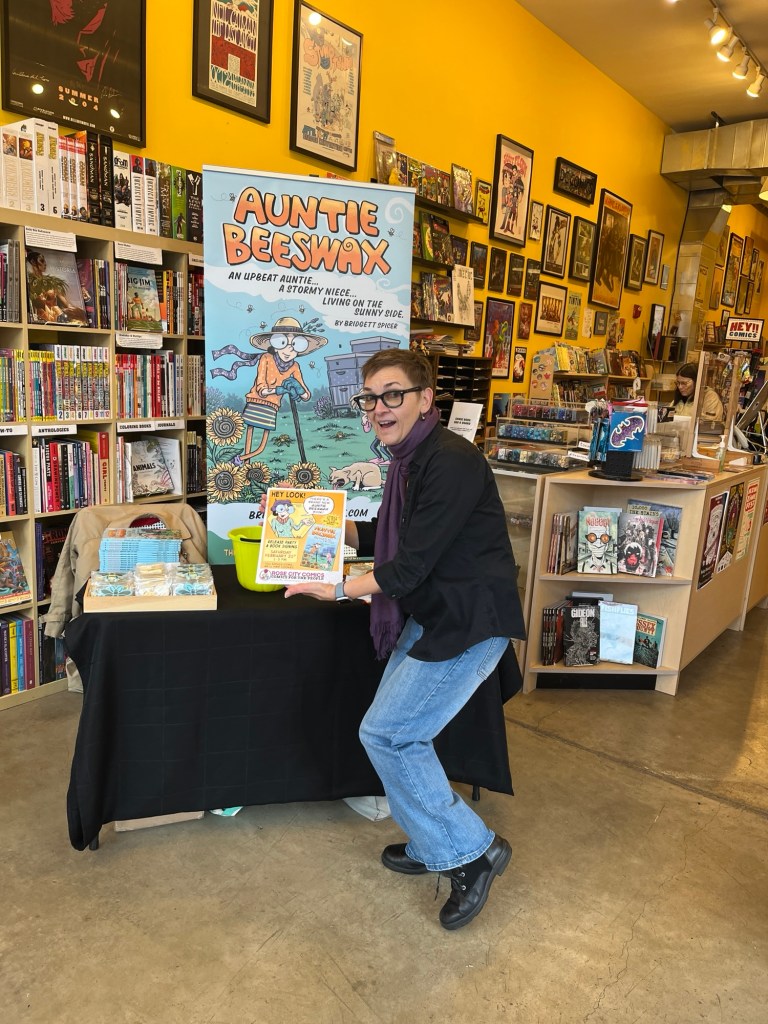
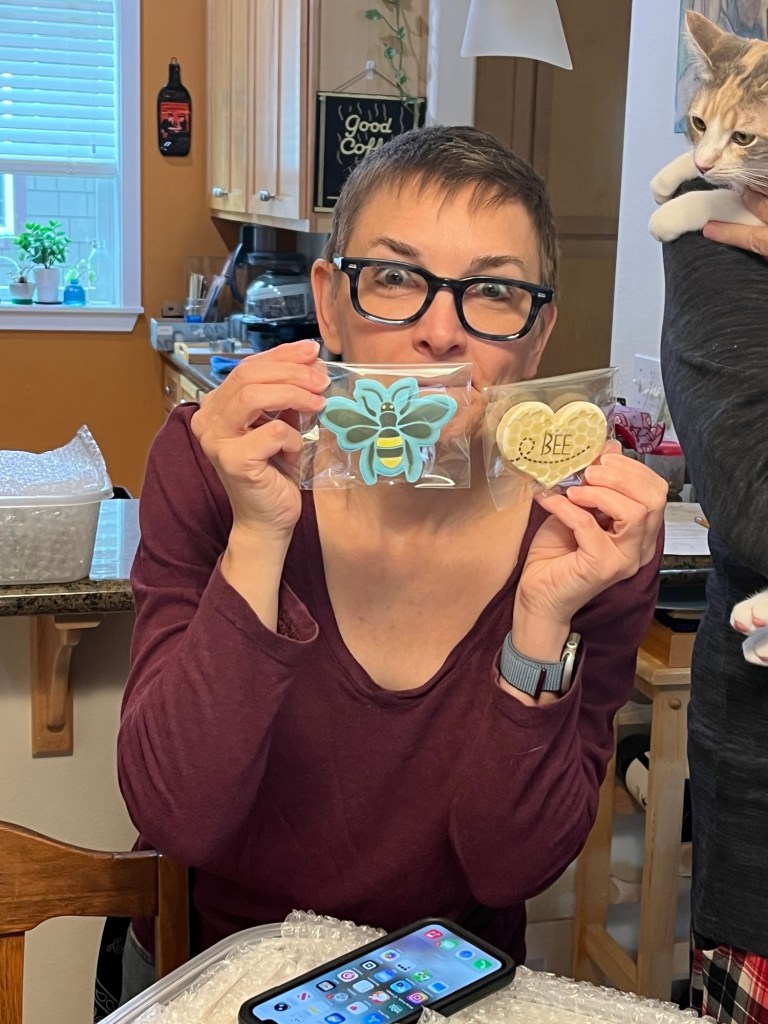
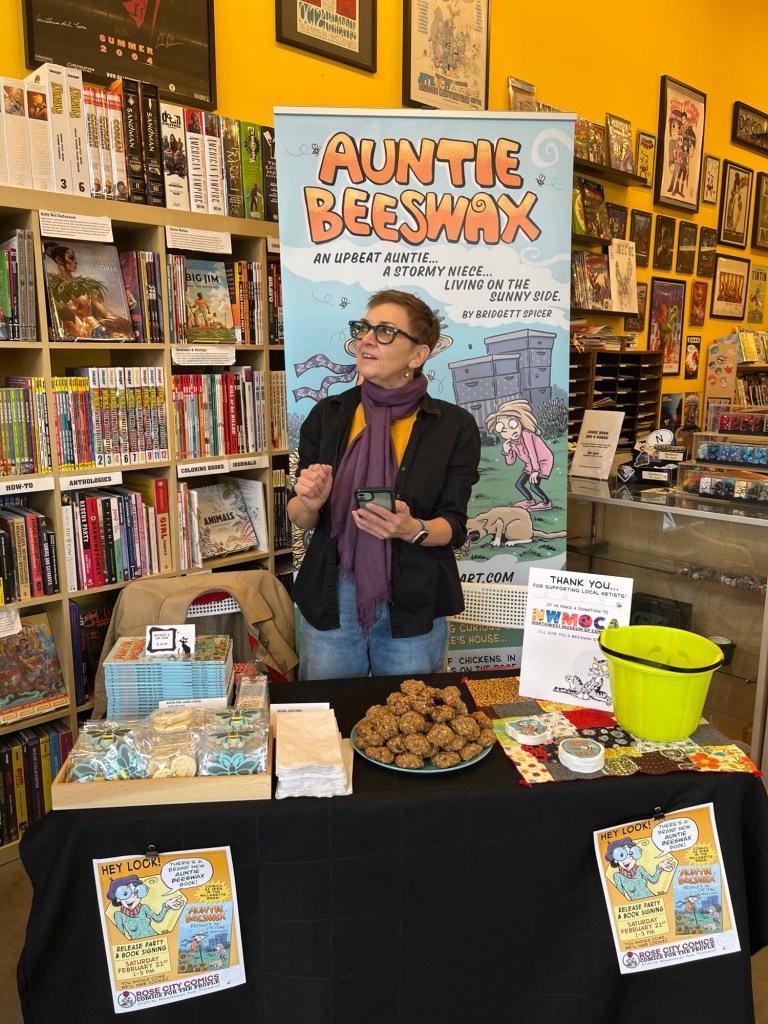
Rose City Comics, on Mississippi Avenue, was kind enough to host the launch, and provided chairs, a table, and a cooler full of sparkly water. Bridgett’s Aunt Bernadette baked and decorated dozens of incredible cookies, and I made about a hundred Oatmeal Everythings. (Which aren’t as pretty, but were very popular.)
It had been raining all morning, but just as we were setting up, the sun came out and we a chilly, sunny afternoon ahead of us!
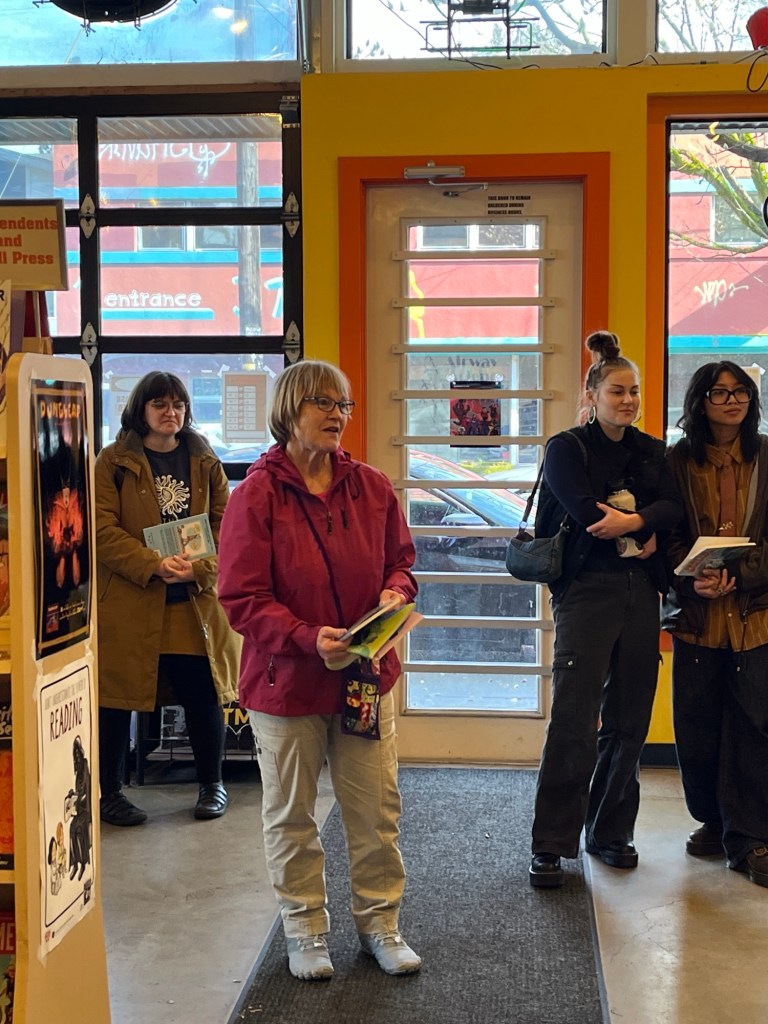
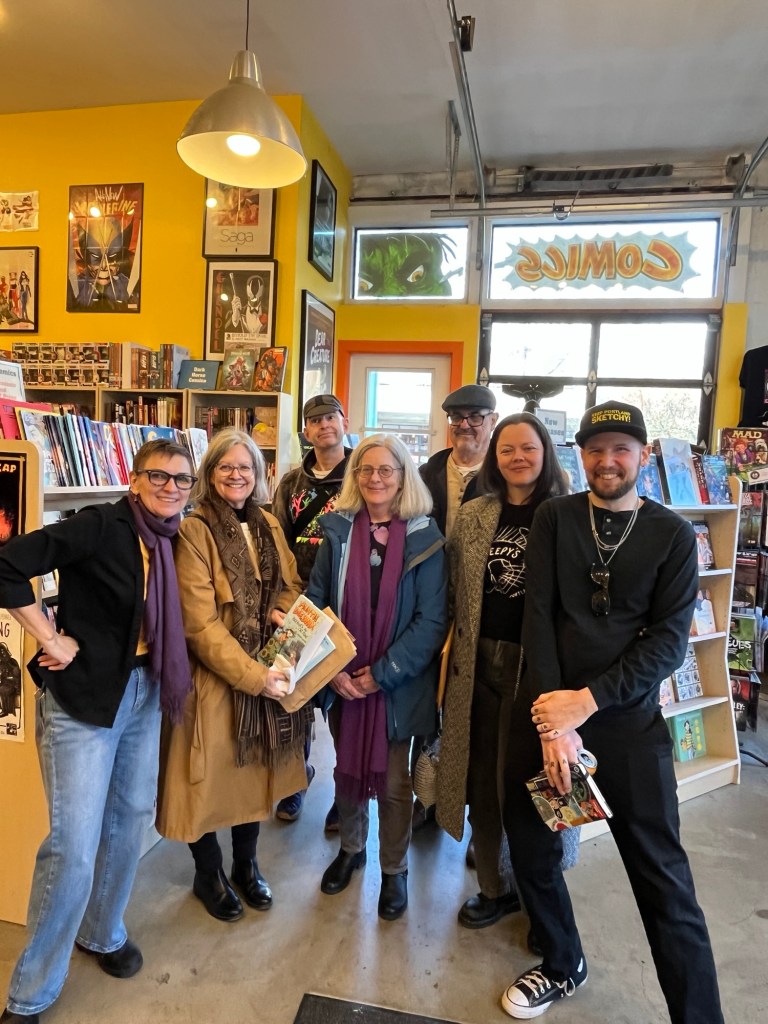
As the day wore on, strangers and friends came by to meet Bridgett, have some cookies, and buy the book. The whole day felt like a big hug.
And when our time was up, we passed out a few more cookies, packed up the books and headed home, grateful for Portland, Rose City Comics, and friends.
I’ll bring a book in my suitcase when we come to visit you this summer!
Love,
Grandma Judy