Figuring Things Out, Again

Dear Liza,

Once I got the hang of making these three-dimensional paper sculptures, I couldn’t stop! The Zoom Art Group I do with Ruthie Inman was still working on theirs, so I started a second one.

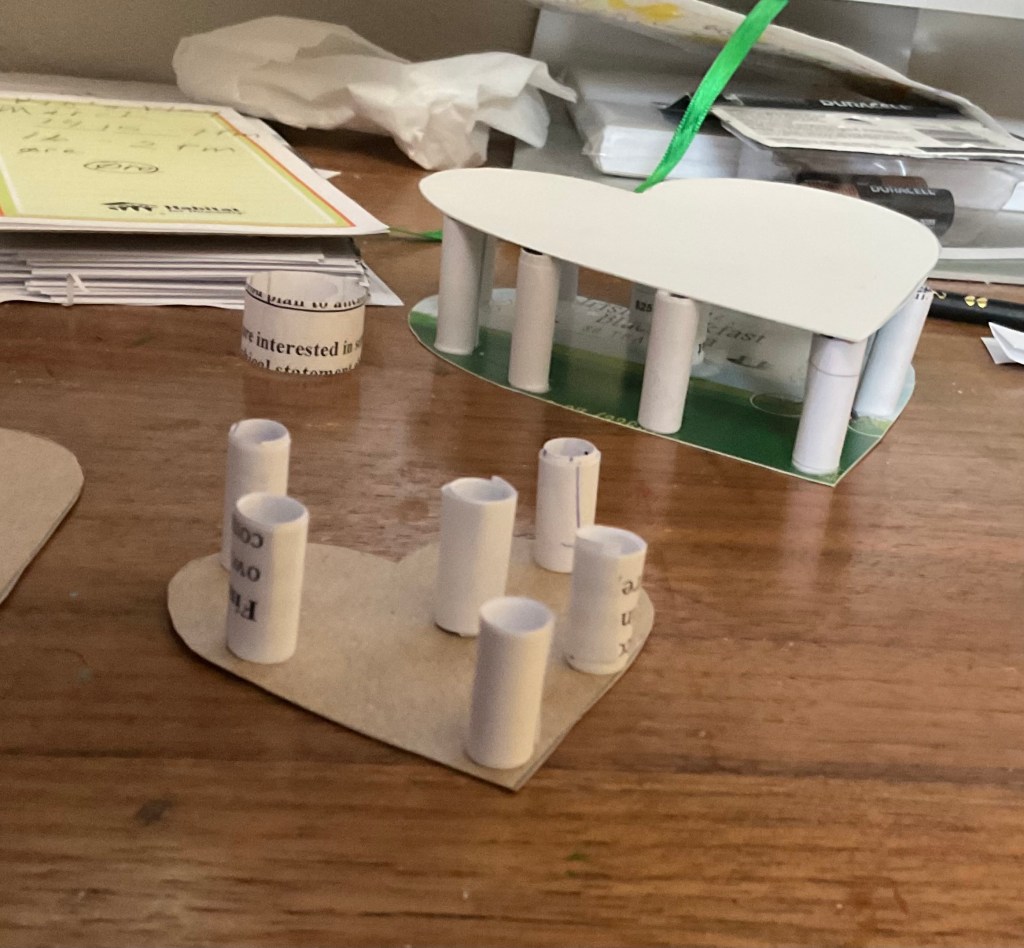
This time, I wanted to play with interlocking shapes. I chose the yin/yang symbol. It was tricky to get the shapes right, but with some tracing and flipping, it all worked out.

The supplies aren’t sophisticated… just cardboard from cracker and cereal boxes, paper headed for the recycling bin, and Elmer’s glue.

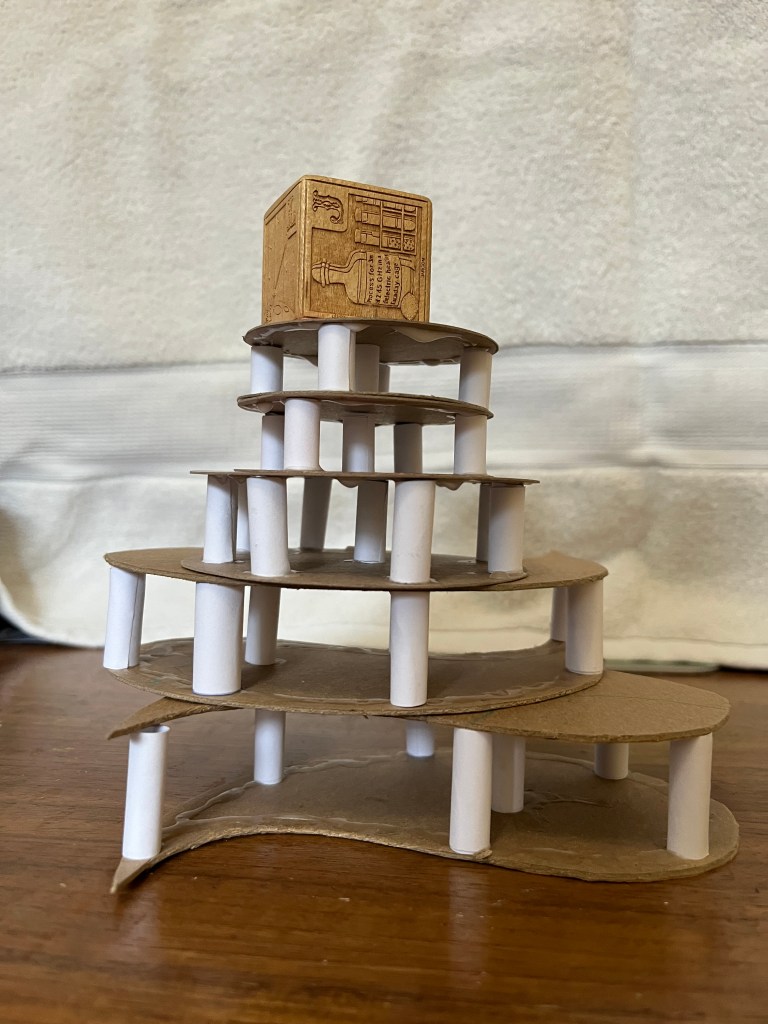
I kept making shapes! A big circle became two halves, and then a bunch of medium and smaller circles got assembled and dried. Tiny blocks kept them together while they dried.

Covering the curvy shapes is tricky, but clipping the curves and going slowly makes it more successful.

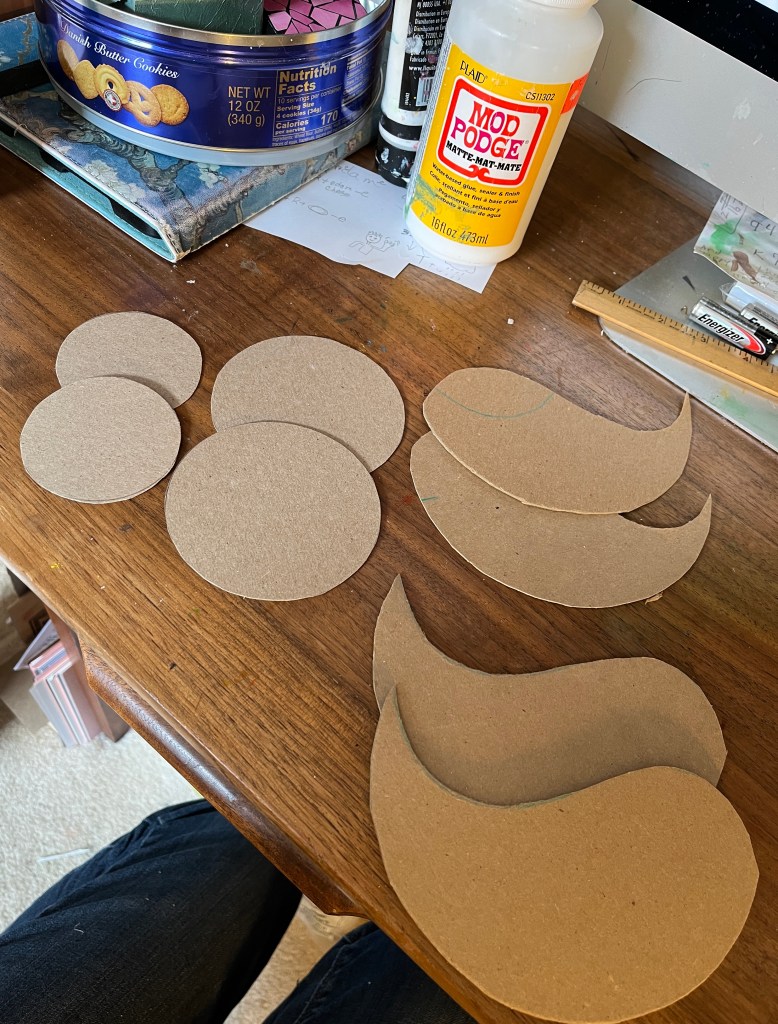
I used Mod Podge as the adhesive for this part because it is less slippery than Elmer’s. I tried a bit of flour paste, but it takes too long to dry and I am impatient.

Here are my shapes. Next step: Color and assembly!!

Love,

Grandma Judy

The Art of Figuring Things Out Part 3

Dear Liza,

Some things take longer to figure out than others. The last time I worked on the stacking hearts paper sculpture, inspired by Ruthie Inman, was March 7.

I laid some colored paper on it, and it wasn’t turning out like I wanted. I got to what Auntie Bridgett calls The Picasso Stage, where you sort of hate your project. I set it aside to work on the Crazy Quilt, work in the garden, and make pies for Pi Day.

By Saturday, I had some time to spend and hated the project less. I added some acrylic paint, then some sparkly papers, then ink, then more paint. I started stacking them while on a zoom call with you and your Dad.

And by the end of the day, I had the hearts the way I wanted, and even had a solid base for them to stand on. I got the Elmer’s Glue out and stacked them up!

When it was dry and strong, I gave it all a shiny coat of high gloss medium and varnish.

I like that this piece has a front and a back, and that it stands all by itself. I like a lot of things about it. Still, I know I can make a better one, and maybe I will sometime.

But for now, here are my Stacking Hearts. Eight inches by five by three, light as a feather and finally done.

Love,

Grandma Judy

The Art of Figuring Stuff Out Part 1

Dear Liza,

My artist friend Ruthie Inman had a fun idea at our last Zoom class. She showed us some three dimensional artworks she found in the Internet, and told US to show HER how to make something like it.

I loved this structure that looks to be about 6 feet tall and made from metal, shown in a museum. I have searched the internet and cannot figure out who created it or where it is on display.

Bridgett and I talked about it, and came up with one way to reproduce it in miniature, out of common materials.

Tea boxes and scissors, paper strips, three different sizes of heart shaped cookie cutters, Elmer’s glue, and a pencil were my supplies.

Step one: Each heart in your structure will need two hearts of the same size. Trace the cookie cutters onto the tea box cardboard and cut out.

Step two: Cut strips in half inch, three quarter inch, and one inch widths. They should be about 4 inches long. Roll the strips around a pencil and glue the outside end down so it stays rolled up. You will use the longest pillars for the largest hearts.

Step 3: Lay a heart down and make small puddles of glue at close intervals. Stand each paper pillar in the puddle.


Step 4: Put glue around the edges of the top heart, rest carefully on the pillars to line up with the bottom heart, and let dry. A small weight might help them stick.

Leave the insides to dry until you figure out what comes next. Stay tuned.

Love,

Grandma Judy