October 29, 2025
Dear Liza,
I love it when two of my favorite people (who don’t even know each other) work together to give me good ideas. Let me explain.
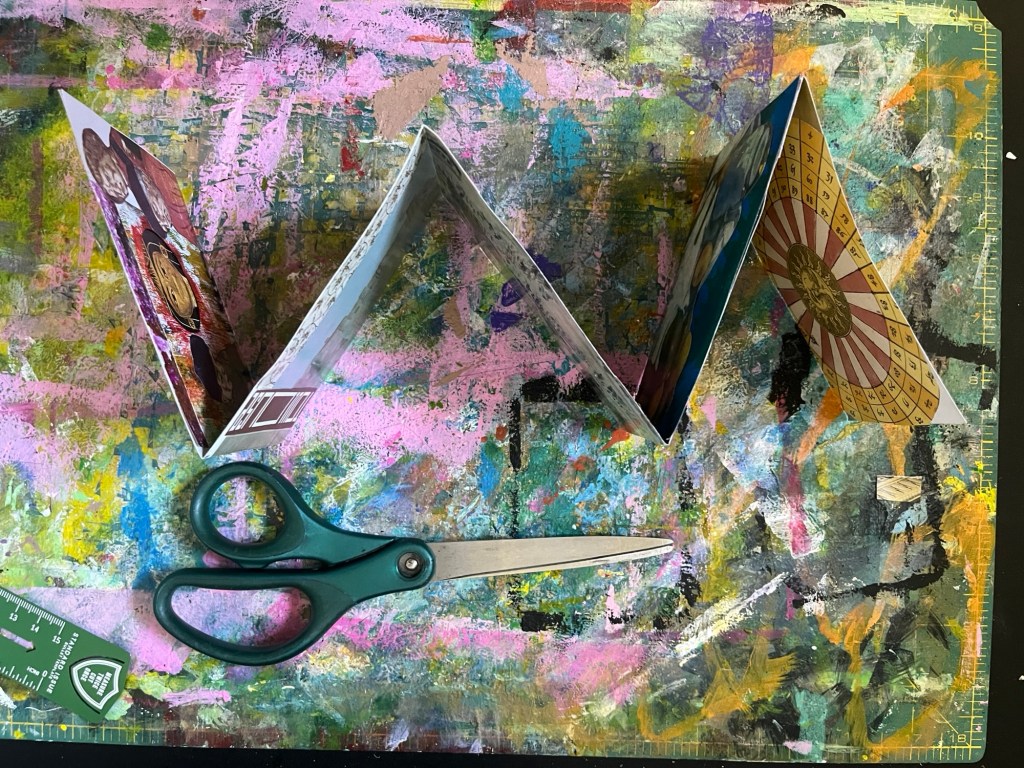
Last week, my ZOOM art teacher Ruthie Inman taught us to make these tiny books.

You cut six strips of white paper 1” wide, then fold and cut 1” sections. Each section will become one book. Make the fold really sharp, then staple at the crease to hold the tiny pages together. Make sure the ‘feet’ of the staple are outside the book, so they will be hidden by the cover.

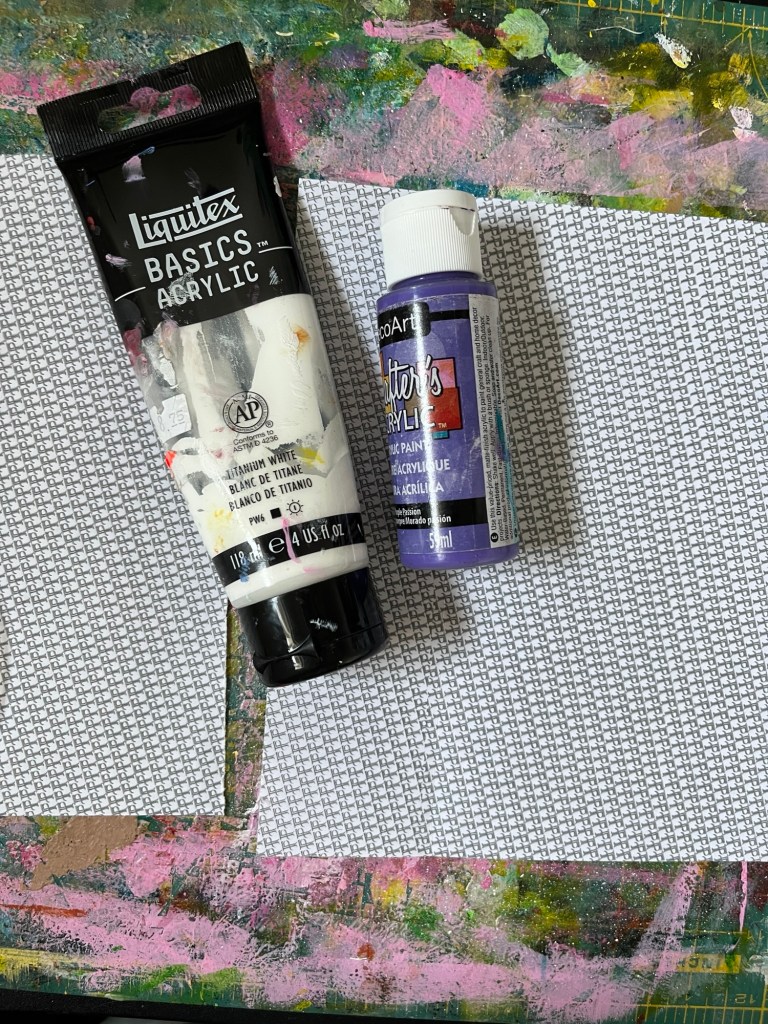
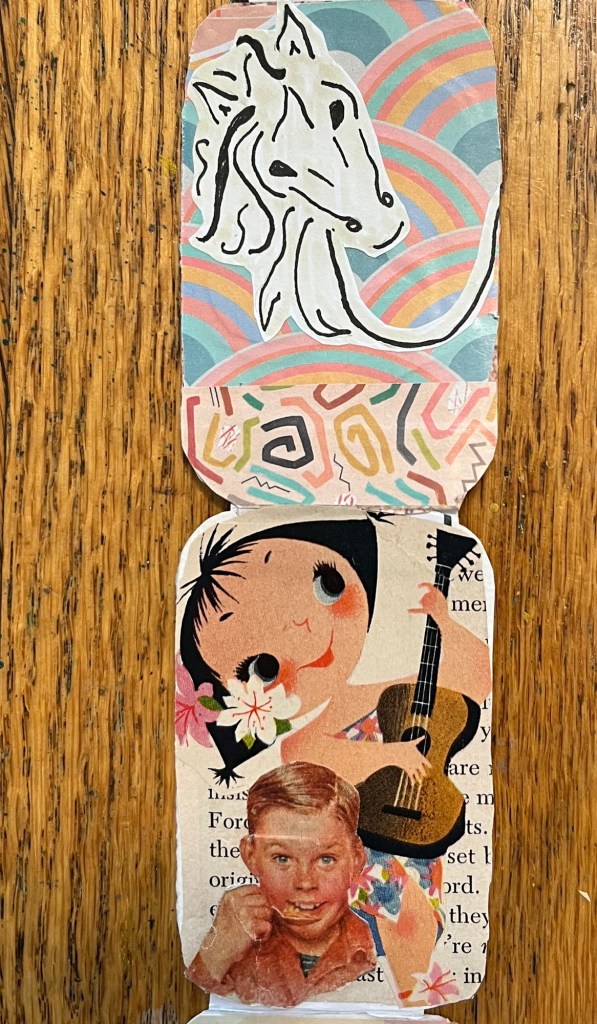
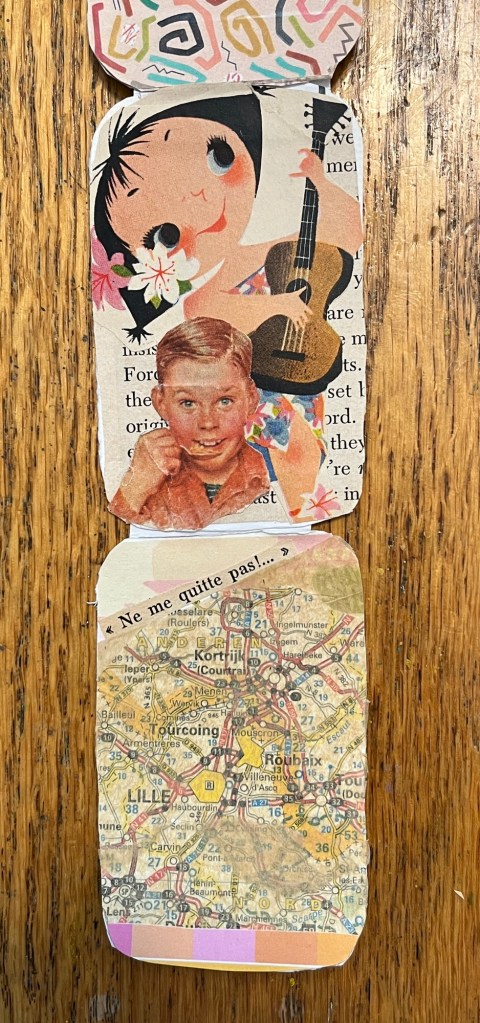
For the cover, choose slightly heavier decorative paper , and cut it just a bit longer than the book. Apply glue stick and use a bone folder to press it down.

Then fold the extra long edges over the first page to make a ‘dust cover’ edge. Really give this a good fold and press. And voilá, there is your tiny book, about one inch by one inch.

They are easy enough to make, I did 10 in a little more than an hour.

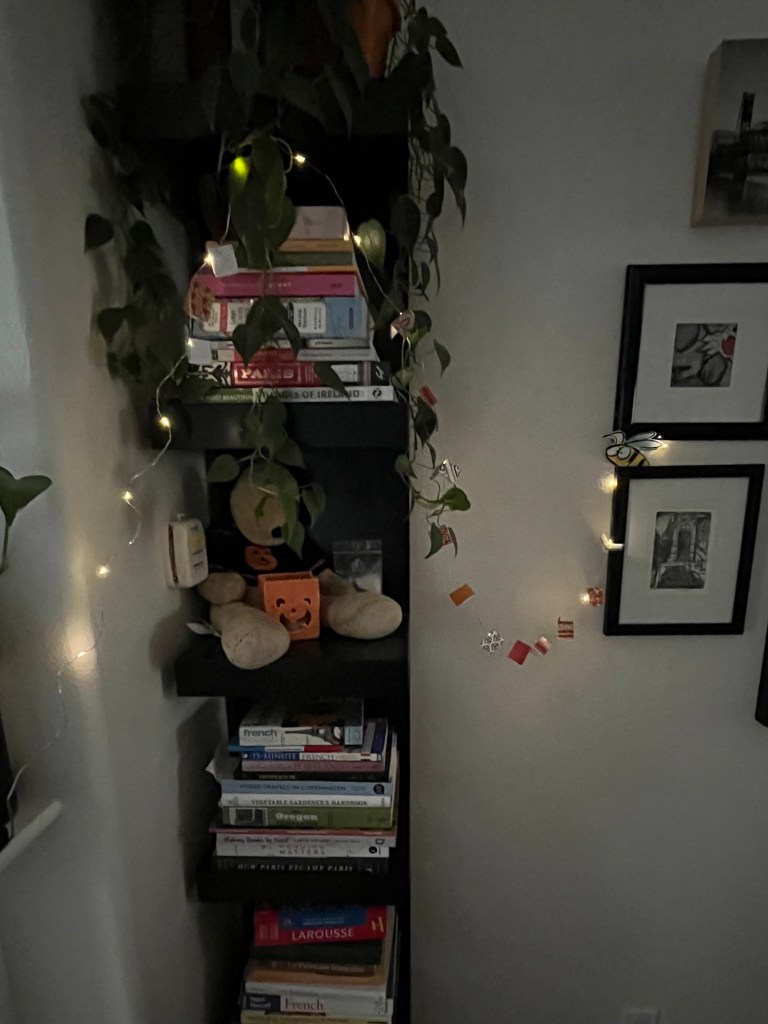
Then came the next favorite person. I was visiting with Auntie Katie and told her about the tiny books. “Could you string them…. Maybe on tiny twinkle lights… to hang on a Christmas tree?” She asked. Katie owns Books with Pictures here in Portland, and can always use pretty decorations.

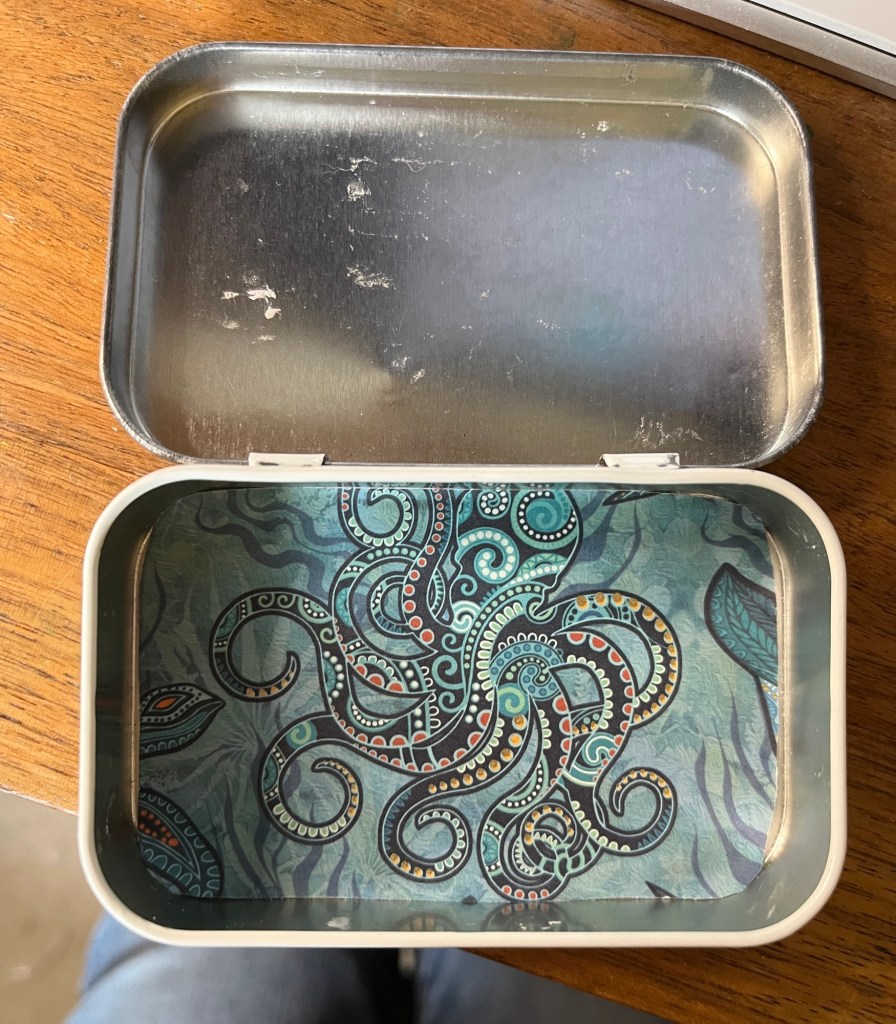
Of course you could! The awl from my book-making kit (a gift from Ruthie), and a string of tiny lights ( from my SOAK jellyfish costume), and there we have it!

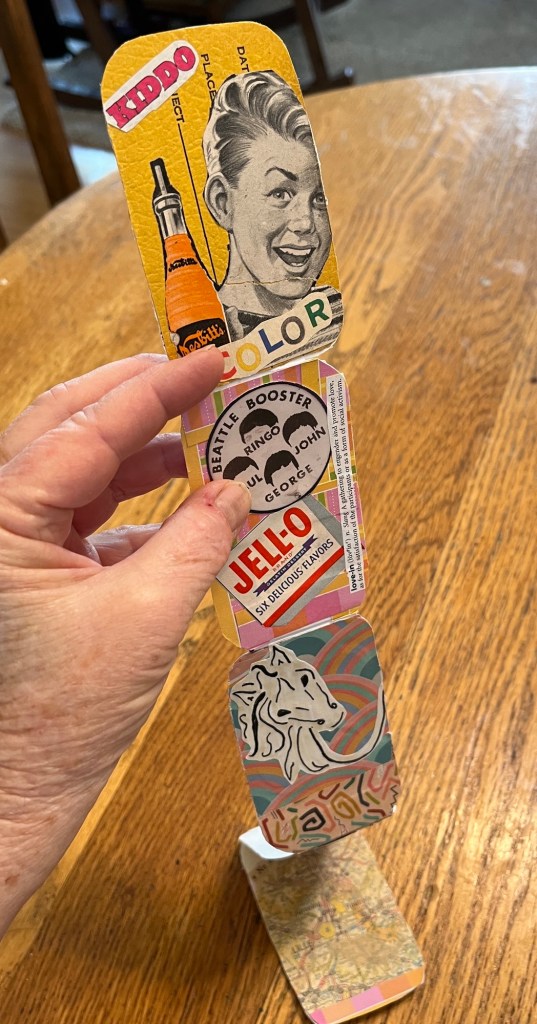
They look best in low light, of course, but very sweet even in normal light, giving the impression of flying, glowing books !
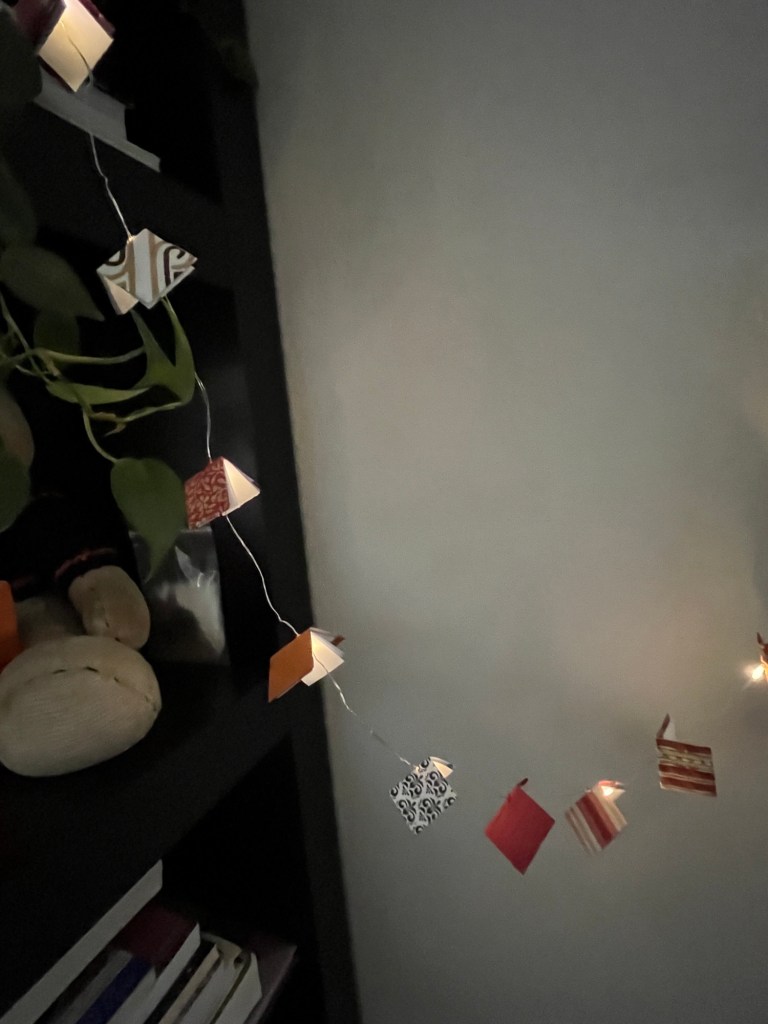
Could these be the newest Christmas tree sensation? Stranger things have happened!
Love,
Grandma Judy