Auntie Bridgett’s Birthday!!

Dear Liza,

Tuesday was your Auntie Bridgett’s Birthday, and we had a fine time.

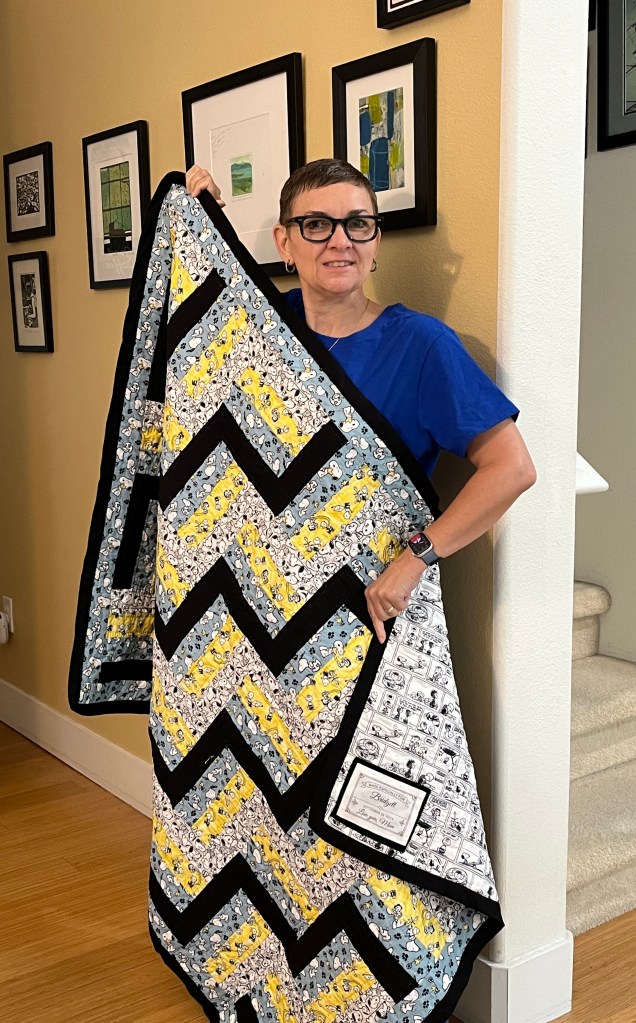
After a quiet morning of breakfast and language practice, she opened her presents, including tee shirts, sketchbooks, and a fabulous Snoopy quilt her Momma Donna made for her. Isn’t it amazing?

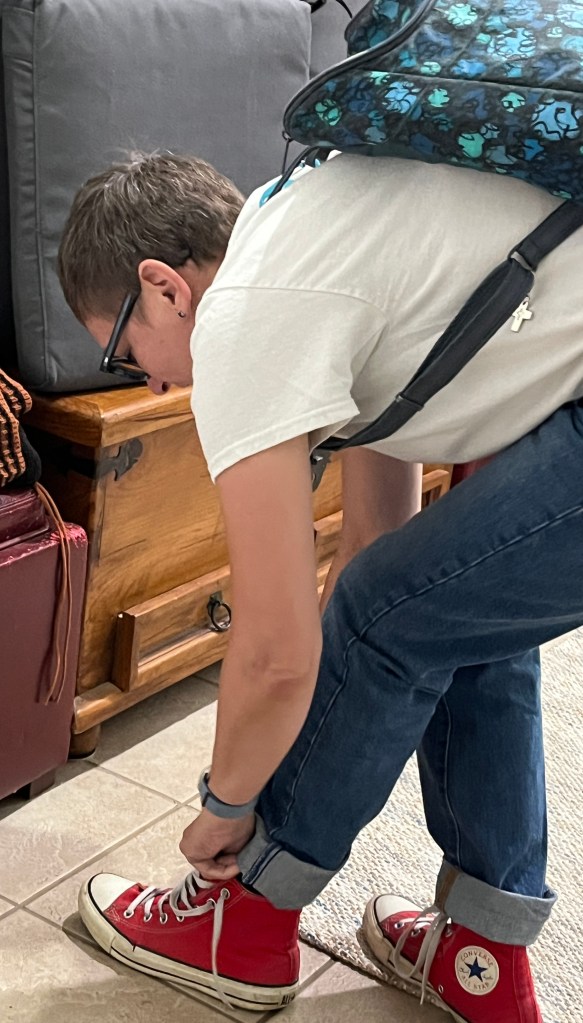
Once Bridgett had her celebratory red Converse high tops on, we caught the #20 bus downtown to Powell’s City of Books, which we haven’t visited in far too long.

Just being in the space makes me happy!

They have a new café inside, called The Guilder Café (after a country in The Princess Bride). The food was good and not very expensive, and the seating area has regular tables along with some arena type seating and comfy chairs. We spent more than an hour eating, reading, and browsing. It was delightful.

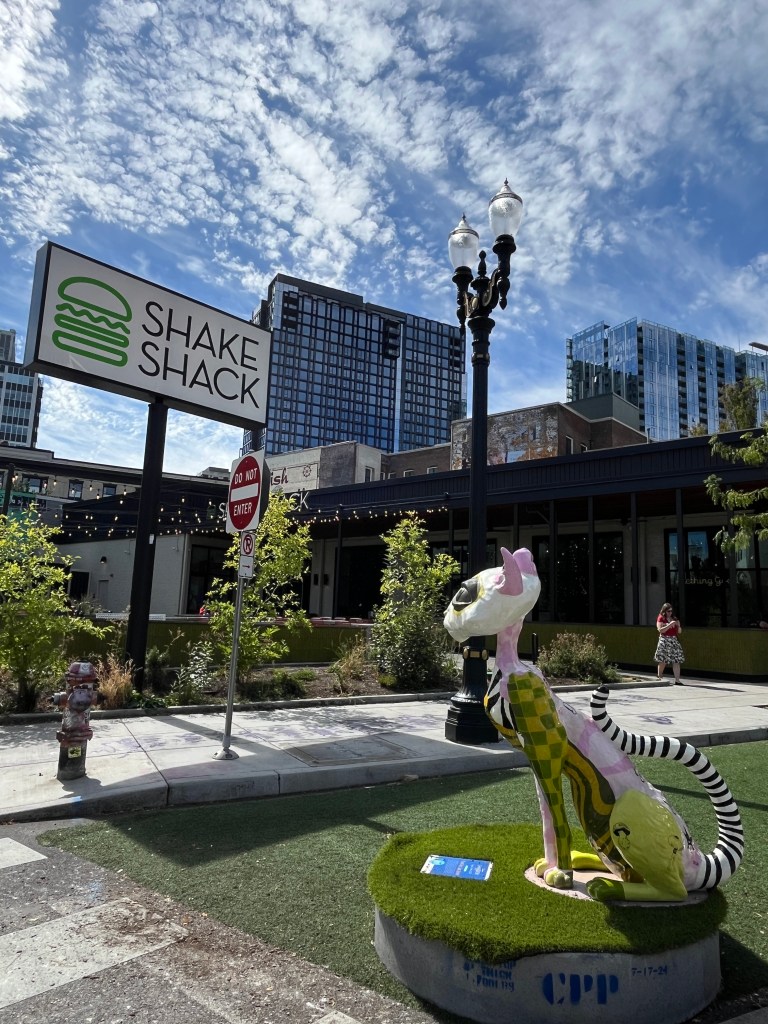
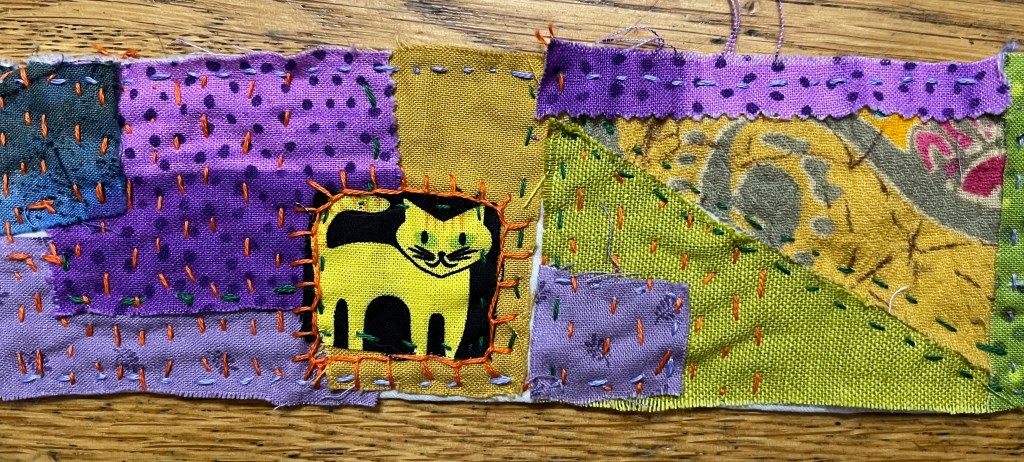
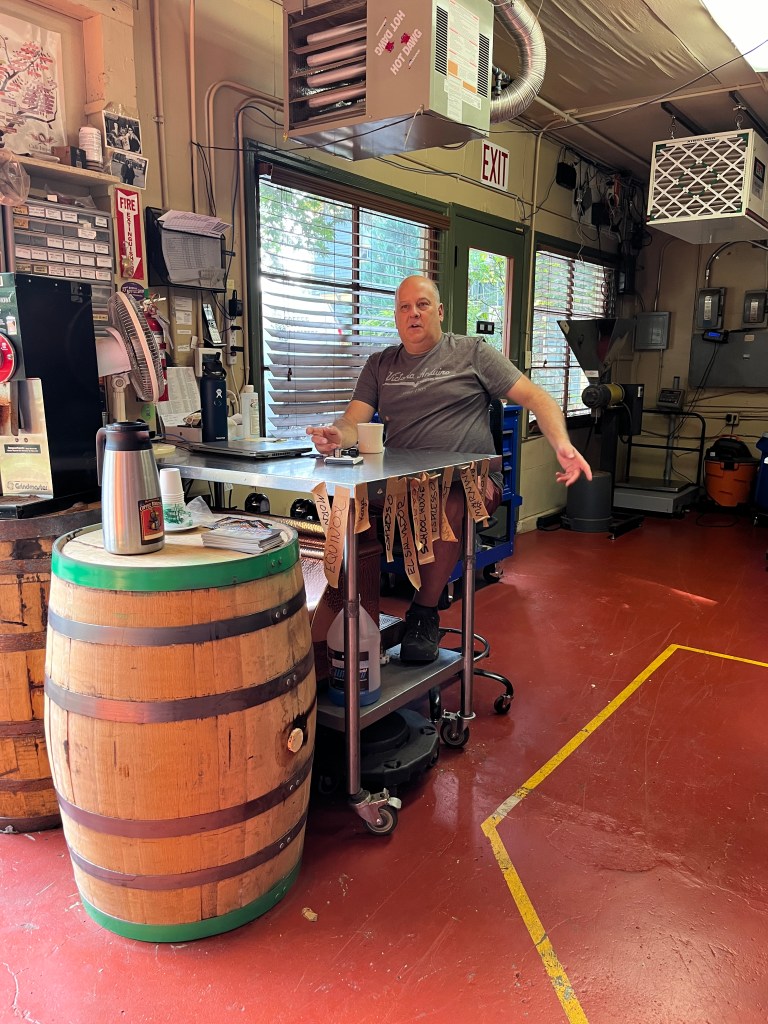
Then, after taking pictures of one of Coraline’s Curious Cats in her lovely urban environment, we caught the #20, connected to the #6, and headed up to the McMenamin’s Coffee Roastery. Considering how many McMenamin’s venues there are, I was amazed at how small the facility was! This one room, one giant roaster, and one guy named Chris.

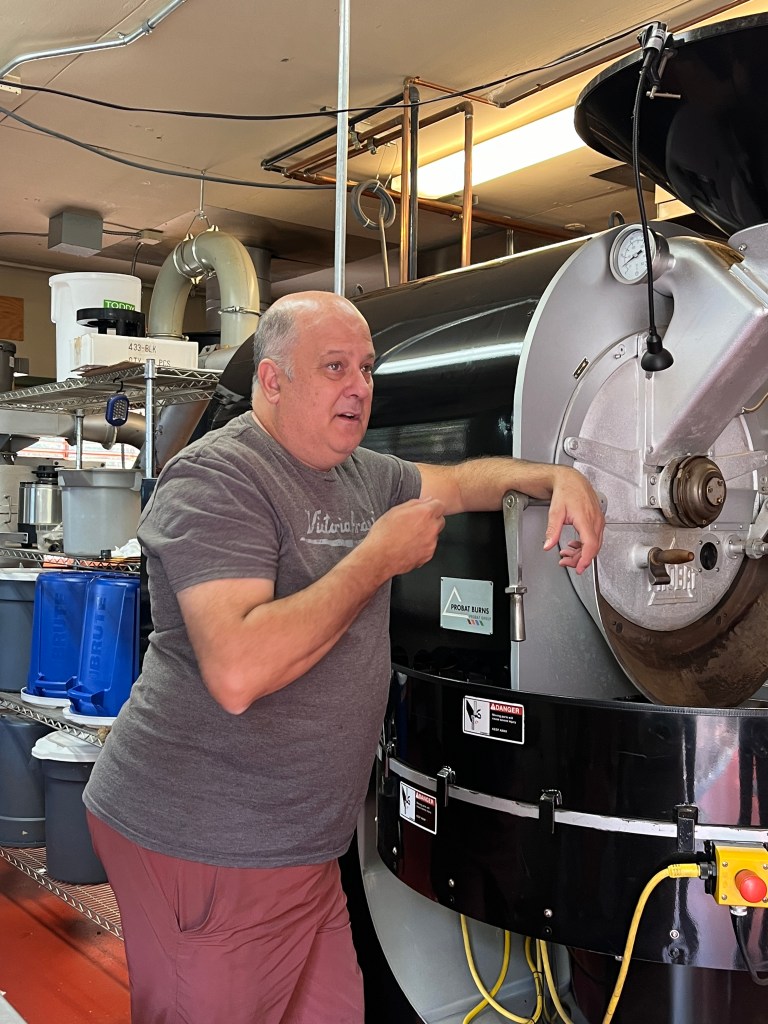
Chris gave us all the lowdown on coffee… where it’s sourced from, how long you roast it for, and some of the dangers. Did you know that Auntie Bridgett’s favorite dark roast needs to get to 500 F, and will burst into flames at just 700 F? Dangerous work!

After we heard all that Chris had to say, we caught the #6 and then the #15 to get home, where we all had a nice rest. Birthdays are exhausting!

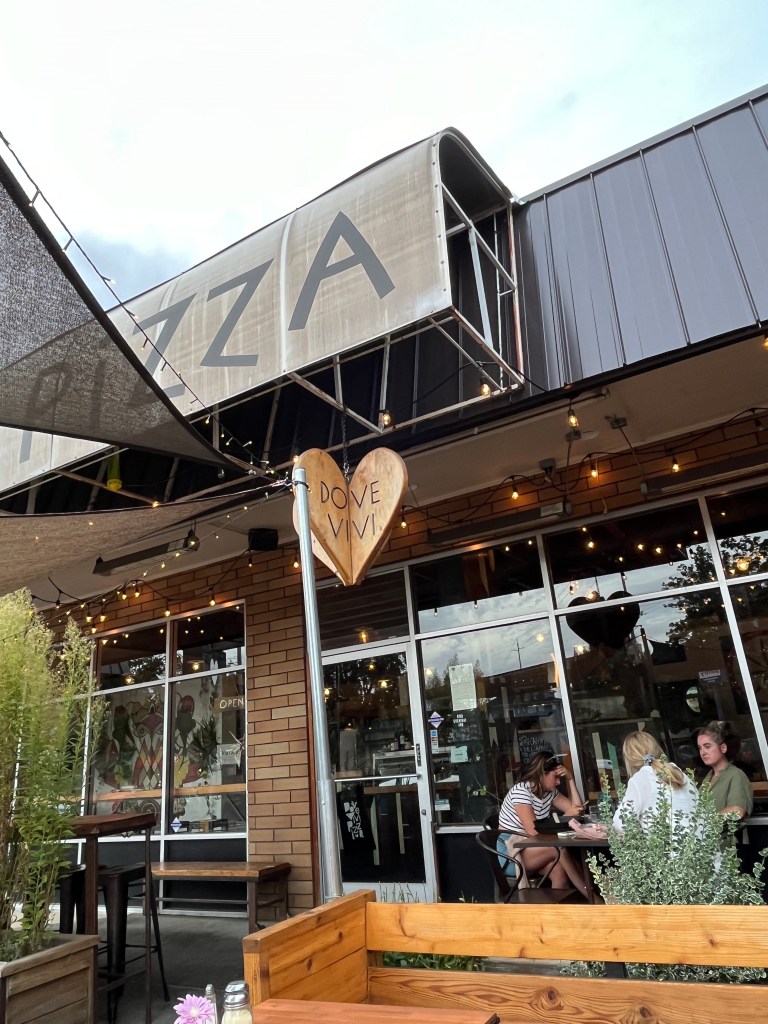
At dinner time, Grandpa Nelson was still pooped, so he stayed home and I walked the Birthday Girl up to Dov Vivi pizza. We love their cornbread based crust and Quattro Fromagio (Four Cheese) pizza.

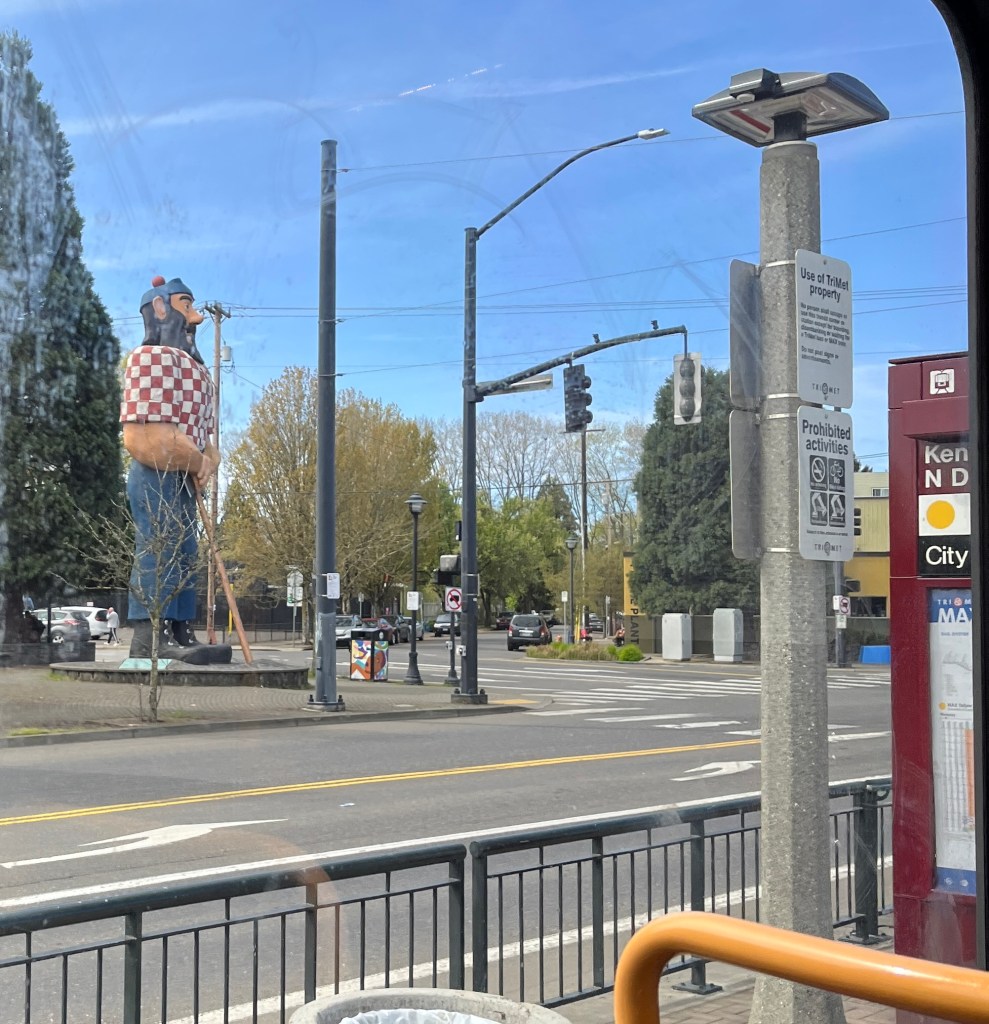
We ate out on the patio and watched the world go by. Moms with strollers, kids on skateboards, old dudes getting off the bus… busy city life going on all around us.

We needed to bring half the pizza home, but it will make a lovely lunch tomorrow.

Happy Birthday, Bridgett!

Love,

Grandma Judy

Sticking the Cities on the French Map

Dear Liza,

To put the cities in my French map quilt, I used the same Heat N’Bond fusible interface that I had used to attach the Massif Central and the shorelines.

I traced three different sized circles to show different sized cities. The cap of a vitamin bottle made Paris, a wine cork made the medium sized cities like Nantes, and the cap of a chapstick tube made smaller towns, like Angouleme.

I cut all the circles out during the Olympic beach volleyball matches, which made it much less monotonous. Each one was peeled, then placed and pressed into place.

I realized, once they were all down, that Paris was a bit too far east and north. For a few days, I tried to convince myself that it was fine, and I was going to leave it where it was.


But every time I looked at it, the error bugged me. So I decided to move Paris… which meant I had to move the Seine, the Loire, and all the cities along both rivers.

There were bad words. I’m still in the process of removing and replacing the dots, and you can see where some of the adhesive is still there.

I managed to get “Paris”properly named, so at least I have a point of reference going forward.


I am embroidering each name in a cursive script, much like my own handwriting.

That’s going to take some time, too, but I am happy I corrected the error while it was still possible.

Again, I beg your patience.

Love,

Grandma Judy

L’Escargot

Dear Liza,

Yes, I have made progress! Once I got the shorelines figured out, everything starting making sense.

I kept looking at my patterns for the Grand Massif, the Alps, and the Pyrenees, and they were just …. Clunky. They made the whole eastern side of the country look like a mountain range, which just isn’t the case.

As you can see….

So I pulled up different topographical maps of France to see how I might make them better. Certainly more accurate, and maybe just a little prettier.

My process isn’t artistic, or even scientific. I glue sheets of scrap paper together and start cutting, staring and trimming until I get a shape I like.

This took a good part of the morning, because there is a lot of cutting, placing, staring, and walking away for a while. During the walking away parts I vacuumed, went shopping, and watched the Olympic Triathlon on YouTube.

And when I got a pattern that was closer to the shape of the Massif, I laughed out loud. Un Escargot!!! That is, a snail.

I like that a lot. Escargot are one of the classic French dishes. Snails are also raised all over France for it, and it is one of Auntie Bridgett’s indulgences when we visit there.


So I chuckled and pinned the patterns down, carefully trimming the lumpy shapes out of the purple fabric. The highest peaks of the Pyrenees and the Alps will be shown in red.

Et voilà! The big shapes are taken care of.

But there is one more detail hanging over my head.

I have this half yard of black fabric that I haven’t used yet.
It is part of the color palette, and I think it will give the map some depth and drama. I intended it to be mountains, but it looked like a big black hole. I think it would be better as a detail, a curve or a line rather than a blob.

So now I get to stare at this for a while, and figure out what comes next.

Ain’t art fun?

Love,

Grandma Judy

Thinking it Over… and Over…

Dear Liza,

As you can tell, I’ve become a little obsessed with this French map quilt.

I’ve never made anything like it, and the examples I’ve found on the internet aren’t anything like I’m trying for, so I am in untested waters.

Quite literally, because it is the shorelines that are giving me the heeby-jeebies. I am trimming, staring, and questioning myself at every step.

After Auntie Bridgett pointed out that for the shoreline to look right it would need water, I headed down to Joann fabric to fetch some blue. And she was right (as she so often is). The shorelines of France curve in, so they fit well inside my hexagonal outline. But what shape should the waves be? Classic pointy? Or smoothly waving?

Since this is an interpretation of a map, we are imagining it from above, and the pointy wave shape is what we see from alongside the waves.

So I am going to go with the smoothly waving style, and will add some embroidered lines of white and blue to show the texture and movement of the waves hitting the shore.


So, after more than a week of “The Artistic Process”, I have three of my six edges (those with shorelines) figured out. Next, I’ll wrestle with mountains.

Wish me luck!

Love,

Grandma Judy

Practice Slow Stitching

Dear Liza,

I love learning new things, and this week I have been all about Slow Stiching. This is a new name for combining old hand sewing techniques like embroidery and quilting, and I am loving it.

I have got a project set up to do on my flight to Denmark, but I want to make sure I know the ins and outs before I start it at 30,000 feet.


So I am practicing! I am making a 30 inch long, 3 inch wide strip, quilted, appliquéd and embroidered. I am not sure what I will use it for, but something will come to me. Wall decoration? Head band? Ridiculously long book mark?

Anyway, I am enjoying the act of embroidering, playing with colors and patterns, and feeling the textures grow under my fingers. There may also be buttons, beads, and other goodies as I go along.

I am learning how this sort of project works. A few things I have learned:


*** Keep about half an inch of overlap so there are no gaps between patches.

*** Use a single strand of thread of a light color to sew patches down if you plan on adding more layers of stitching, so it doesn’t distract from the patch.

This is how it is looking so far, on the front….

And on the back.


Maybe I’ll bring this one along with me, and we’ll figure out what to do with it!

Love,

Grandma Judy

Sister Corita and Me

Dear Liza,

Back in March, I got some books about Sister Corita Kent for my birthday. As you might suspect, Corita was a Catholic nun. She was also an artist and teacher at the progressive (as far as Catholic institutions go) Immaculate Heart College in Los Angeles back in the 1960s.

I will not attempt a detailed biography here. There are dozens in print and online, by folks who have done their research.

What I want to talk about is how some of Corita’s “Ten Rules’ have affected me and my art.

Number 4. Consider everything an experiment.

I know Crazy Quilts are an OLD thing, but mine is a NEW thing, at least to me. Combining piecing, embroidery, beading and quilting in one totally original creation big enough for two people to snuggle under was a seven month expeiment. It worked out pretty well.

Number 6. There are no mistakes. There is no win and no fail.

This is comforting to me, after years in the classroom where I dreaded making mistakes in front of my students. Knowing I can learn from everything makes me braver.

Number 7. The only rule is the work. It is people who do all the work all the time that figure things out.

For the past few years, with help from Auntie Bridgett and Ruthie Inman, I have been reading, thinking and experimenting with art. The stitches in my Crazy Quilt were an experiment. Laying down layers of collage, then tissue, then ink. Three dimensional constructions covered in paper mosaics… all experiments. I like some better than others, but I learned from them all.

And, as Sister Corita promised, I am figuring things out.

Love,

Grandma Judy

Transit to the Quilt Show!

Dear Liza,

On Friday, Auntie Bridgett and I went up to the Portland Expo Center to see the Annual Quilt show put on by the Northwest Quilters Inc..

The weather was warm and sunny, so we took transit.

The number 75 took us north and through a lot of neighborhoods we had never seen before. It then headed west through the Kenton neighborhood and past the Paul Bunyun Statue. After about 30 minutes it let us off at the Yellow Train Line station on Lombard Street, and we caught the train to the Expo.

The Quilt show was an amazing combination of the art and craft of quilting and the business of selling sewing machines, quilting supplies, and sewing kits.

I was very impressed not with just the skill and care shown in piecing the quilts, but with the originality in techniques and subjects.

There was even a wonderful, small, old, Crazy Quilt, which was the one piece I would have brought home if I could.

I will tell you about the rest of the adventure tomorrow!

Love,

Grandma Judy

All Done with the Crazy!

Dear Liza,

Well, the Crazy quilt is all done, washed, and ready to be used.

Of course, it couldn’t get finished simply or easily; it had to make me a little crazy first. You know how it is when your Mom tries to cut your bangs and she cuts one part too short, and then has to cut the rest to match? There was some of that.


I had planned on a wide plum-colored edge to frame the quilt top, but I cut too much off one side, had to cut the others to match, and got a really narrow frame instead. It was accidentally perfect, and I love it!

I sewed the finishing seam in the machine, careful to keep the edges smooth and even. To finish it off, I gave it a gentle wash in the bathtub and then a tumble dry.

It developed that lovely quilty crinkle that I love so much.

I am very happy to have made a pretty, useful thing. It is also a memory quilt, because it has fabrics from Auntie Katie, Auntie Bridgett, my friend Charlotte, and projects I made for lots of other folks. It even has some embroidery by Kestrel and Katie.

(Insert big, happy sigh)

Love,

Grandma Judy

Beginning Kawandi Quilting

Dear Liza,

This week, I have learned about a whole new kind of quilting! It has been an adventure in history, geography, and craft.

Kawandi quilting is from Western India and Pakistan, but it was brought there by immigrants from Africa. These Africans, called Siddis, introduced the kawandi quilts to India.

Kawandi are made from small pieces of fabric. They are not not patchwork quilts like we make in America, but an appliqué type. Each little piece, called a tikeli, is sewn onto the backing fabric using long straight stitches. A layer of batting or fabric is laid in between the top and bottom layers to make the quilt thicker.

Instead of outlining each piece, you sew in straight lines, following the square shape of the backing fabric. Most people who make Kawandi start on the outside edge, so that’s how I started. I looked at a few YouTube demos, and off I went.

Starting on the outside edge, I folded the edge of the backing fabric and the edge of the tikeli down to hide the rough edge, and sewed them together using stitches in a brightly colored thread. Unlike most types of quilting, you want the stitches to show. Before I got to the edge of the tikeli, I overlapped it with another, folded the edge under, and kept sewing in the straight line. Each bit got incorporated as I continued sewing.

Once I had the whole outside frame done, I cut a piece of green Hawaiian fabric a little smaller than the whole piece and tucked it in so that it was enclosed. You can see it, very bright, in this picture. That’s the part of the quilt that still needs doing.

I continued sewing in straight lines, bringing in pieces of fabric that looked good. I had trouble with some tikeli whose edges didn’t fall in line with the stitching. I have since learned that you solve this problem by making sure your pieces DO line up as you add them. Well, yeah….


Each kawandi quilt is finished off with small triangles that stick out at each corner. These ‘phula’ serve no practical purpose, but the kawandi isn’t considered finished without them.


There are many things I like about kawandi quilting. It is new and interesting, and the results are really colorful. They are a great way to use up bits of fabric. You just cut squares and rectangles to get started. You choose the colors of fabric, but the exact pattern can be sort of discovered as you go along. It is delightfully improvisational. “Oh, I need a lighter patch here… hmmm, yes, this is nice!”

I know there are lots of things about Kawandi that I don’t understand yet, but I have just finished my first Kawandi quilt and have gotten the hang of the basics. My next one will be better. Stay tuned!

Love,

Grandma Judy

.

Return to the Quilt Show, Part 1

Dear Liza,

img_08071.jpg
Last Hope California by Ginny Hebert

On Friday, Auntie Bridgett took the day off from making art and went with me on an adventure. We took the number 15 bus downtown, walked over to the Yellow Line Train, and rode clear to the end of the line.

There was some drama on the train, as a few people with mental health issues were being loud and a little scary, but Trimet Security folks came and calmed them down and got them off the train. After they all went on their way, we breathed more easily and the train continued north.

Inside the Expo were hundreds of quilts by scores of quilters, as well as demonstrations of the latest sewing machines and gadgets. Auntie Bridgett tried the ABM International Innova embroidery machine, which you drive sort of like a motorcycle! It is bigger than our sofa, and costs a lot more.

img_07311.jpg
Auntie Bridgett plays with toys!

We found a whole series of quilts by Virginia Hammon, called “Money Quilts”. They are all perfectly pieced and machine quilted, and all say something about money, politics, and humanity. These aren’t just pretty quilts: these are politically informed art.

IMG_0734.jpg
A Money Quilt by Virginia Hammon

I saw quilts that I had noticed and photographed last year, like this lovely map-looking one called “Bee Good, or Be Hungry”, also by Virginia Hammon.

As with all good art, the more I looked, the more I saw. There was a barren white section, quilted in tight city blocks, representing the city. As the city gave way to suburbs and countryside, more colors were introduced and the quilting became looser. The message was clear: make room for bees, or do without their help.

img_0743.jpg
Bee Good or Be Hungry by Virginia Hammon

Along with these very contemporary quilts were Victorian Crazy Quilts from around 1903, found in people’s grandparents’ attics. I love the combination of piecing and embroidery, and the any-way-it-falls- piecing technique. I may need to get out Great Grandma Billie’s velvets and Ruth Andresen’s silks and do something.

img_0758-e1538242481777.jpg
1903 Crazy Quilt


I was inspired by so many techniques! The raw-edge machine applique I saw last year has gotten more impressionistic, looking like landscape paintings. I want to use this on my Portland quilt this winter.

IMG_0753.jpg
Extreme close-up of raw edge applique


Realistic, moving portraits show how quilting and painting can be combined.

img_0826.jpg
Fabulous Portraiture in paint and thread

There was more to see and interesting people to talk to, and I will tell you about the tomorrow!

Love,

Grandma Judy