
Once I had the main shape and look of my art journal, I set it aside to let my nerves settle. Doing too much fiddly detail work gives me the heebie jeebies.
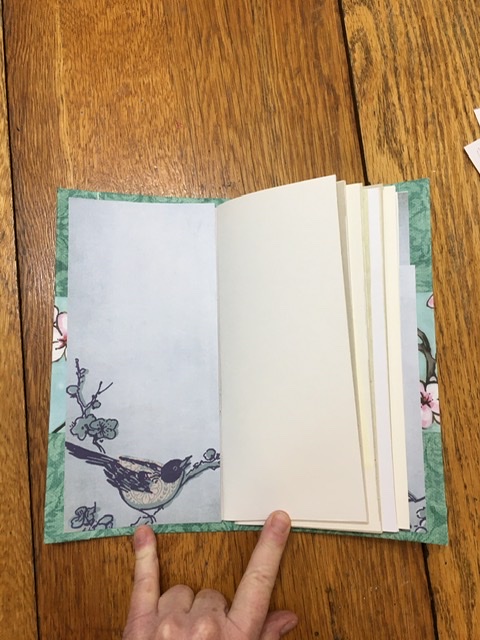
The next day I set out to make the journal pretty and ready to use. I glued the first page down to the the inside of the front cover, and the last page to the inside of the back cover. This makes the whole thing very sturdy and more all-of-a-piece.

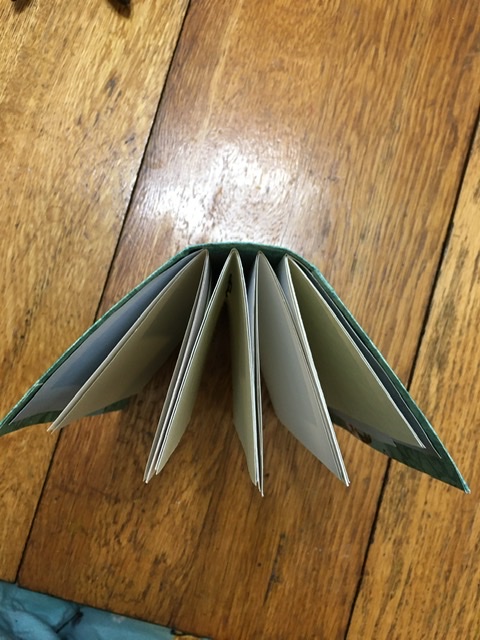
When these had dried, I saw that the pages pulling against the cover had bent the cover a bit, making it rounder at the spine than it had been. This was unexpected, but I don’t mind it. I have seen some old books with this, and now I know why!
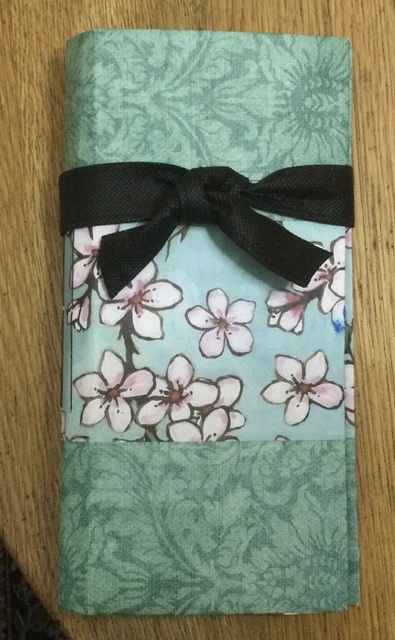
I realize now that I forgot a part here. I was supposed to poke holes in the front and back cover to put in a closure, like a ribbon, to tie and keep the journal closed. Having missed that bit, I figured out an alternative.
Meanwhile, I got some more pretty paper from Auntie Bridgett’s cupboards and glued them over the inside front and back covers to make them pretty and fit my theme. Since I am going to use this journal to record everything about my garden this summer, there are flowers, butterflies, and birds.
And with the book finished, I can write and create in it and not worry about losing information and Art about my garden.
Here is my Plan B closure. Auntie Bridgett was trimming the handles off an old tote bag, and I liked the look of the crisp black bow tie against the pastels of the cover!
It is still cold out and there is even some snow on the ground, but my imagination is already on its way to summer!

Love,
Grandma Judy

I love it and the fact that you improvised gluing the 1st and last pages down!… I like your black closure, and you can always (Awl-ways) poke ONE hole in the back cover, feed the black tie thru and knot it and wrap the rest around the book… that way it won’t get lost being separate from the book… OR you can leave it as is! I have a new pocket idea for you and it might be a nice place to store seeds for ‘next year’ .. i keep seed all the time from fruits and veggies that i want to grow… dry them out then keep in a ziplock… Anyway, keep medium/small cupcake wrappers for the next hint. 😉
Ruthie
LikeLike