January 29, 2026
Dear Liza,
YEs, I know it’s too early for Valentines, but these things need some lead time.
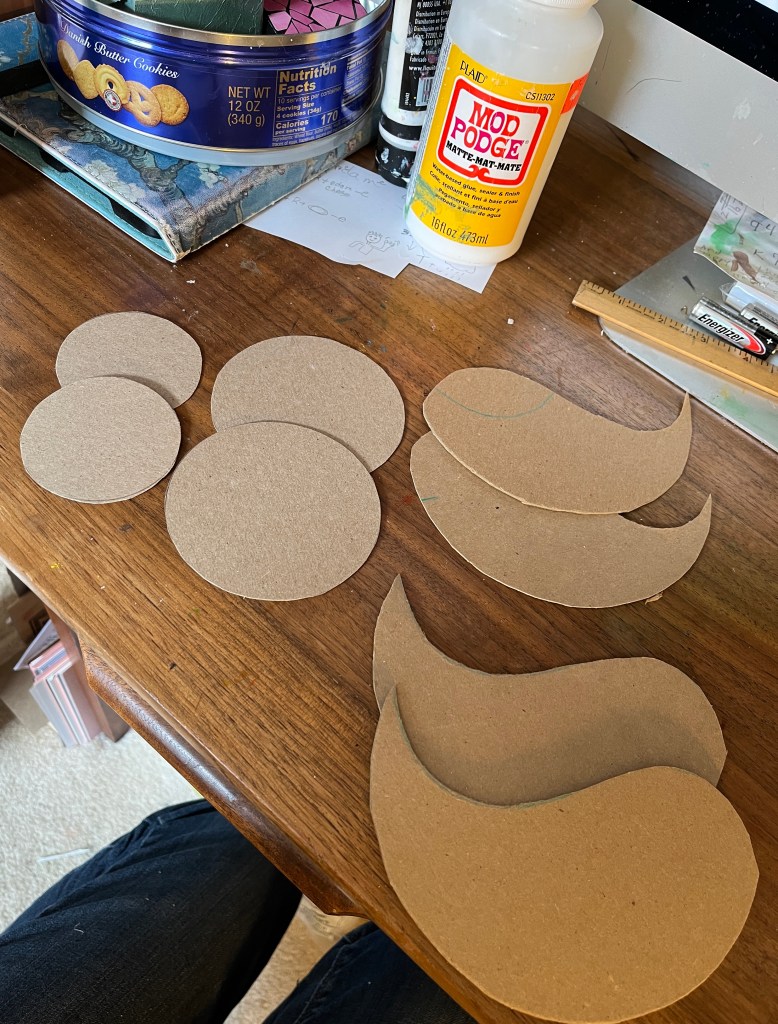
Auntie Bridgett, our friend Cynthia, and I had a fine crafty morning last week, making Valentine cards. We cut, glued, wove, pieced, drew, and painted (as our whims and talents determined) and ended up with 12 pretty nifty cards.
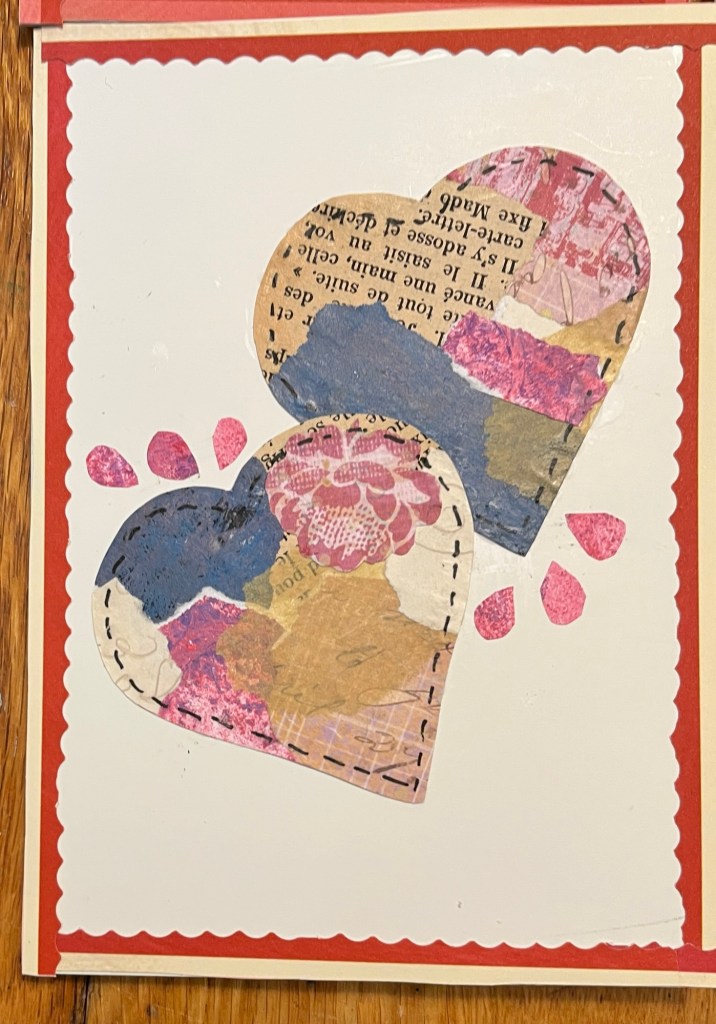
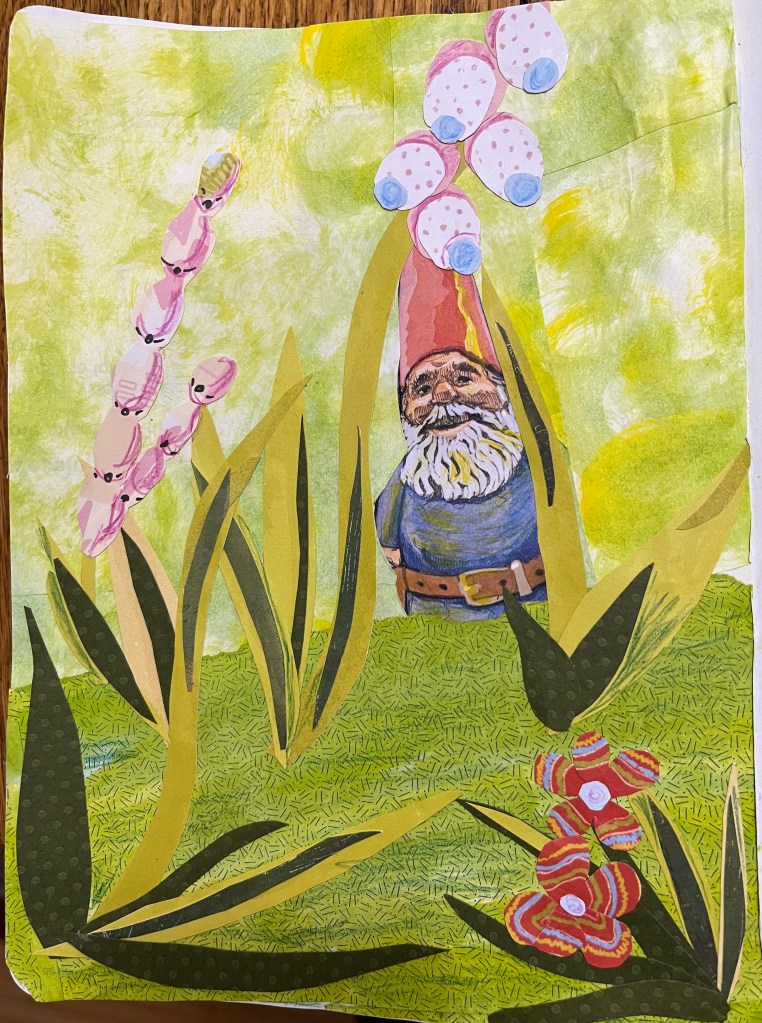
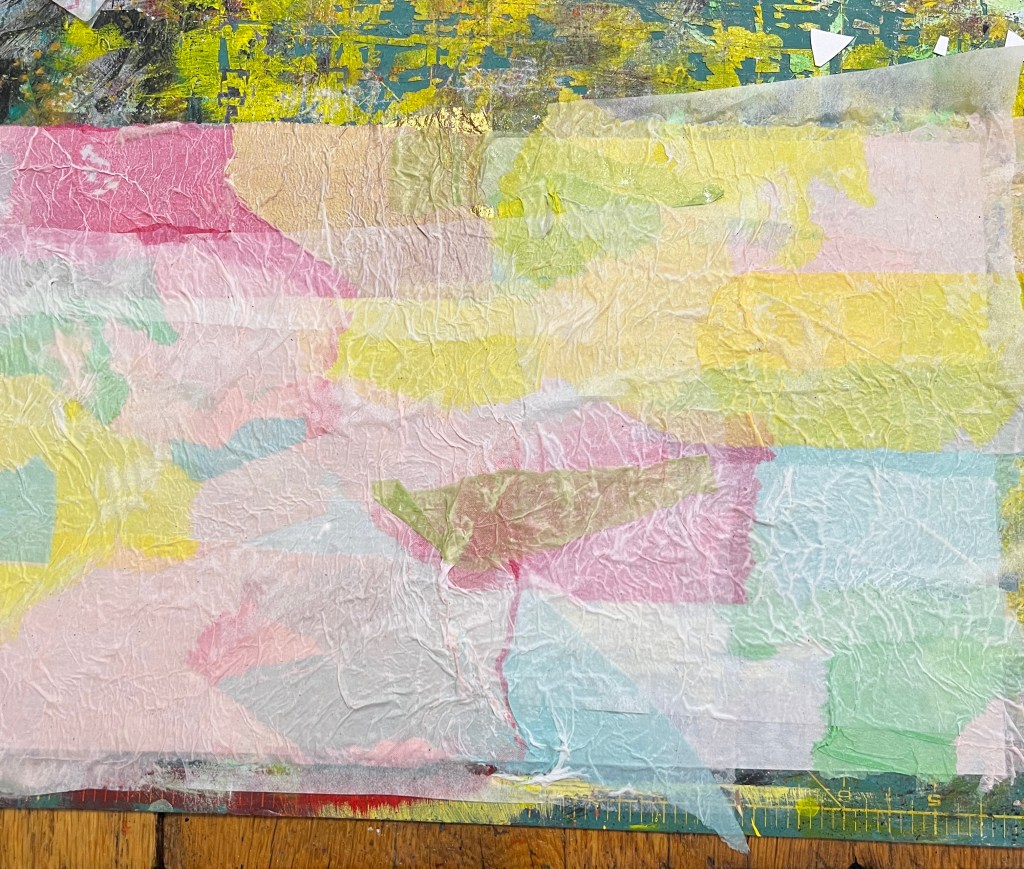
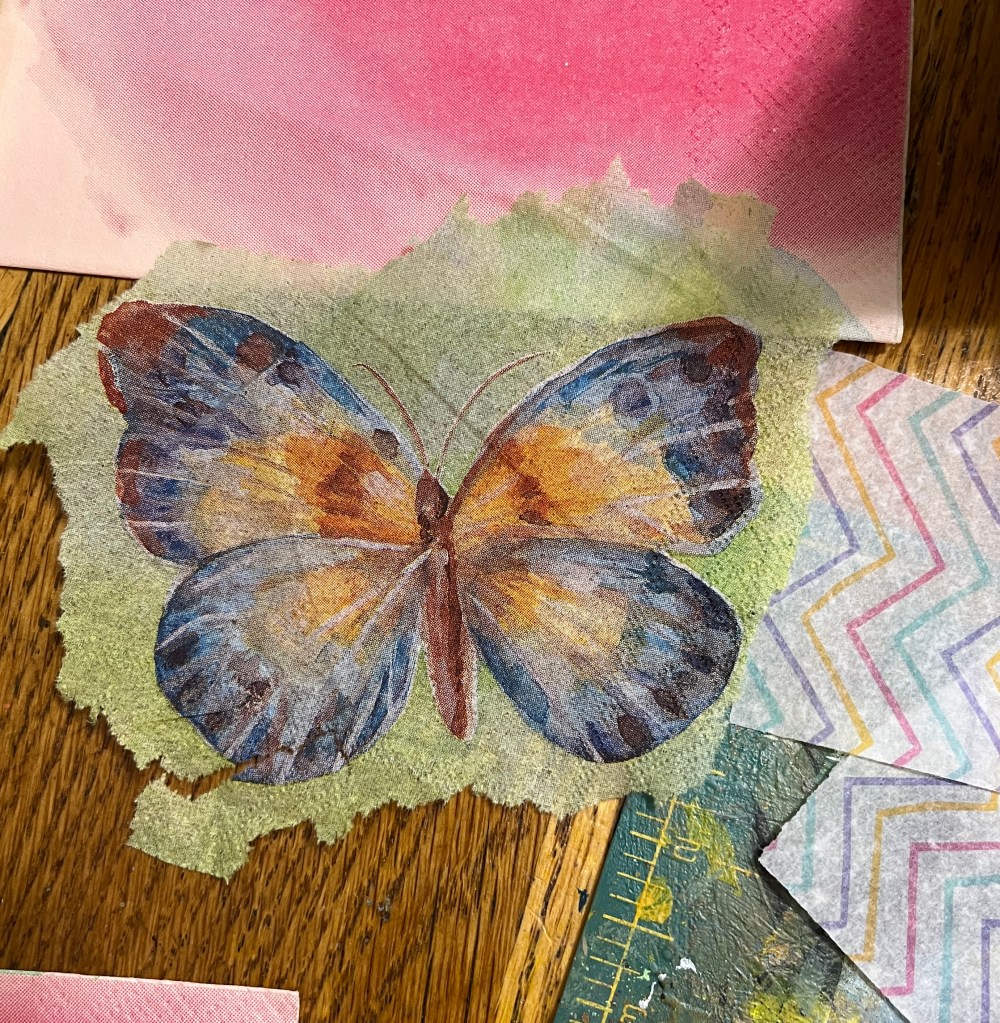
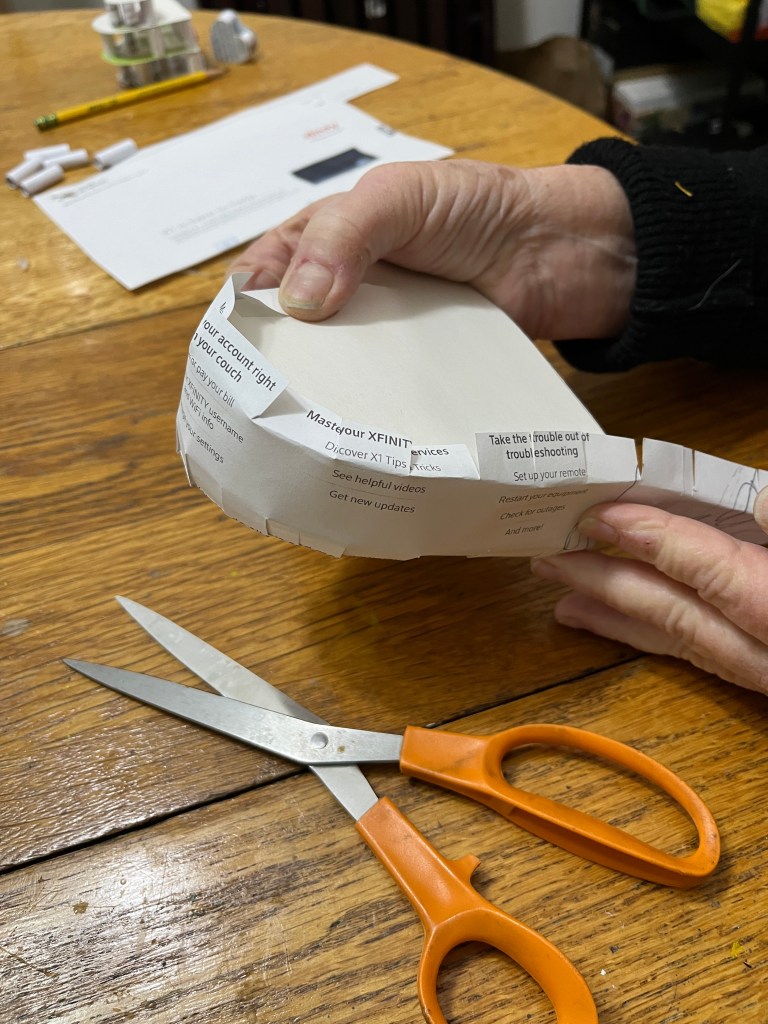
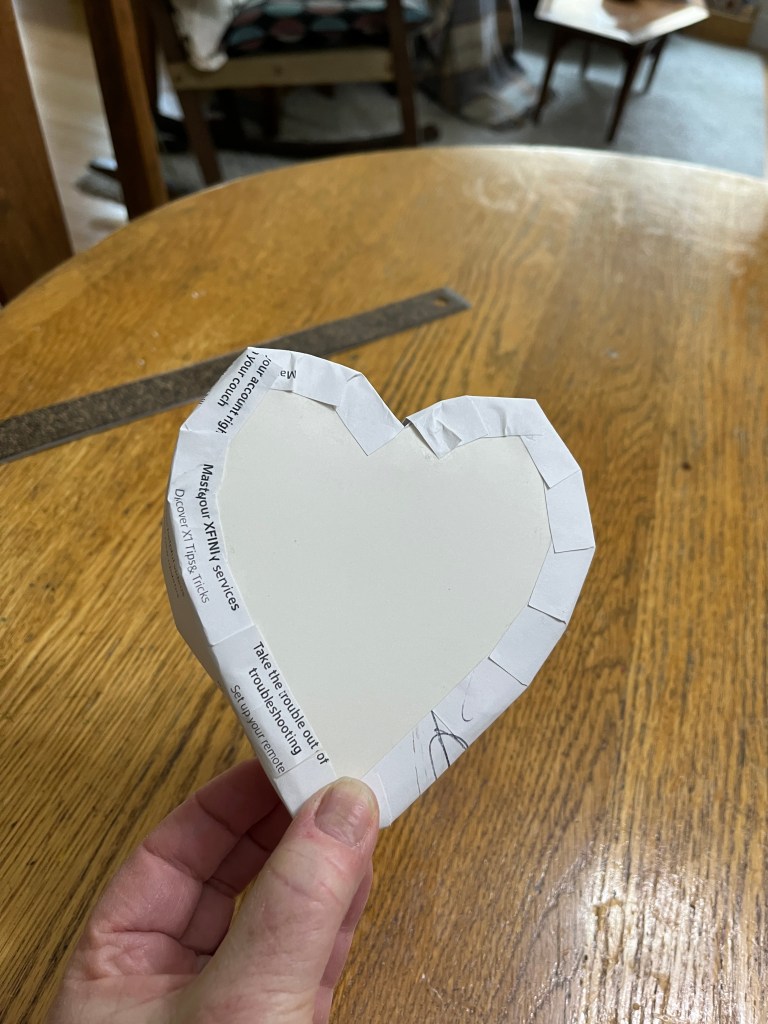
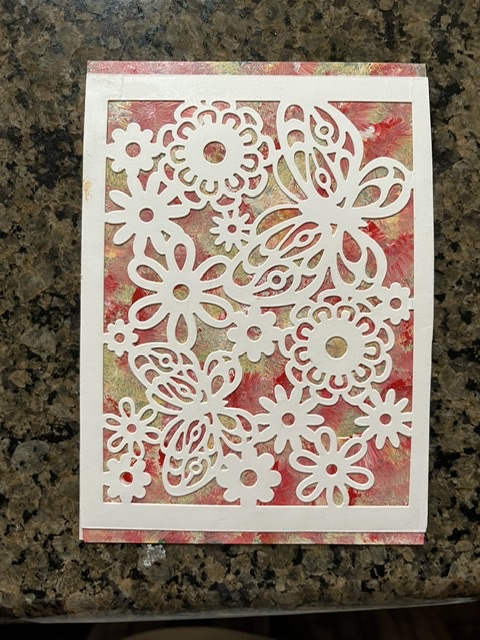
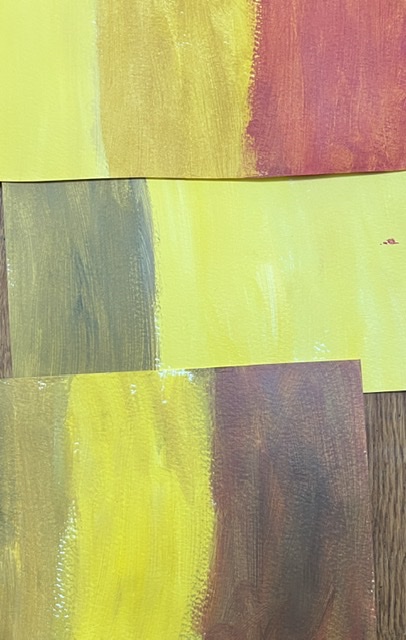
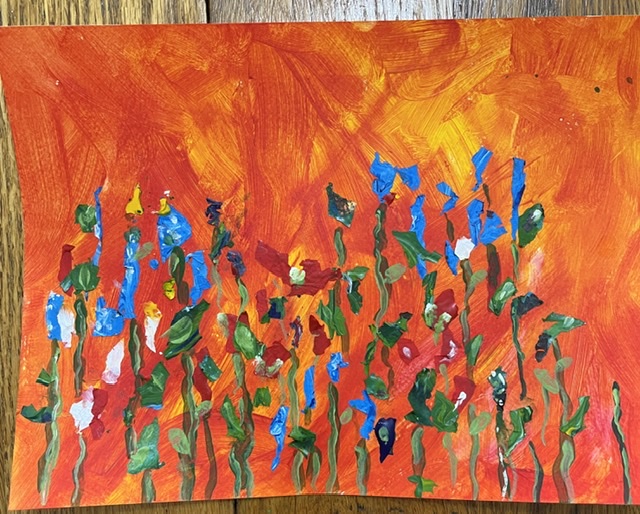
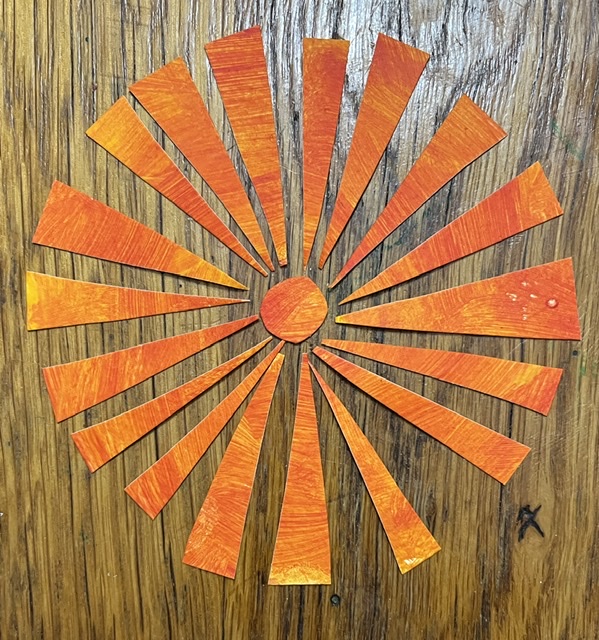
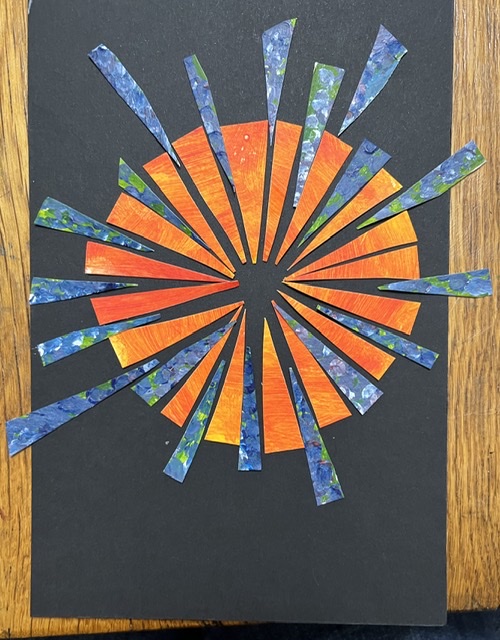
This was my style… torn paper collages that I trimmed into shape. Pretty, thematic, and easy enough to do while chatting.
These cards will be distributed by Positive Charge, a group here in town who works with Meals on Wheels to make sure folks who are isolated get some holiday cheer and pretty things to look at, along with their nourishment.
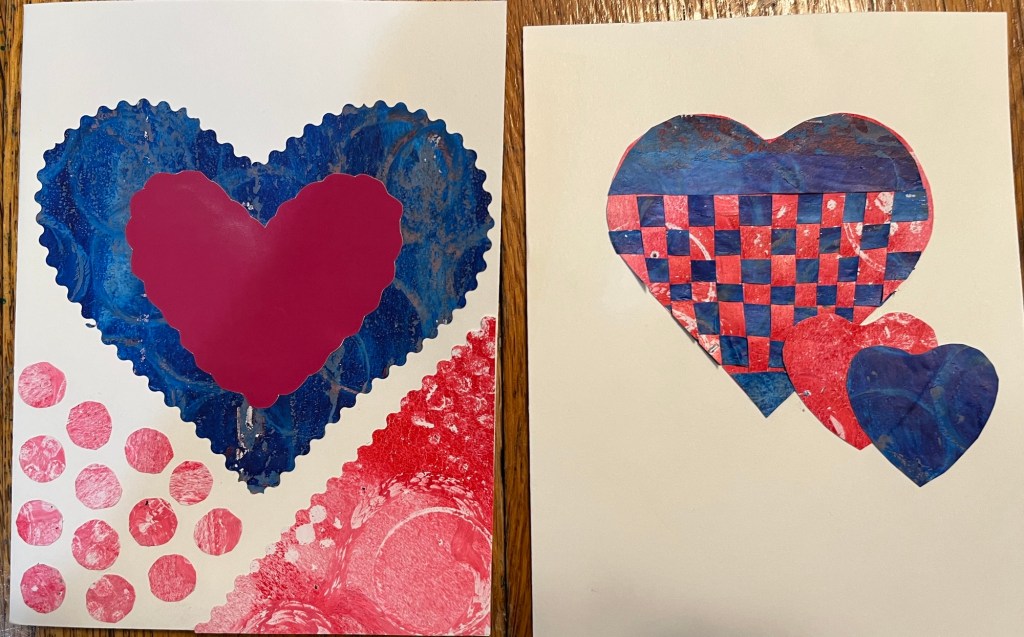
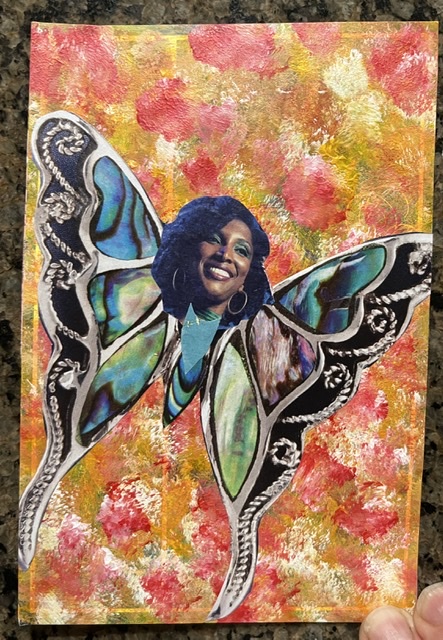
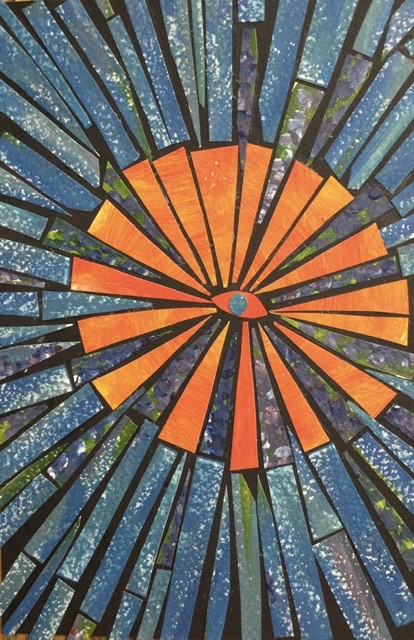
These are Cynthia’s. Aren’t they nifty? That weaving took a long time! Fancy scissors helped make the edges pretty, too.
Working with Positive Charge is helping us to feel better in these difficult times. We know we are bringing happiness to folks, and the company and crafting is just good for the soul.
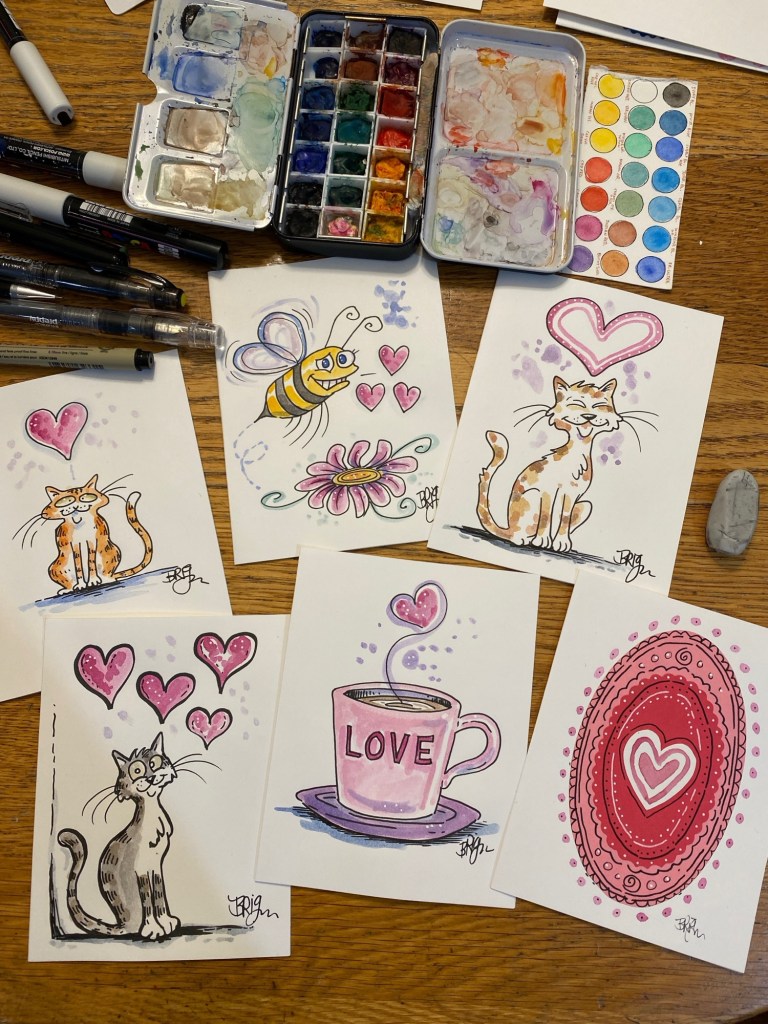
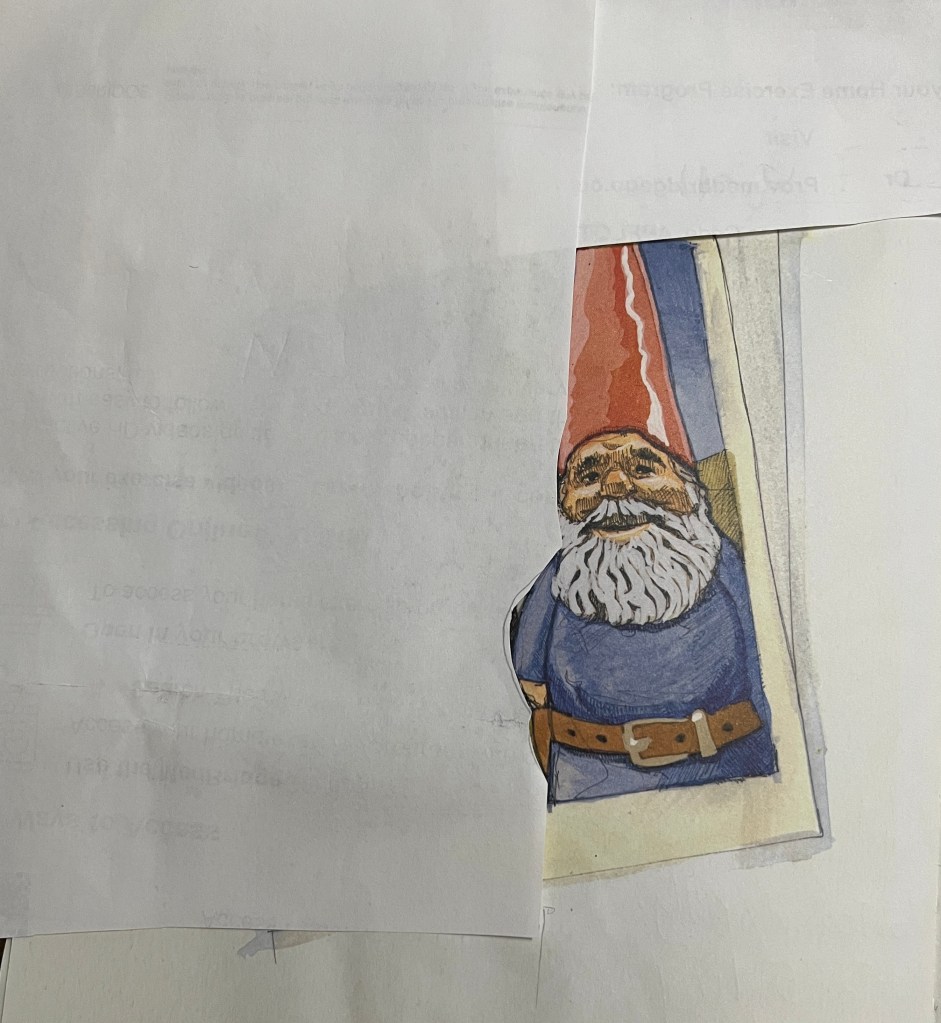
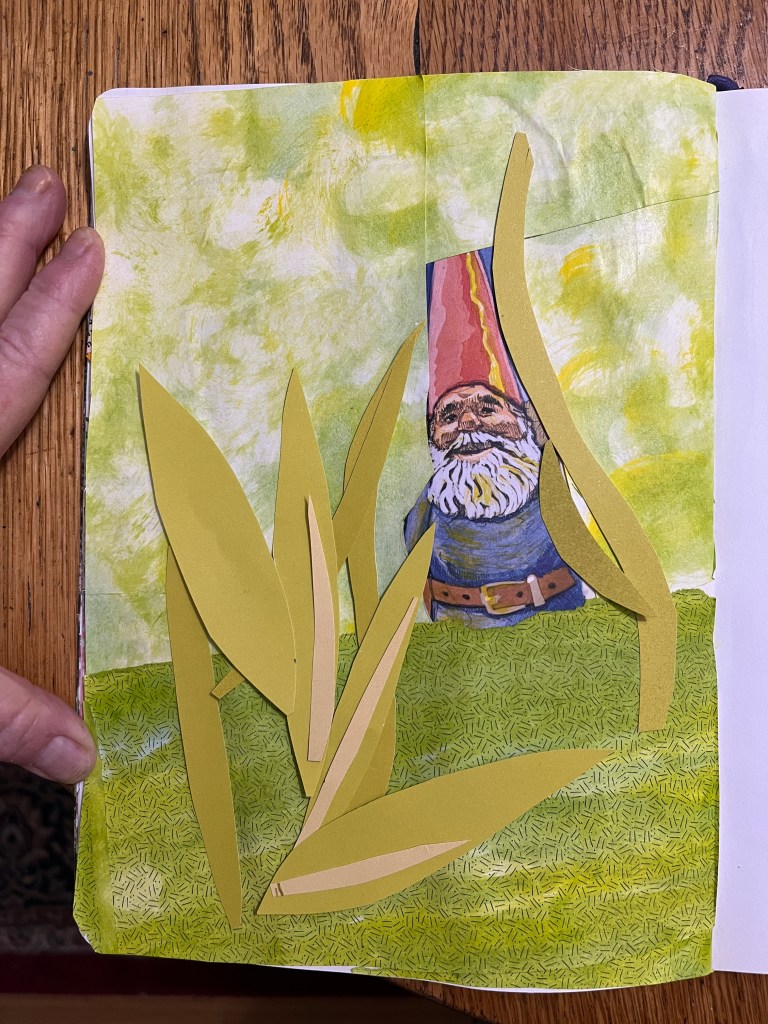
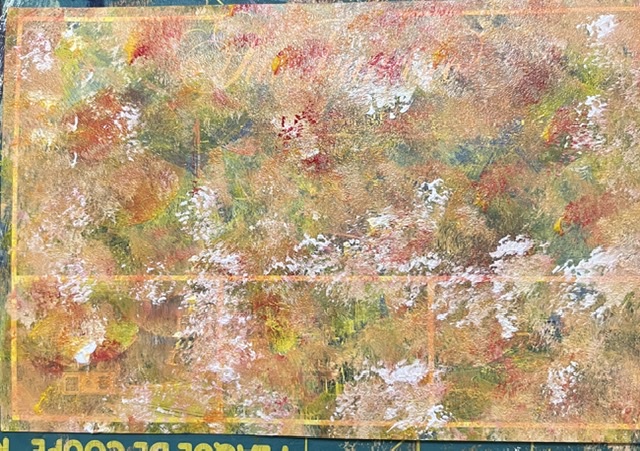
Auntie Bridgett, of course, used her cartooning talents to make these cuties. Sketching and watercolors are her happy place.
Today we will walk the cards down to Floyd’s Coffee Bar to be picked up and handed out on Valentine’s Day. This artsy do-good-ery is the sort of thing Bridgett’s character Auntie Beeswax would do, and I totally approve!
I hope you are finding ways to stay happy, too!
Love,
Grandma Judy