December 18, 2025
Dear Liza,
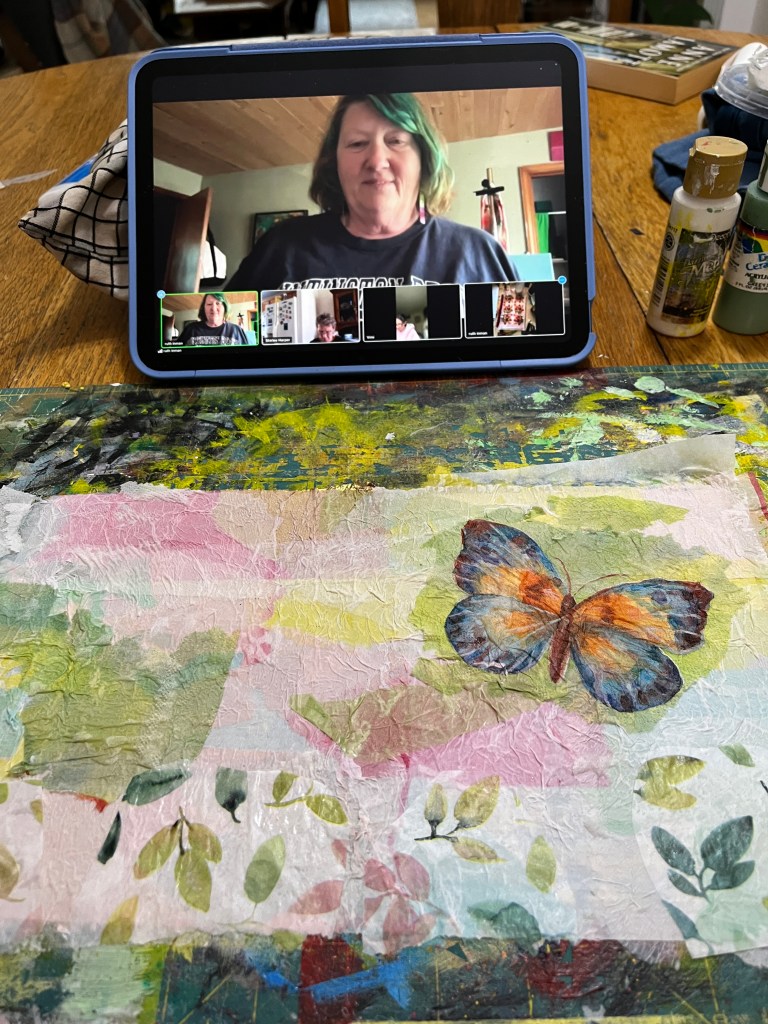
Ruthie Inman is not just an old and dear friend, she is an artist who manages to challenge and open my brain every time we get together on ZOOM. At our four-times-a-month Zoom classes, she comes up with projects that expand my idea of What Art can be.
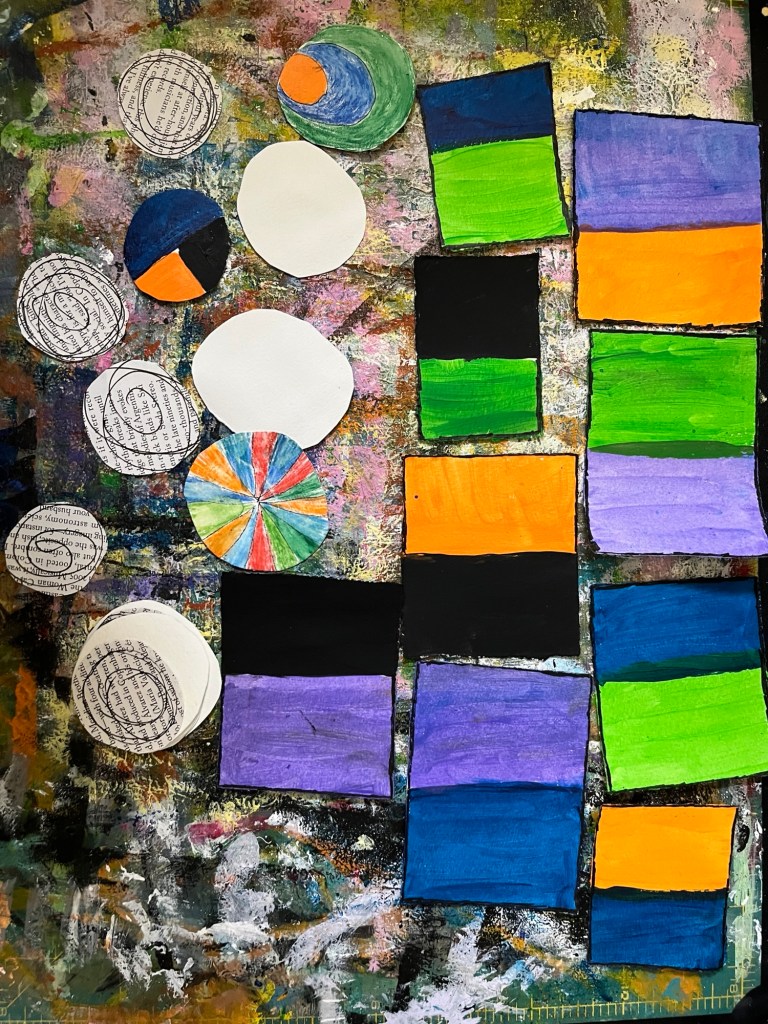
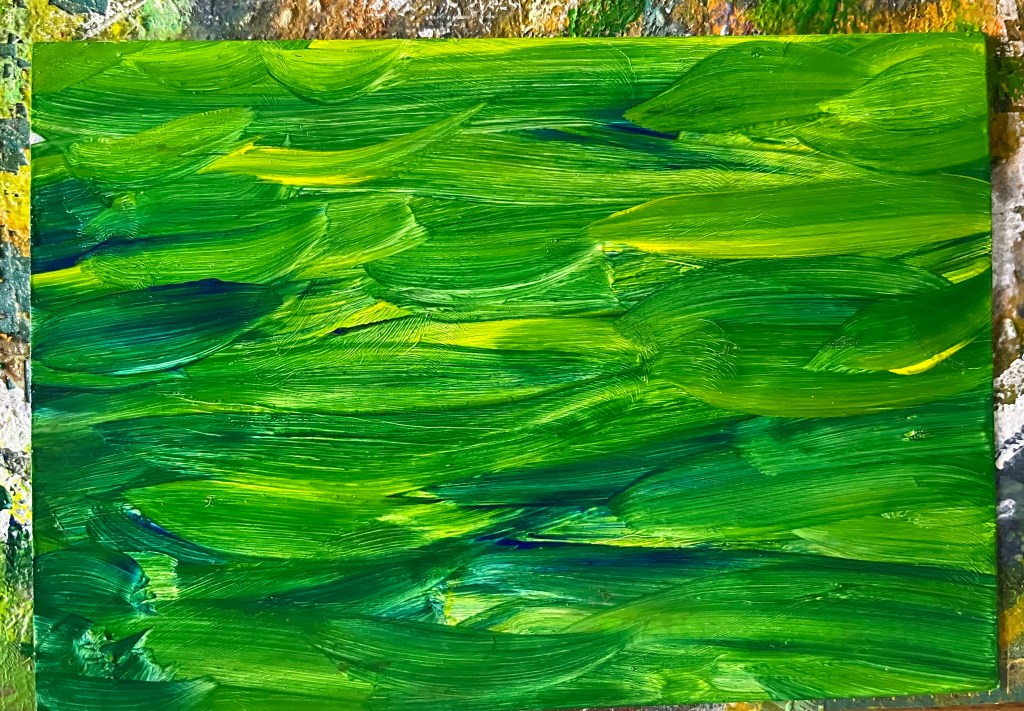
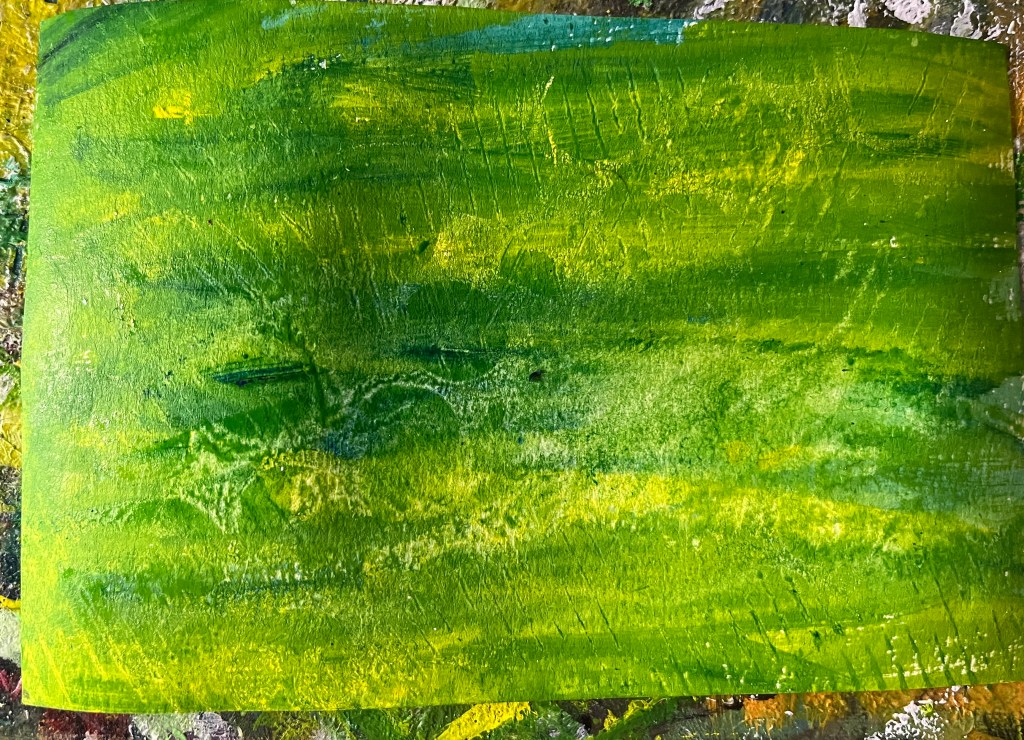
This month, we started by cutting out and painting nine rectangles of similar (but not identical) sizes and painting each of them two colors.
Then we cut circles that would fit into the rectangles, sectioned, and colored them. There were also circles with loosely-goosey spirals. It was an intriguing set of things, but I didn’t see it turning into much.
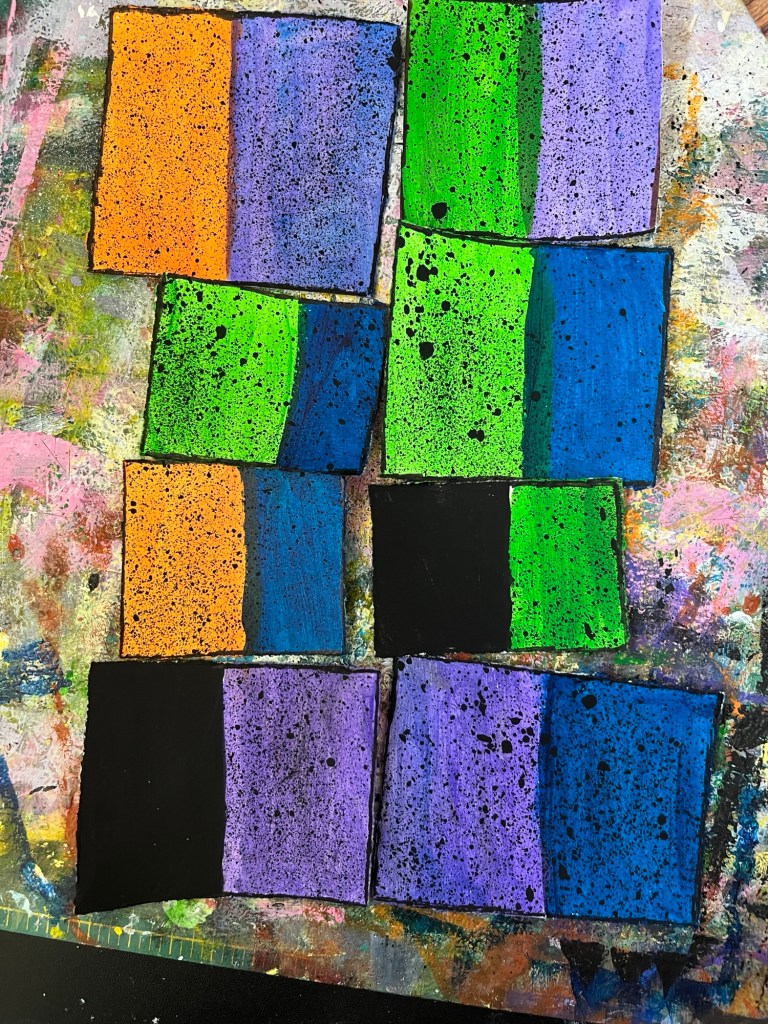
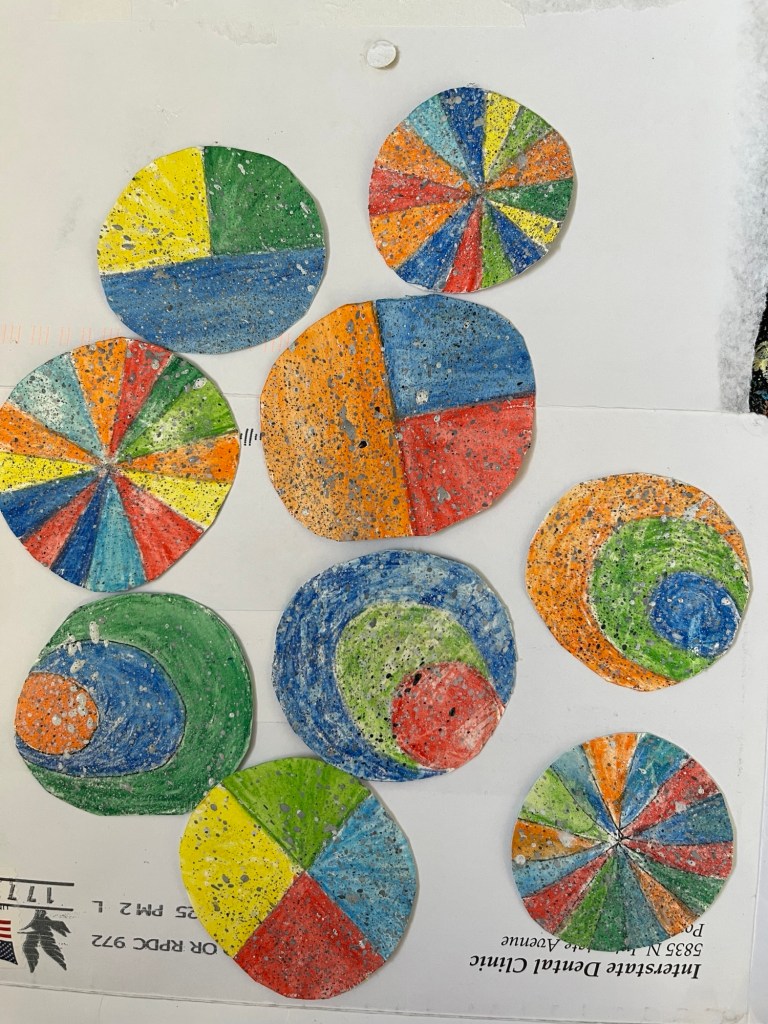
I didn’t like the flat colors, so I gave the rectangles some flicks of black and the circles, some grey. They looked more folksy and organic.
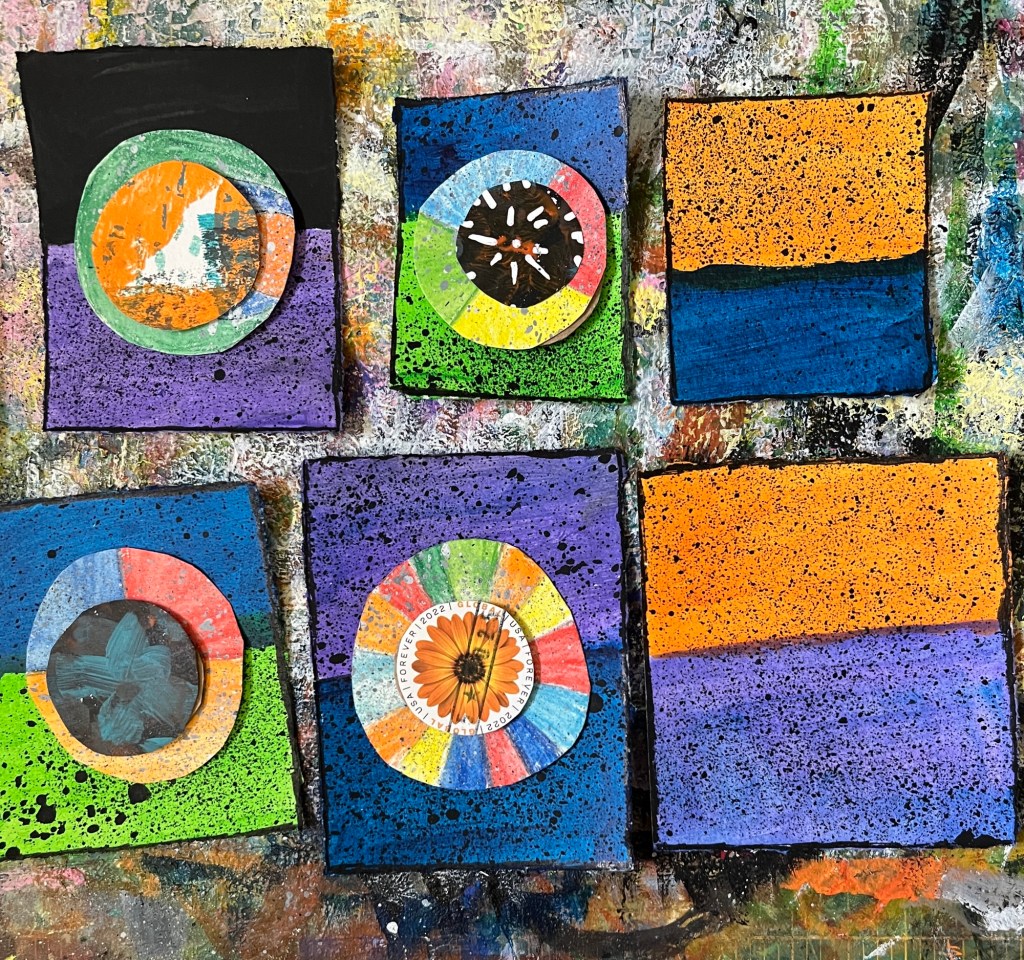
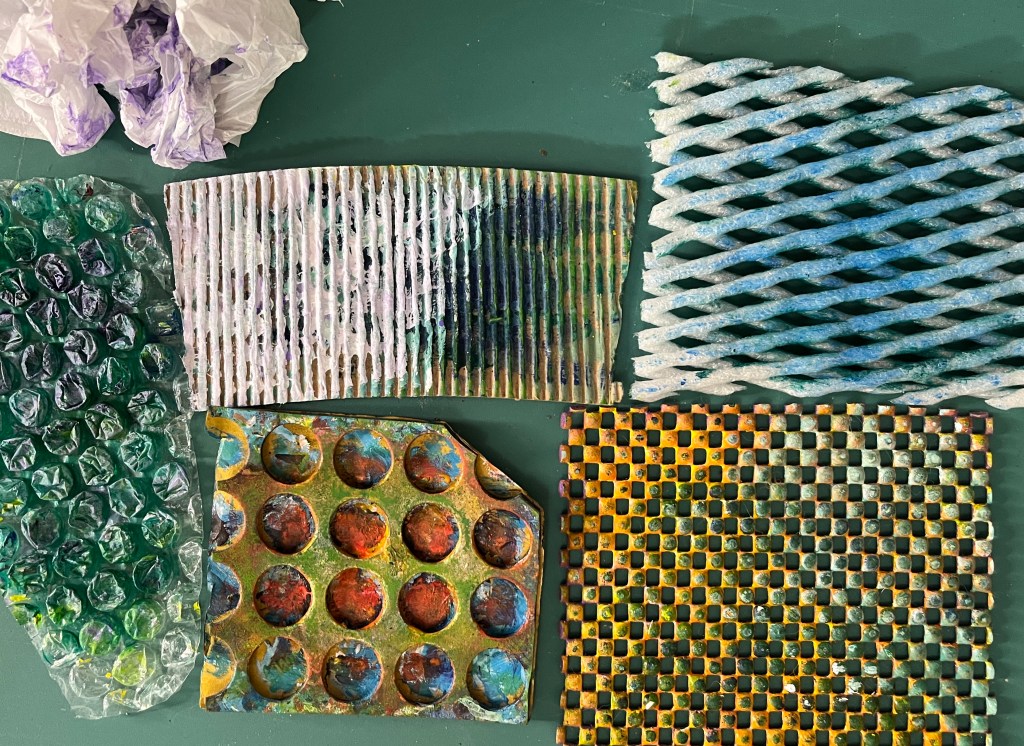
The next class, things got more interesting as we started stacking our shapes. Seeing which colors went well together, I altered some, adding black lines or white highlights. International stamps and Gelli prints came into play.
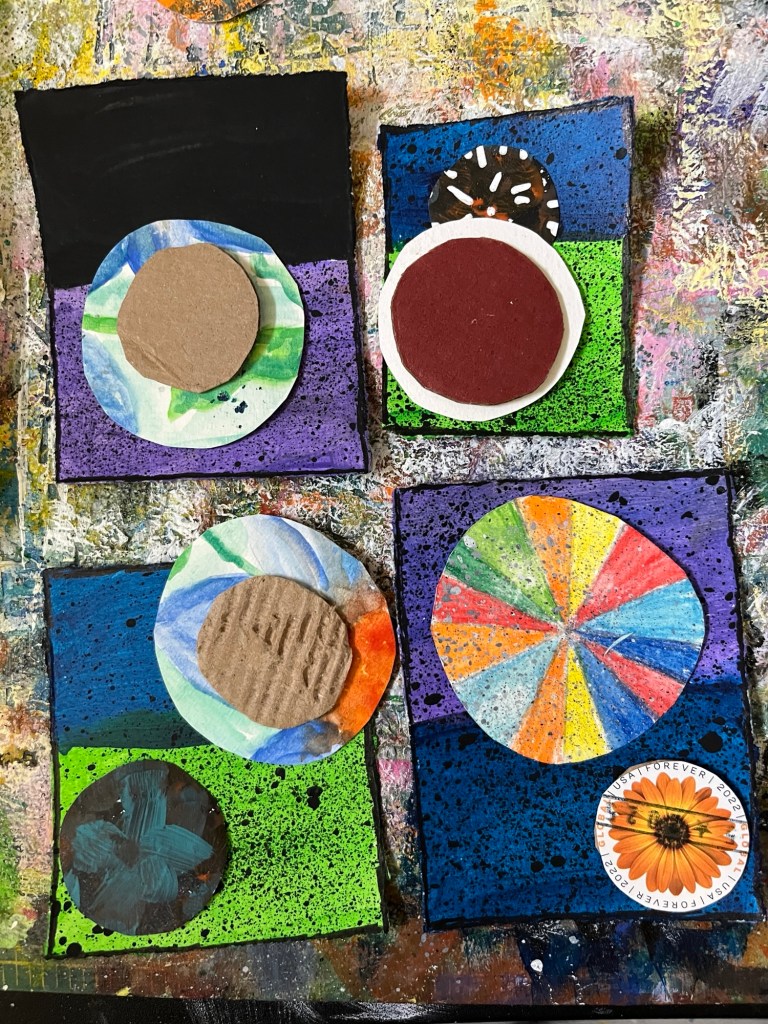
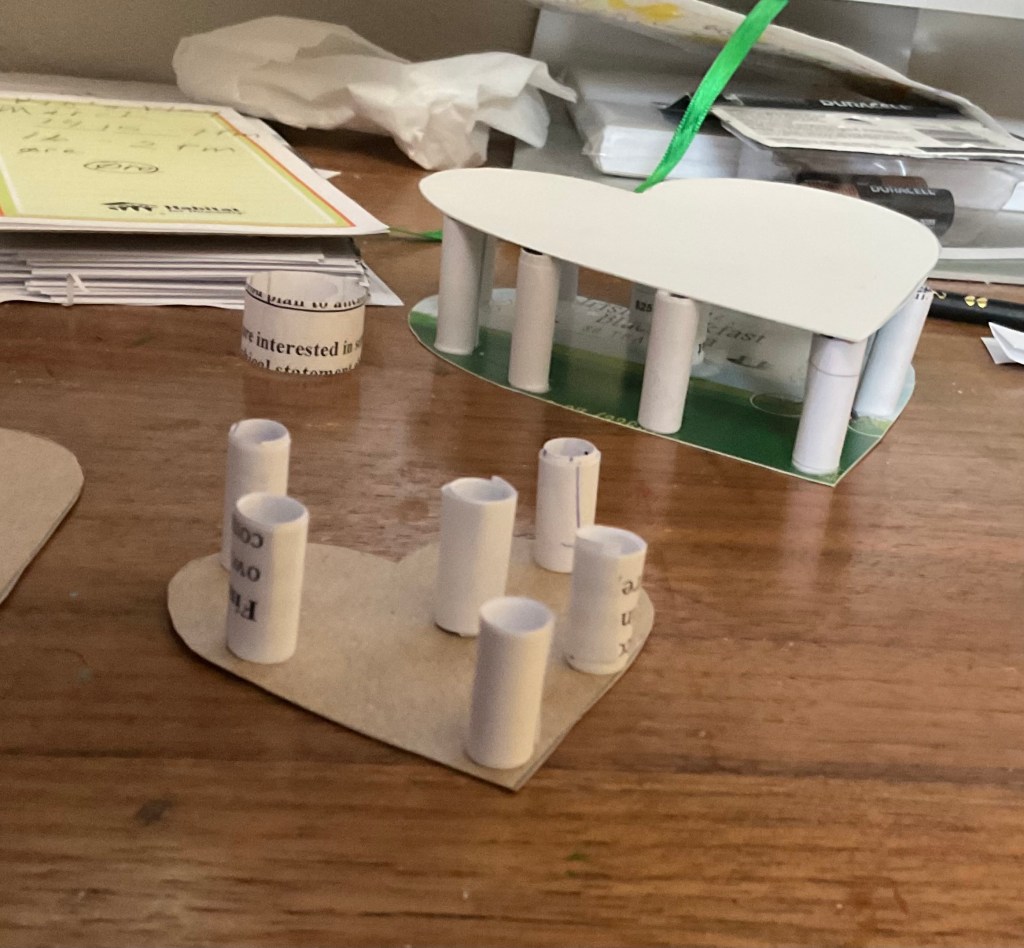
We cut and added Corrugated cardboard circles, to give our creations some height. With a few more dots and lines, I made the pieces feel cohesive and right.
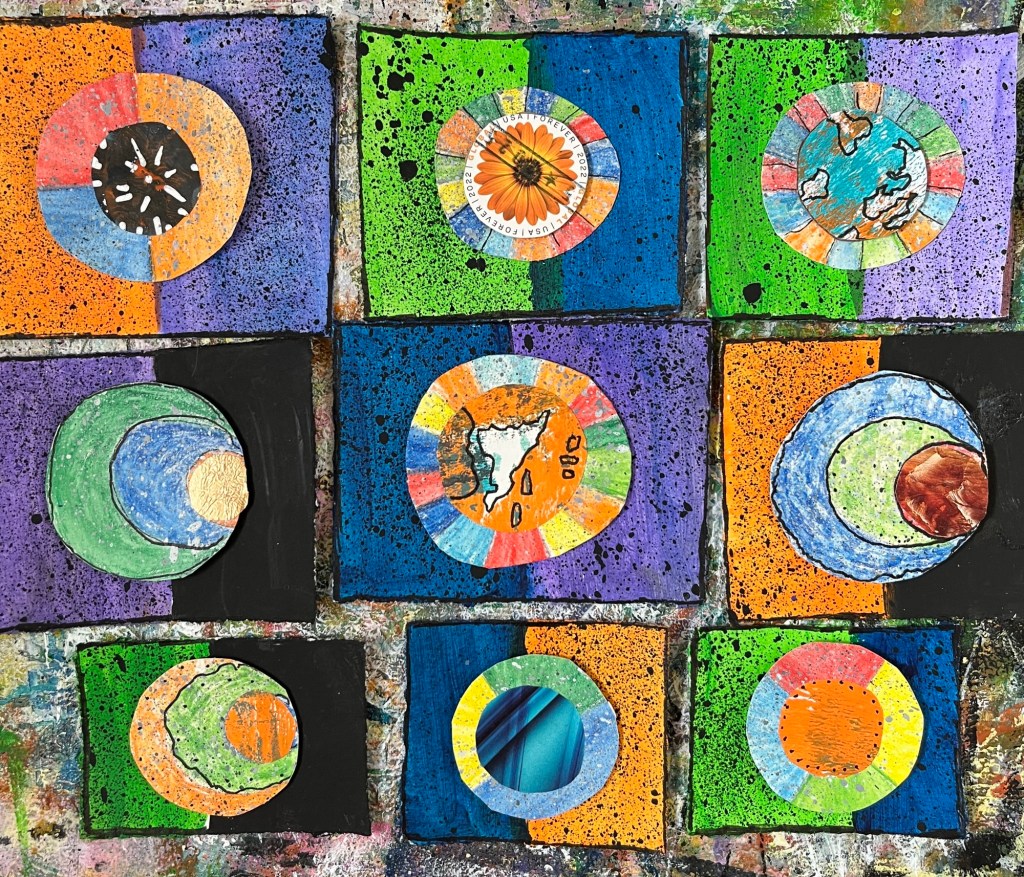
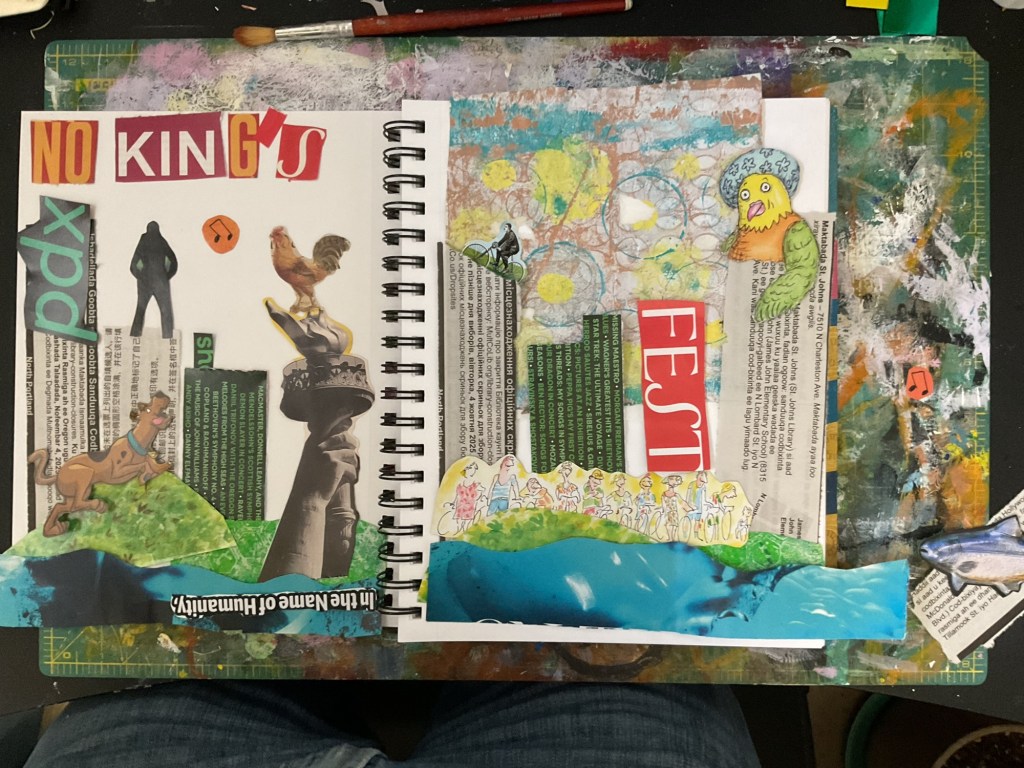
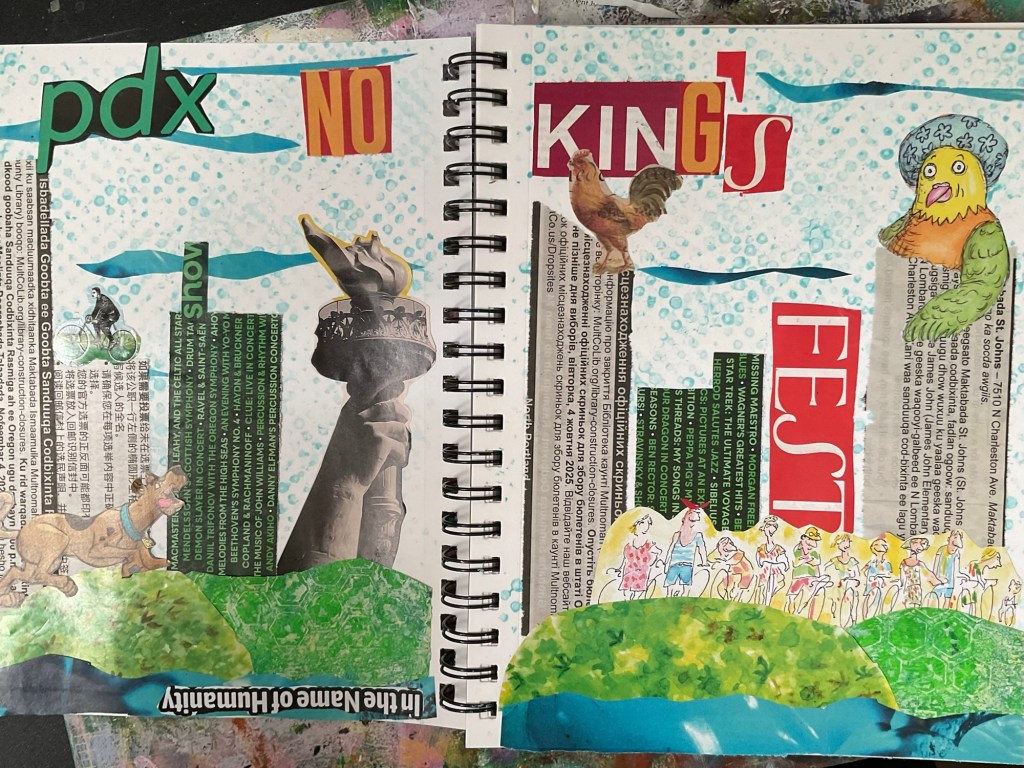
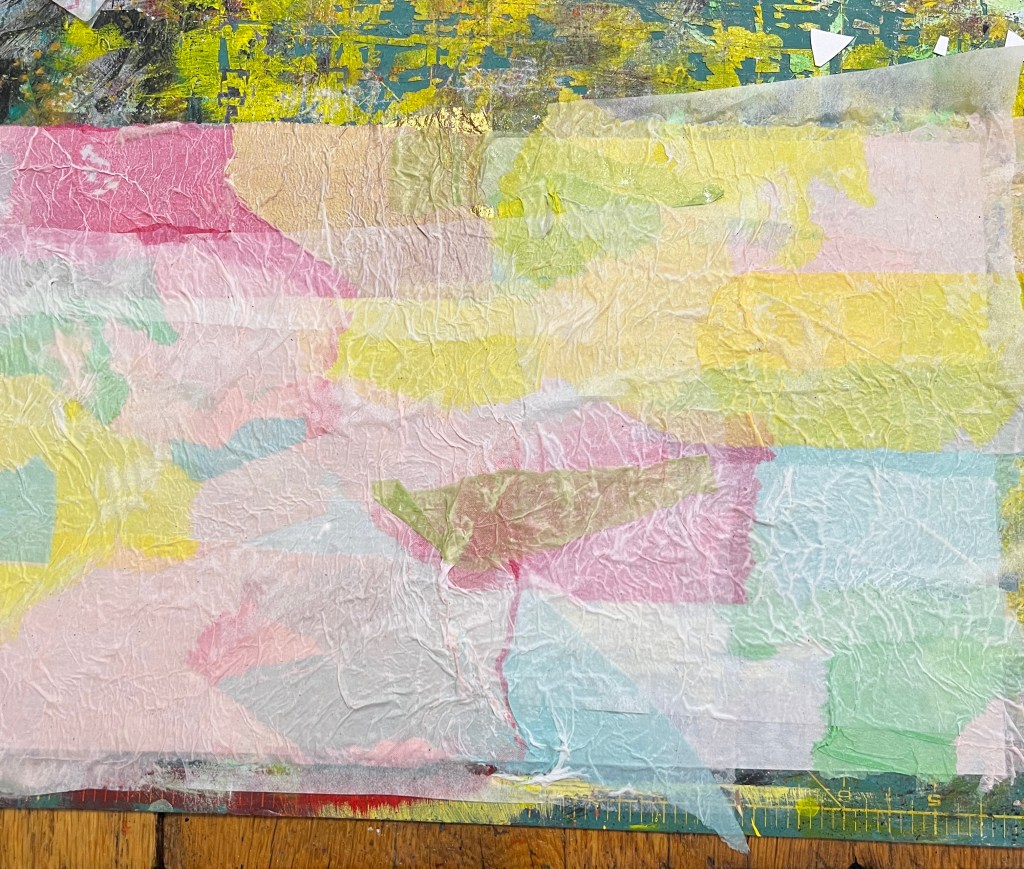
And then, what to do with all these bits? I knew if I kept them separate, they would get lost. Ruthie suggested laying them in an interesting combination in our Art Journals.
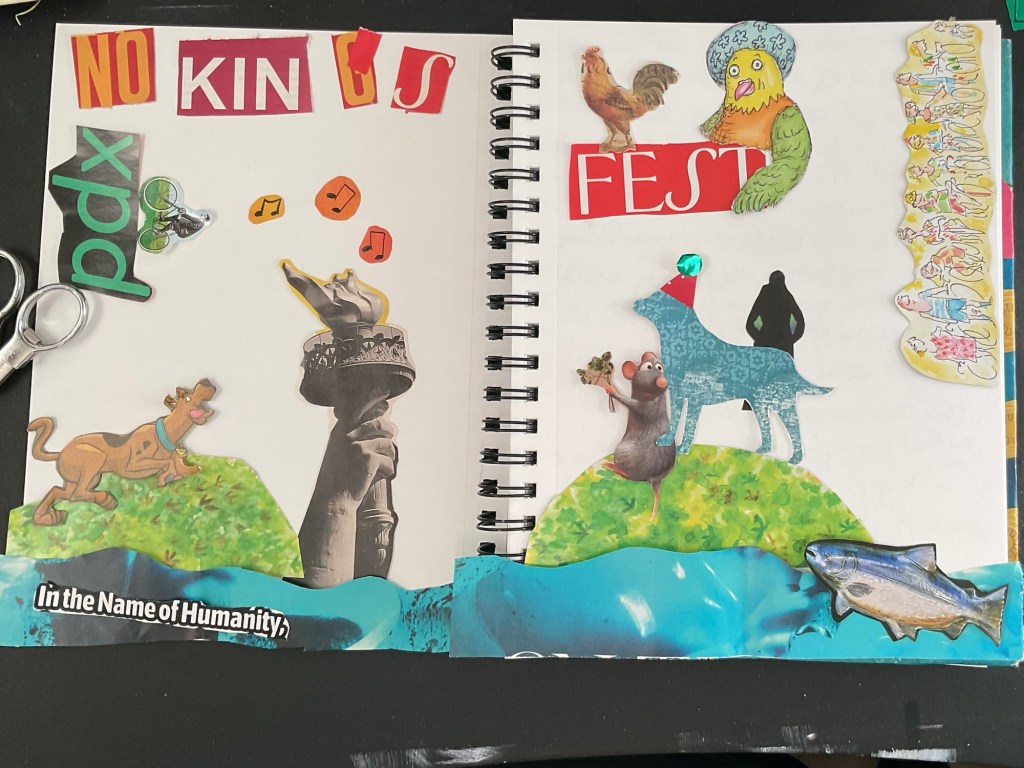
Since my Art Journal is also my ‘what I did today’ Journal, these lovely rectangles became part of December 2025.

I really like how this project turned out! I keep learning to see art better and make it better.
Love,
Grandma Judy