A More Complicated Art Journal

Dear Liza,

I love learning how to make new things! Auntie Bridget gave me a great book called ”Making Books by Hand” by Mary McCarthy and Phillip Manna which had lots of new ways to make books. At first they all seemed really hard, but the more I looked at them, I thought, “I bet I can do that.”

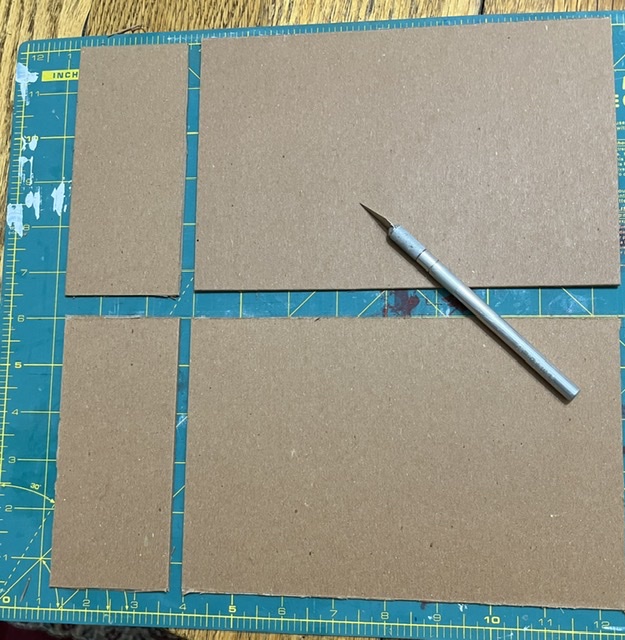
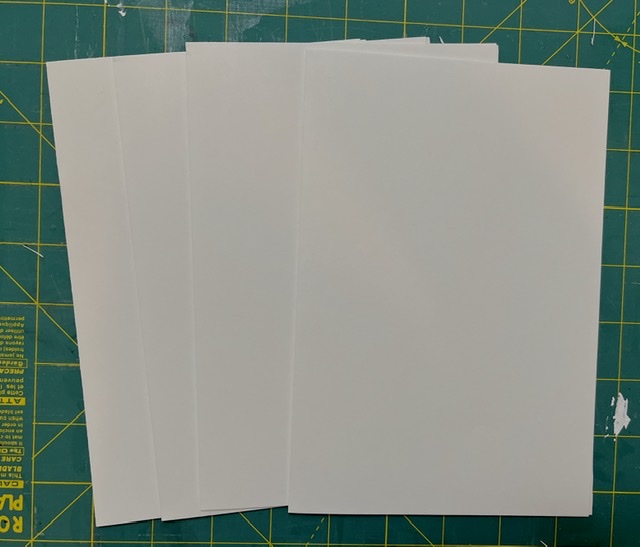
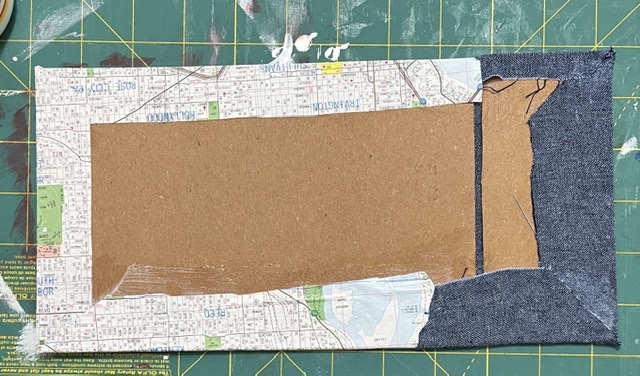
I have been collecting thin, stiff cardboard to use for the covers, and this week I started. First, I cut two pieces each for the front and back covers. Yes, two pieces each.

This type of book is called a “fixed spine”. Not fixed as in ‘repaired’, but as in ’not moving’. After cutting fabric for the spine and paper for the cover, I spread glue on the front cover pieces.


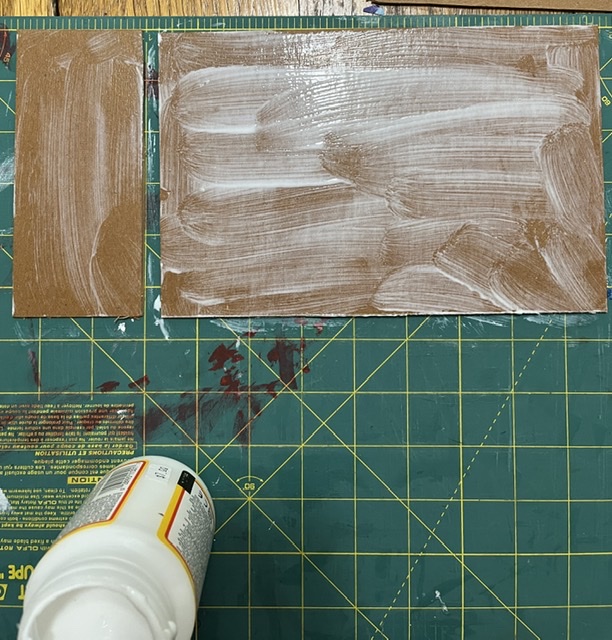
I used a nice nubbly blue fabric and a Portland map for the covers of the book. The gap between the two pieces, when covered with fabric, makes a hinge that allows the spine to be fixed and the cover to open.

As with most book covers, you cut the fabric or paper about half an inch bigger, so it can fold under so no rough edges show.

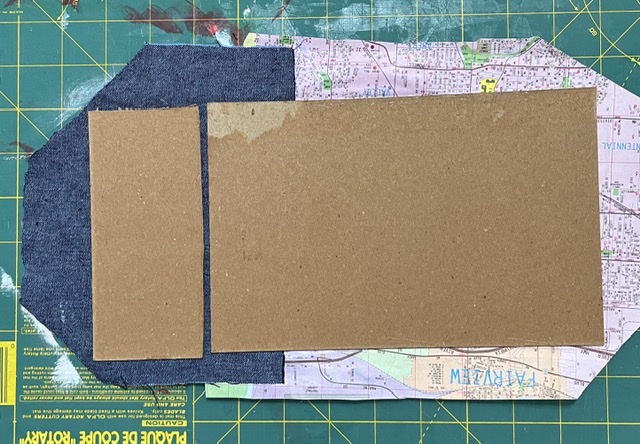
As I look at the pictures, I see that I am about one-sixteenth of an inch off with lining up my cover pieces. I will go ahead and see what happens.

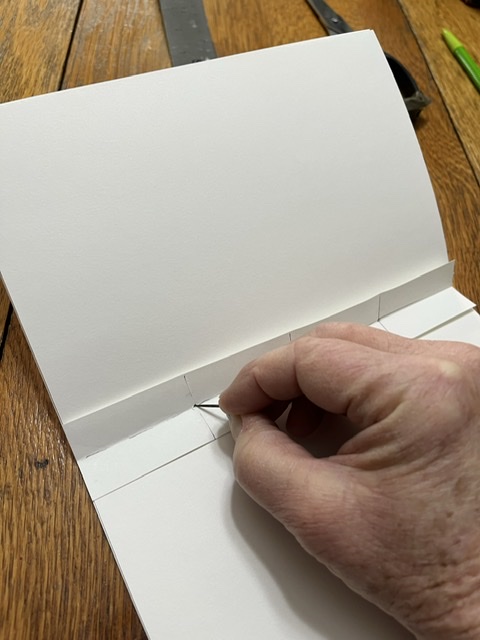
I glued the cover, flipped it over, and glued down the edges on the inside of the cover. Here is how the hinge works:


Once the outside was covered and tucked, I carefully cut more pieces of the map, to be the inside of the front and back covers.


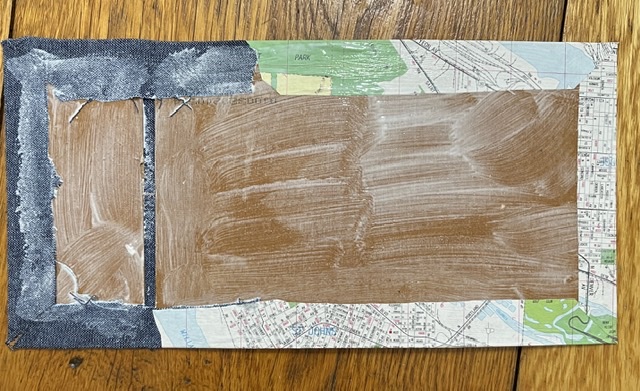
And, with some pressing, the covers will be ready for the next step!


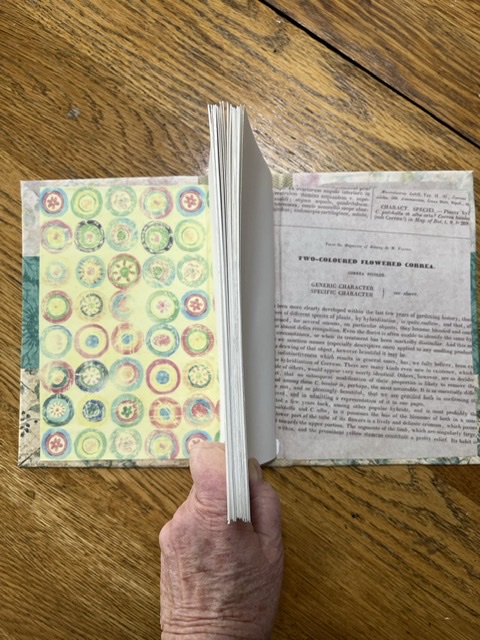
So, the covers are now dry and ready to use, and I need to fill them up. Auntie Bridgett took me to a wonderful art shop called “I’ve Been Framed” down off Powell Boulevard. What makes it special is that it sells both new and used supplies. You can buy someone’s used art canvas for a few dollars, sand it down, and have some art practice for almost nothing.

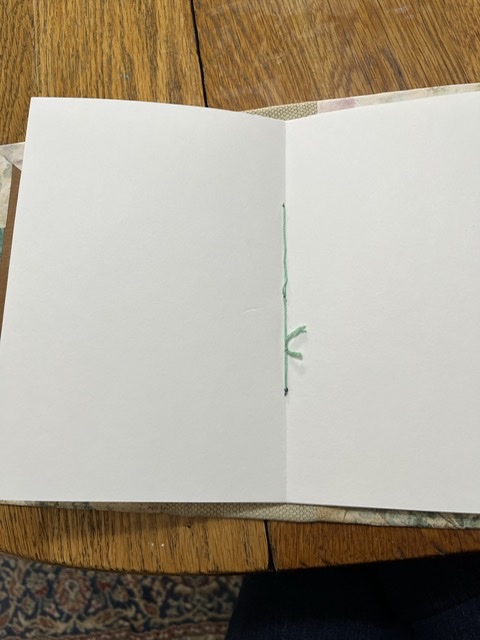
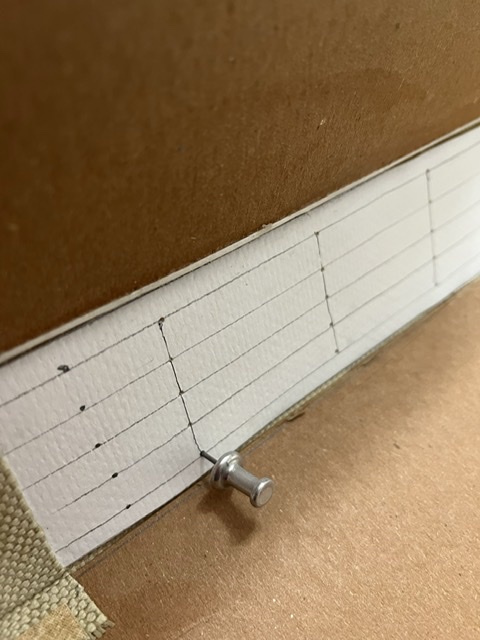
Anyway, we found heavy paper for the pages of my book and a few packets of watercolor paper for the art I will be putting on the pages. We also found some thin leather twine, and a hole punching awl, for putting the whole thing together.

I will tell you about the rest if the book when I get it done.

Love,

Grandma Judy

Garden Journals for Spring

Dear Liza,

We are coming up on spring, and I am making my garden journal for this year. At the end of this month I will be pulling the burlap off my garden plot in the Blair Community Garden, and I want to be ready to write it all down!

Besides the usual encouragement from Ruth Inman and Bridgett Spicer, I am using “Making Books by Hand” by Mary McCarthy and Philip Manna as a guide.

First, I used the heavy backing of sketch pads for my covers, and layered some thinner tagboard with Mod Podge to make the spine. I glued these down to a nice canvas fabric, put a pile of books on them, and went for a walk. The canvas allows the heavy covers to bend properly.


When the spine was dry I covered the cover with some pretty paper, mitering the corners and folding them inside.


While these dried, I cut the paper for the pages. Each signature, or group of pages, takes four sheets of paper, folded in half. I gave them a nice sharp crease with the edge of my metal ruler.

I used a trick from Ruthie to make my measuring device for where to put the stitches in the signatures. A strip of paper as long as my pages are high, folded in half, then each end folded to the center, makes a perfect guide for three holes without nit-picky measuring.

Poking the holes through all the pages with a steel artist’s tack before you sew makes everything easier. Sew the four sheets of each signature together with a strong thread.

I made five signatures because the spine of my book was wide enough to accommodate them. This will be my thickest book yet!

Again, use the steel tack to poke holes for each sewing point. Then sew each signature into the spine with a heavy thread. I used embroidery floss. This is a bit fiddly, but you will get better with practice.

The trickiest bit is making the knot tight. This is easier if you have a friend put their finger on the knot for you while you pull it tight. Trim the ends of the thread short.

Once the signatures are sewn in, apply glue thinly to each of the inside covers and lay the first and last pages against them, pressing the air bubbles out so they are smooth. This will stabilize the book and hold everything together. Put weights on these and wait a few hours.


The last step is to cover the inside covers with pretty paper. Press these flat and let everything dry overnight.

And there it is, my Garden Journal for this year! C’mon, Spring!

Love,

Grandma Judy