My veggie garden grew like crazy while we were visiting you! Auntie Bridgett kept it watered and weeded and Mother Nature did the rest.
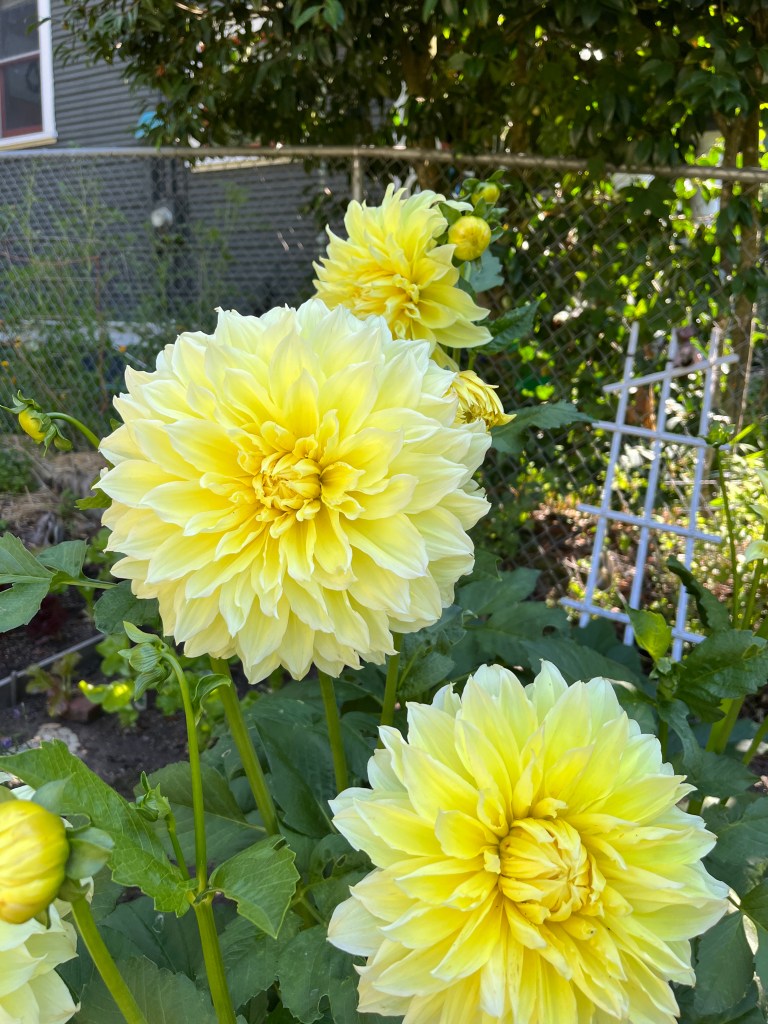
Laverne and Shirley, our dahlias, are as tall as I am and have a couple dozen blooms. The bright yellow blossoms are fat and ruffled and almost as big as our dinner plates. I cut some to decorate our table and left some others for the bees.
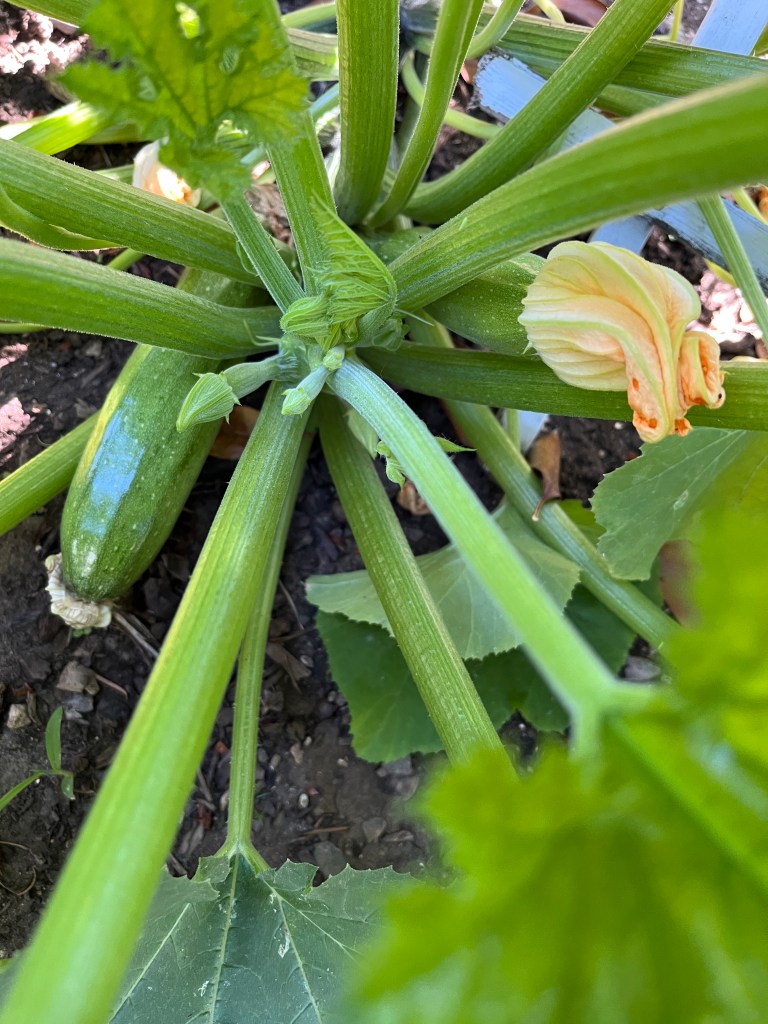
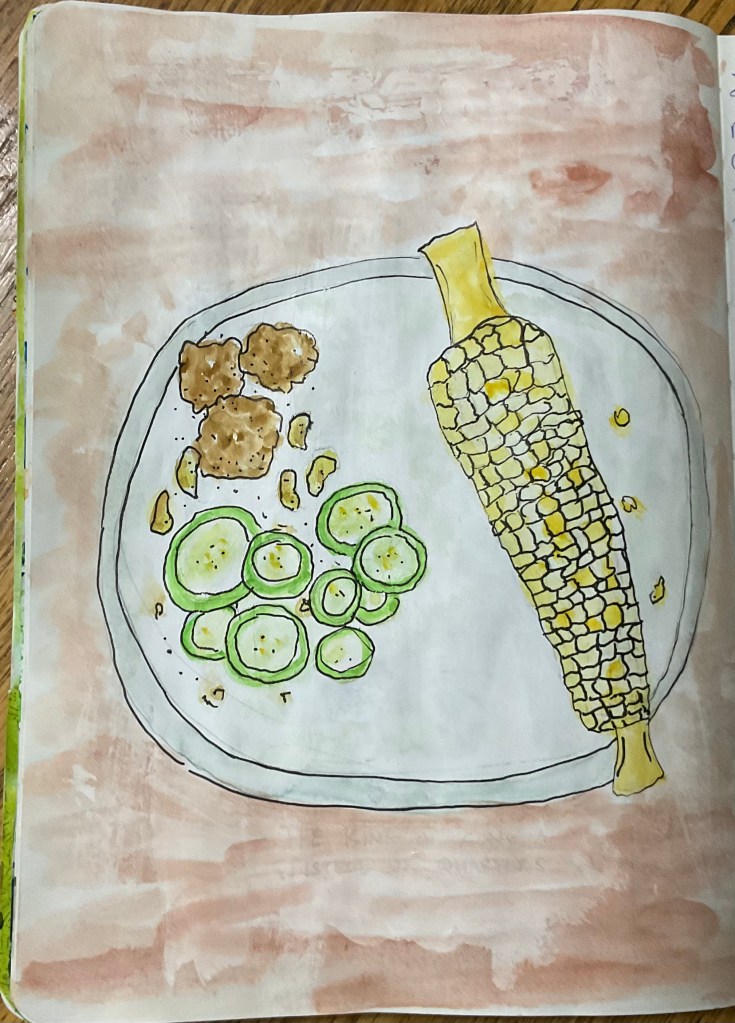
And speaking of bees, they have been busy pollinating my zucchinis! We picked one, cooked and ate it before I remembered to take a picture of it. But I did paint a picture of the dinner for my garden journal! The corn on the cob was from the Hollywood farmer’s market and the chicken meatballs were from Trader Joe’s. Yummy!
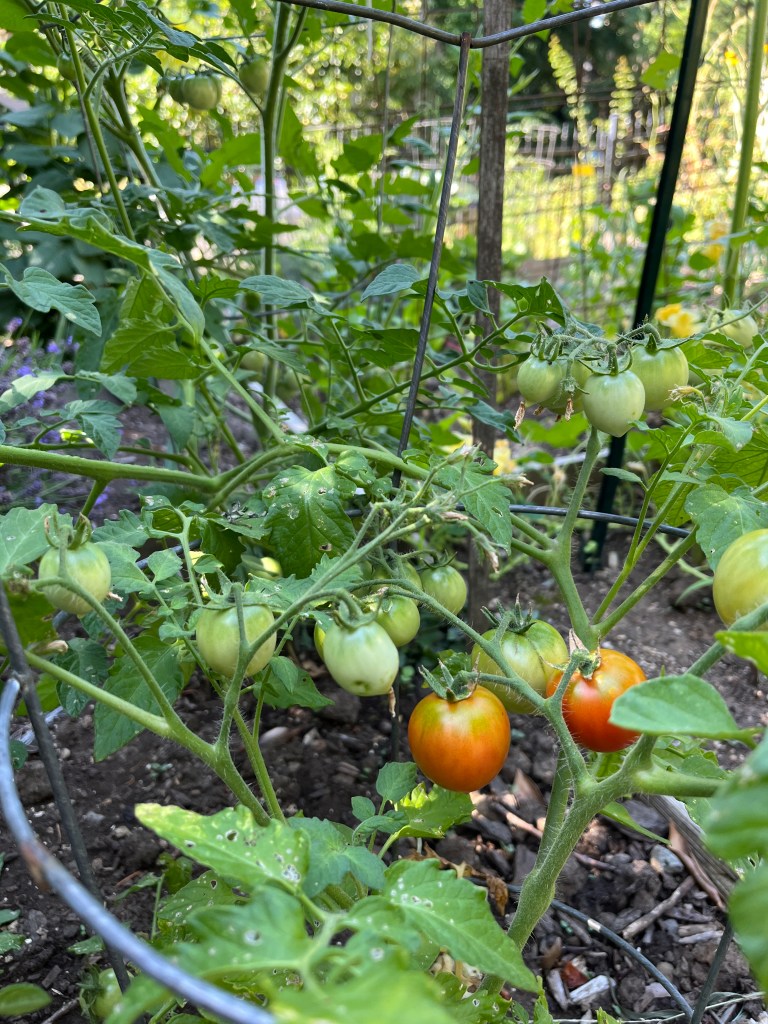
And last but not least, my tomatoes are beginning to think about, maybe, someday, getting ripe soon. The Chocolate Cherry tomato plant is slowly getting red!
And that’s all the news from my plot at the Blair Community Gardrn.
We have had so many fun, busy days lately, there has to be some days to just do the stuff that needs doing.
I made an appointment for my annual “Wellness” check-up. That’s when the doctor makes sure my old brain and old heart are still up to snuff. It’s going to be a busy summer, so it’s good to get a tune up.
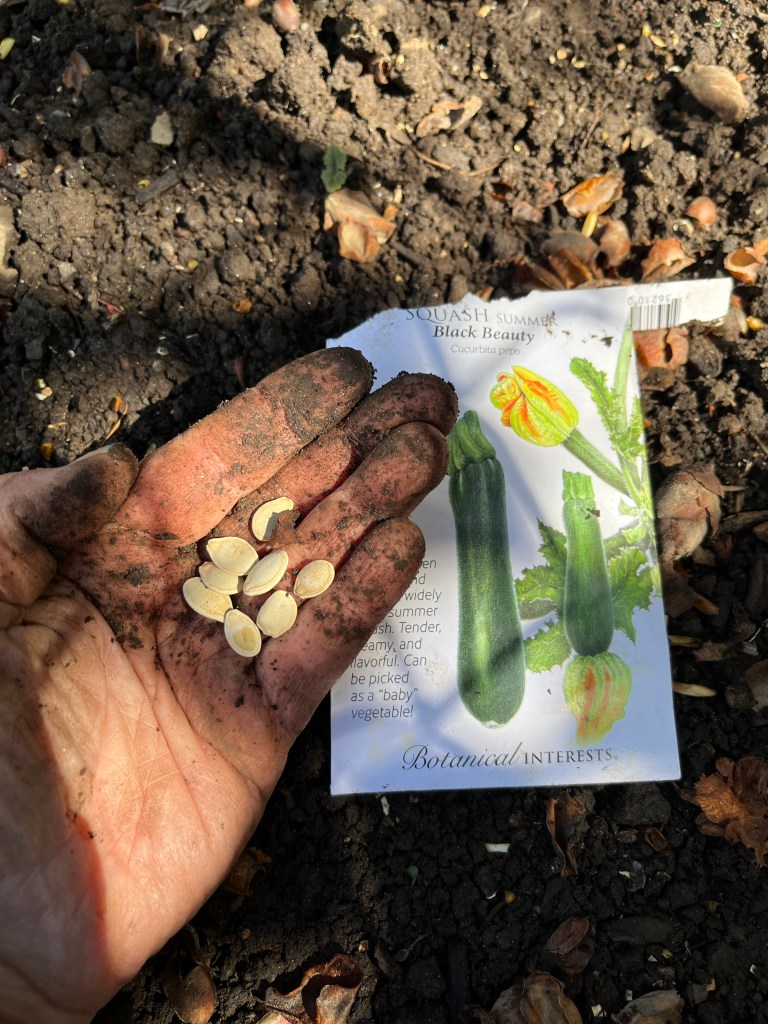
We are also predicted to have a solid week of sunny, over 70 degree days, so I spent some time in the garden, pulling out the invasive mint that climbs through the fence and (TAA DAA!!) putting zucchini seeds in the ground! Their packet says they should “emerge” in 5 to 8 days. I will hold them to it!
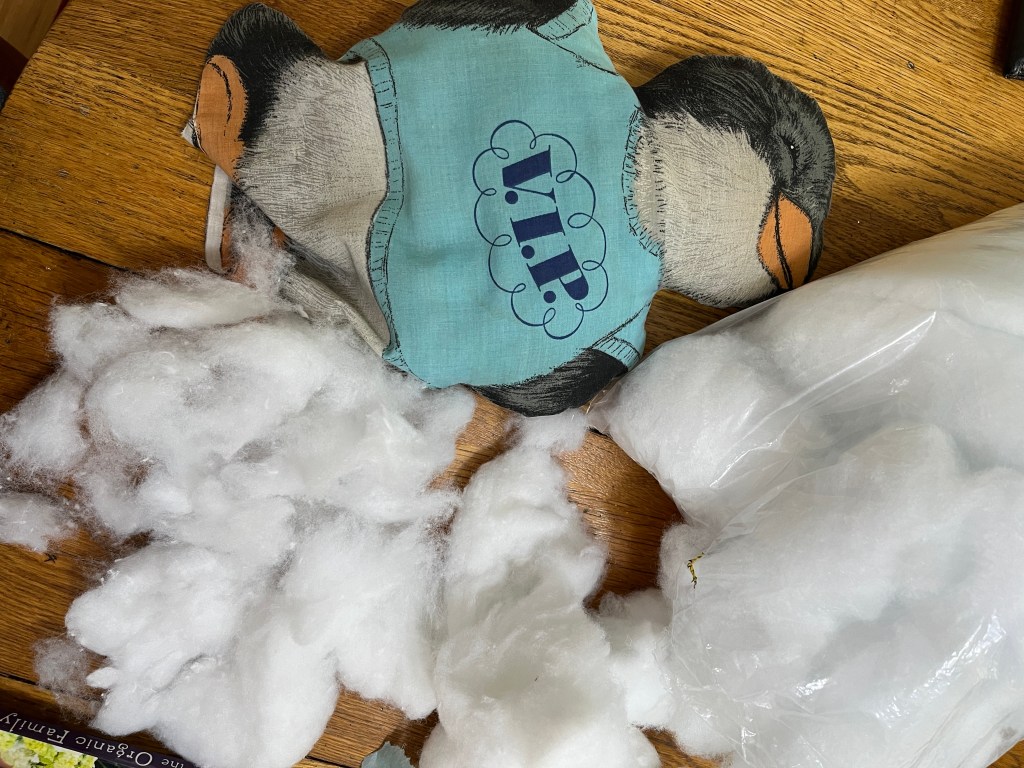
After I had washed up, I pulled your Daddy David’s oldest stufftie out of the cupboard. VIP TLC, as your daddy called him way back in 1981, was one of the Shirt Tales cartoon characters. I sewed this one from a printed fabric panel back in the days when money was tight. He was very cuddly!
It’s been 40 years or so since VIP TLC has been washed, and I want to bring him with us this summer. So he got unstuffed and put into the wash. While he was getting clean, I fluffed up the old stuffing. When he was dry, I put them back together. Now he is ready for a flight to Denmark!
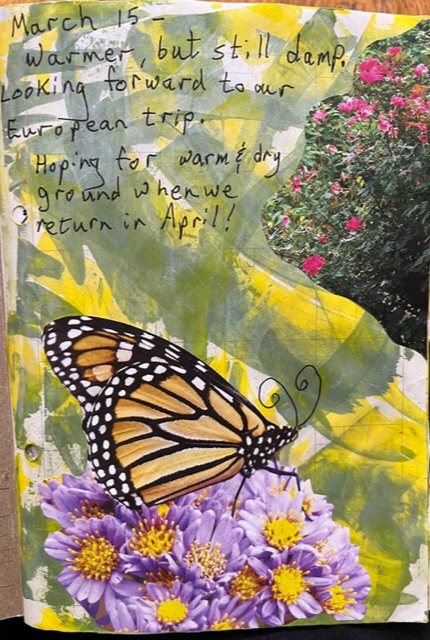
My last ‘chore’ of the day was to bring my garden journal up to date. The last time I made a picture for it, the day was grey and wet.
But bright, sunny days inspire bright, sunny colors!
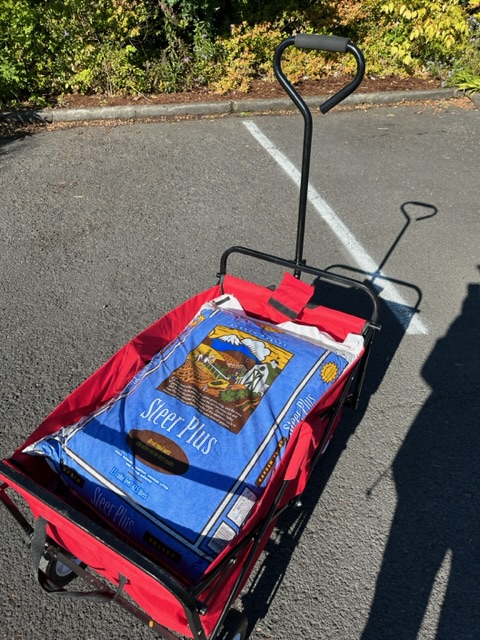
The short, very warm summer is quickly ending, and it’s time to button up the veggie garden. I got my exercise Sunday hauling two very heavy sacks of manure from the Portland Nursery to the Blair Community Garden in my little red wagon.
And Wednesday, I dug them in! I pulled all the garden supports out and had a vigorous hour and a half of quality time with a pitchfork, making the soil rich and soft. Then I tucked it all in with a layer of burlap to rest for the winter.
I also closed out the year’s garden journal, which has provided both creative space and documentation of the season’s progress. Collage, acrylics, watercolors and inks let me remember things in a non-photographic way.
I also kept track of what I planted and when, and how much it cost me. This year the total came to $74.89, including about 20$ for the manure I used this week. Not bad for months of free salads, beautiful flowers, and all that gardening therapy!
It has been a good summer, but I am not sad to see it end, because that’s what summers do.
Well, a new year in the garden means a new garden journal.
This year, I am using a calendar book that Auntie Bridgett had laying around. After making my journal from scratch two years running, it was time for something new.
I painted the front with acrylics and have decorated the inside with acrylic color scraping (with an old credit card) and writing, using yellow, blue, sea foam green, and some metallic silver. And watercolor.
And a little collage for fun.
I wrote the first page on March 15, knowing it was too early, too cold and too wet to plant. Besides, we were heading out for our big vacation.
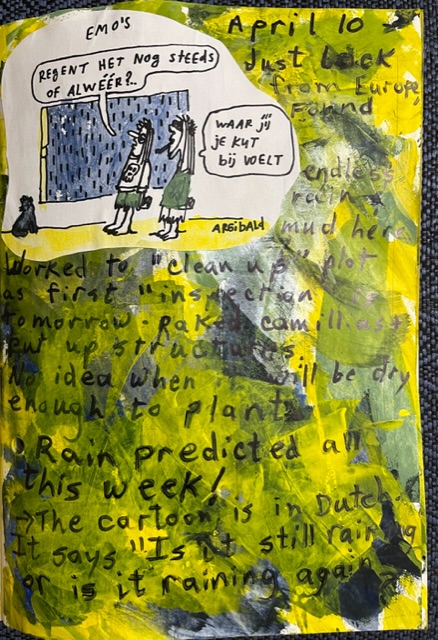
Two weeks later, when we returned from cold, dry, windy Denmark, we found cold, wet and windy Portland waiting for us. The dark blue page is hard to read, but really showed my mood. The cartoon is from a Dutch magazine, and asks if it is STILL raining, or raining AGAIN.
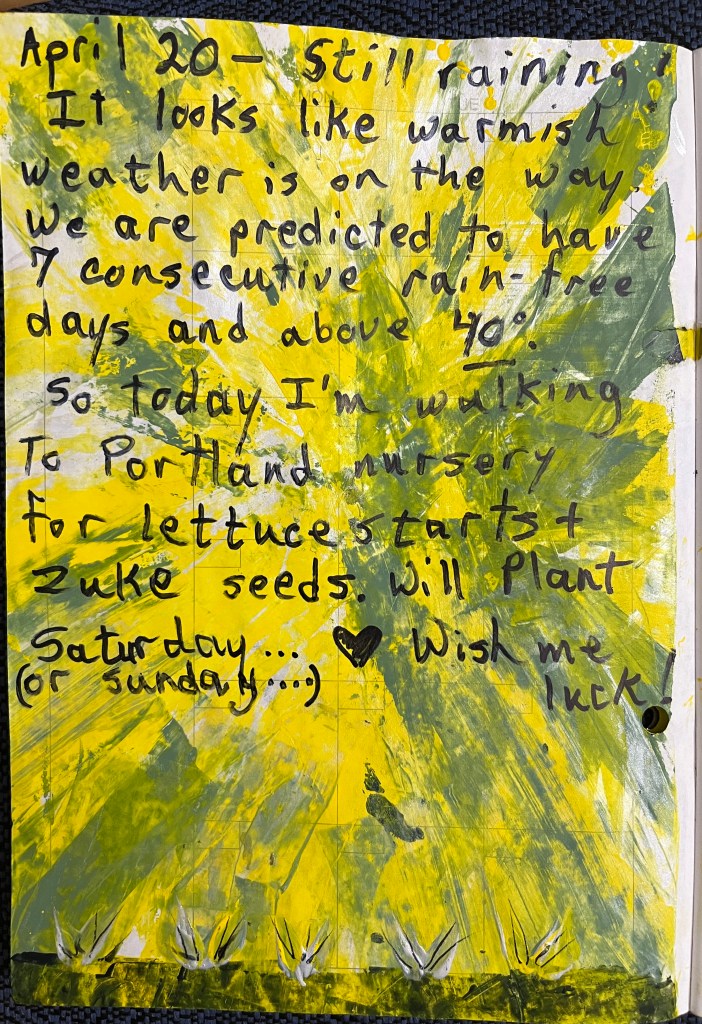
On April 20, my Spring Fever could wait no longer. I pulled out the wagon, bundled up, and slogged through some real rain to Portland Nursery.
I’ve decided to keep the receipts from things I buy for the garden, so I can see how much my “free” veggies are costing me.
And fittingly enough, Saturday was Earth Day! So after we chatted, I put the red oak leaf lettuces and dahlias in the ground.
Here’s the reality and my watercolor interpretation of the lettuce bed.
We are coming up on spring, and I am making my garden journal for this year. At the end of this month I will be pulling the burlap off my garden plot in the Blair Community Garden, and I want to be ready to write it all down!
Besides the usual encouragement from Ruth Inman and Bridgett Spicer, I am using “Making Books by Hand” by Mary McCarthy and Philip Manna as a guide.
First, I used the heavy backing of sketch pads for my covers, and layered some thinner tagboard with Mod Podge to make the spine. I glued these down to a nice canvas fabric, put a pile of books on them, and went for a walk. The canvas allows the heavy covers to bend properly.
When the spine was dry I covered the cover with some pretty paper, mitering the corners and folding them inside.
While these dried, I cut the paper for the pages. Each signature, or group of pages, takes four sheets of paper, folded in half. I gave them a nice sharp crease with the edge of my metal ruler.
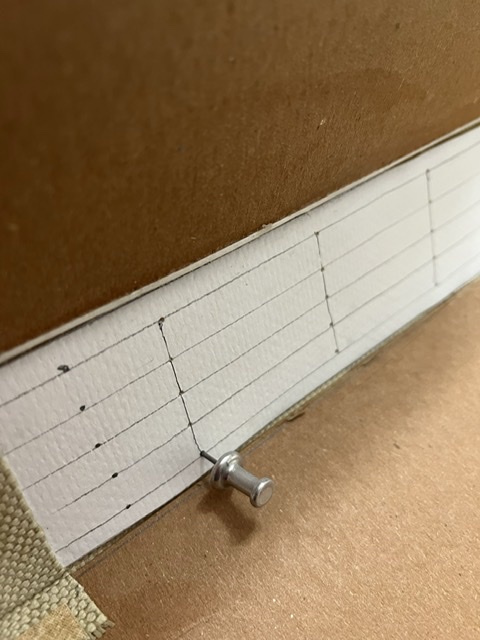
I used a trick from Ruthie to make my measuring device for where to put the stitches in the signatures. A strip of paper as long as my pages are high, folded in half, then each end folded to the center, makes a perfect guide for three holes without nit-picky measuring.
Poking the holes through all the pages with a steel artist’s tack before you sew makes everything easier. Sew the four sheets of each signature together with a strong thread.
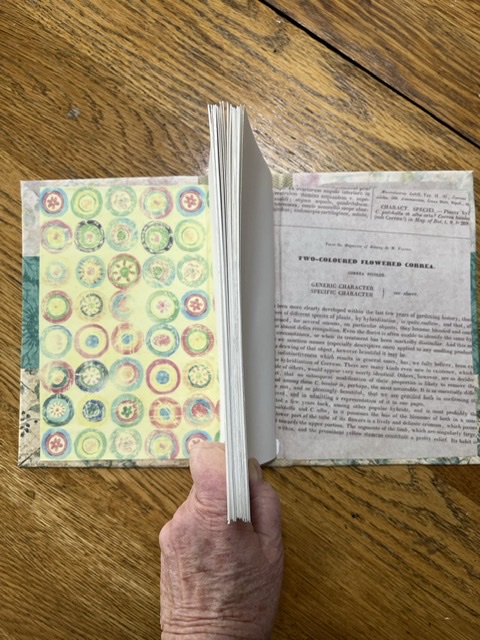
I made five signatures because the spine of my book was wide enough to accommodate them. This will be my thickest book yet!
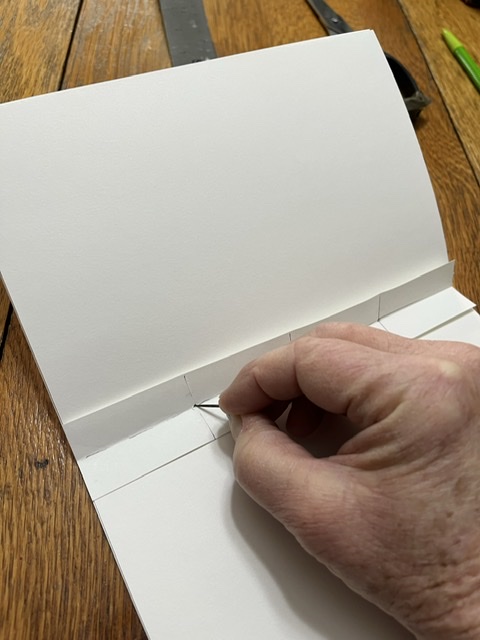
Again, use the steel tack to poke holes for each sewing point. Then sew each signature into the spine with a heavy thread. I used embroidery floss. This is a bit fiddly, but you will get better with practice.
The trickiest bit is making the knot tight. This is easier if you have a friend put their finger on the knot for you while you pull it tight. Trim the ends of the thread short.
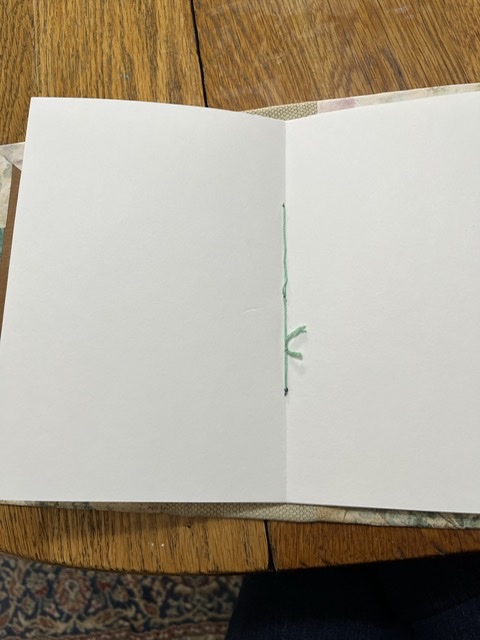
Once the signatures are sewn in, apply glue thinly to each of the inside covers and lay the first and last pages against them, pressing the air bubbles out so they are smooth. This will stabilize the book and hold everything together. Put weights on these and wait a few hours.
The last step is to cover the inside covers with pretty paper. Press these flat and let everything dry overnight.
And there it is, my Garden Journal for this year! C’mon, Spring!