More Art with Ruthie

August 8, 2035

Dear Liza,

Between her busy art gallery (Artful Journey in Peoria, Illinois) and my Shingles, it has been a long time since I’ve sat down for a ZOOM art session with Ruthie Inman in Illinois.

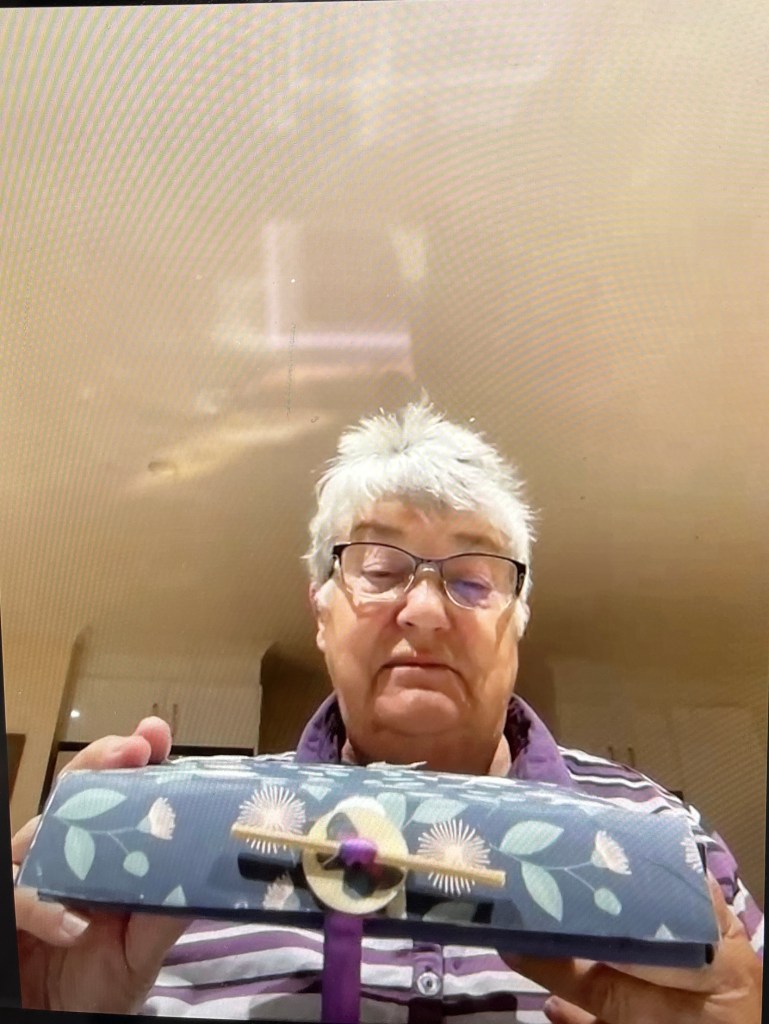
So when we finally got together this week, we yakked and cut and collaged until I was totally worn out! Ruthie had chosen a very fitting collage project.

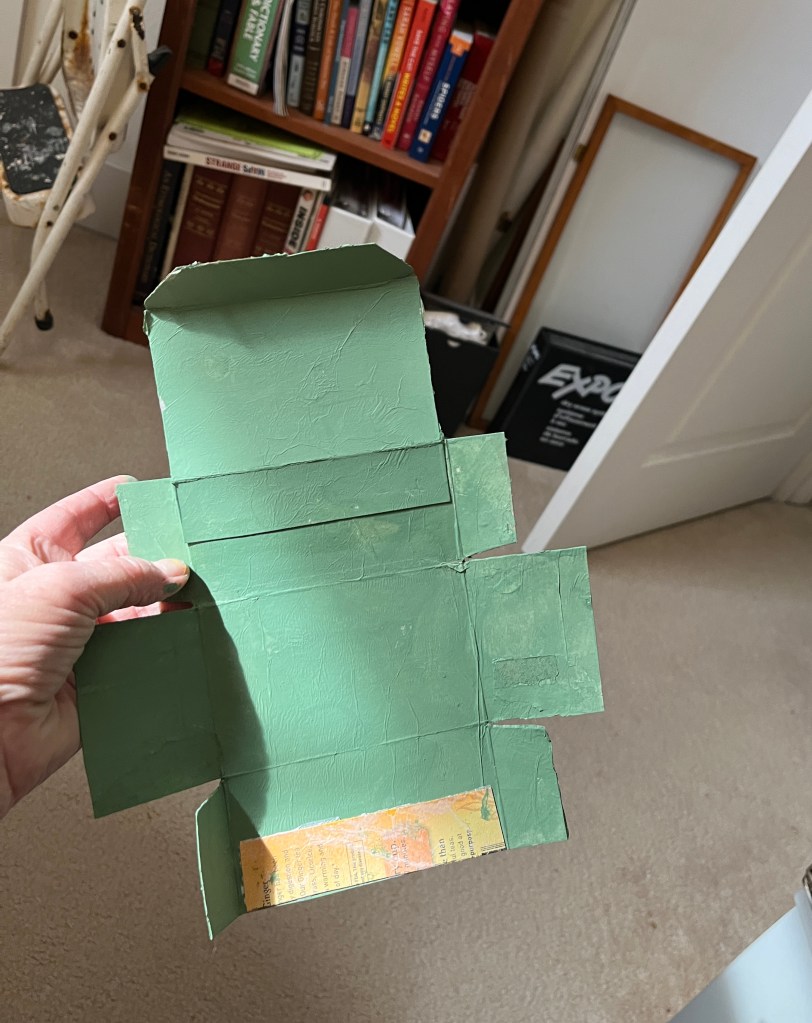
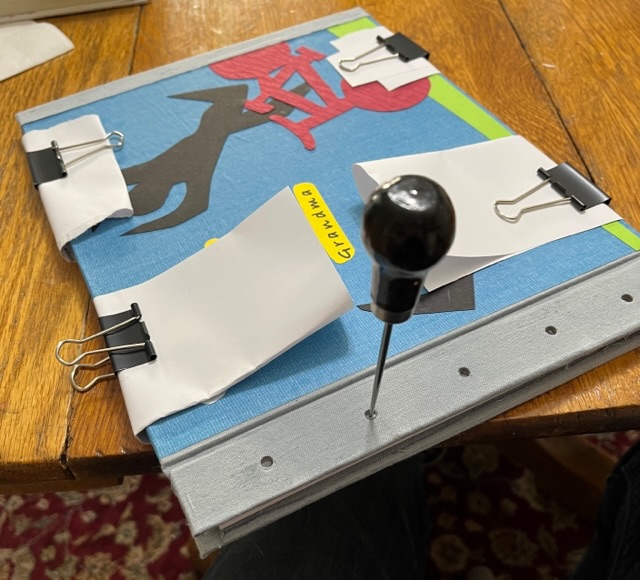
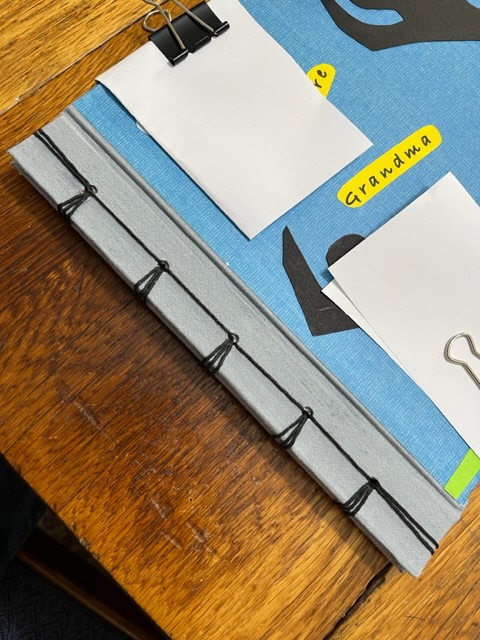
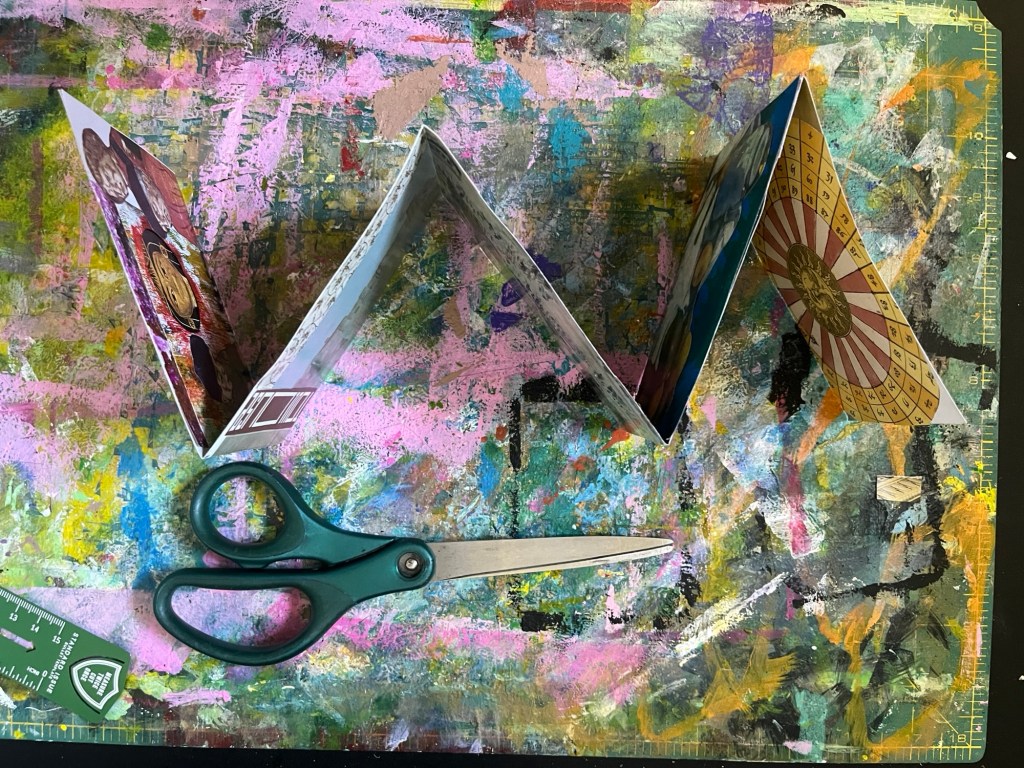
She had us building a small accordion book to glue into an existing art journal. I am still writing most days in the Journal I was keeping on our France trip, and always welcome the chance to add something interesting.

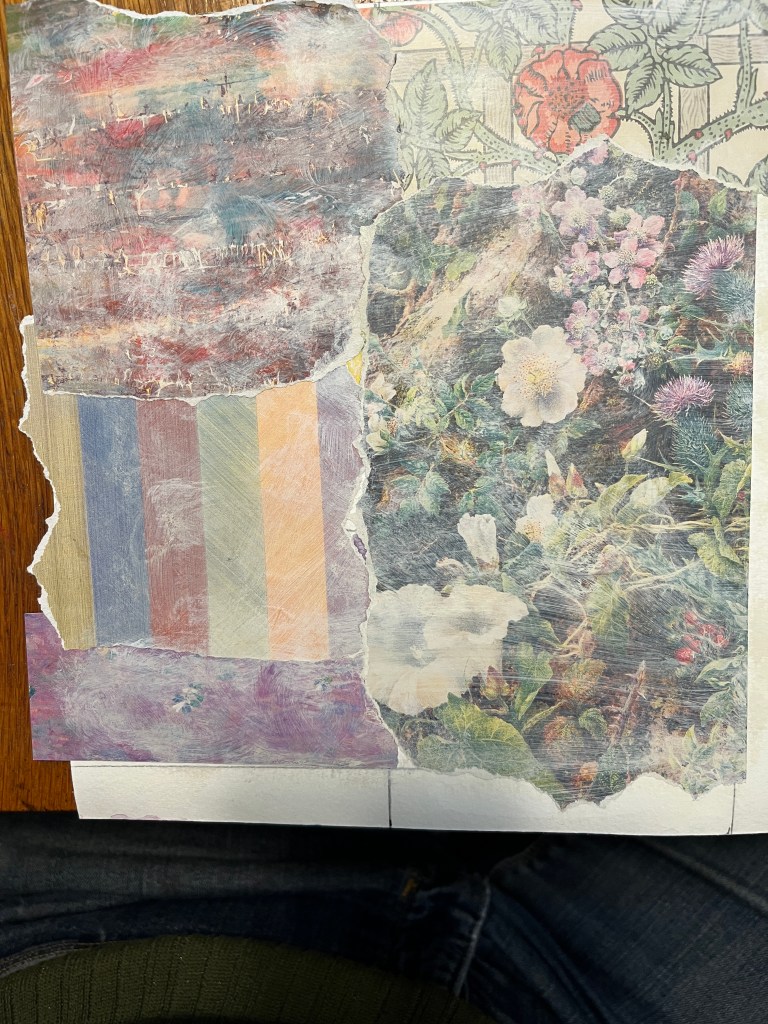
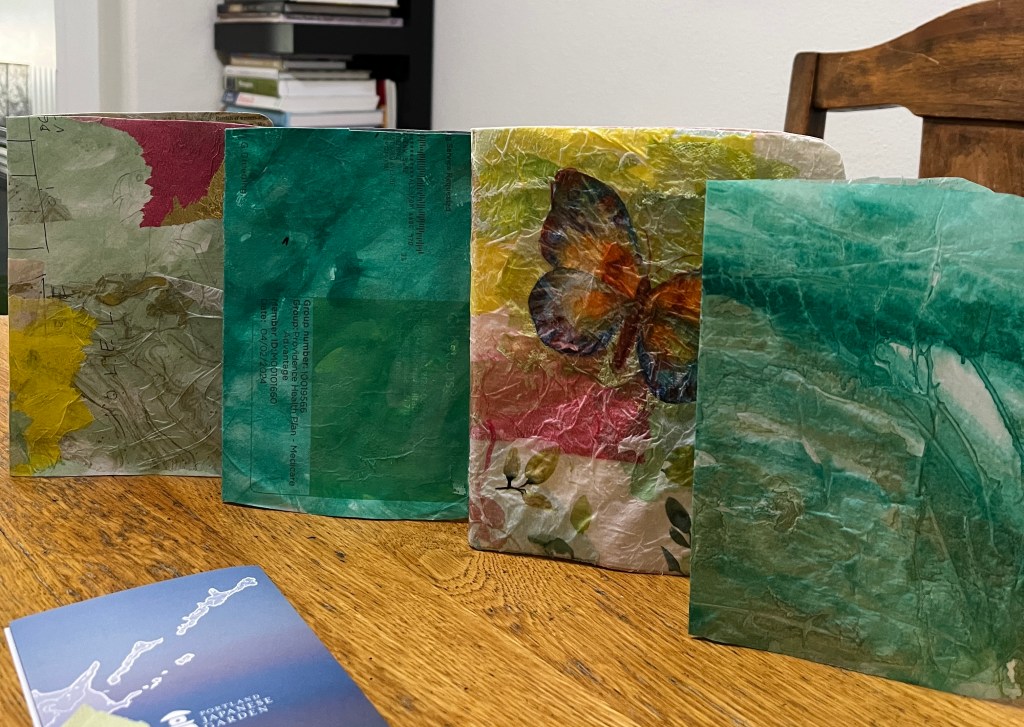
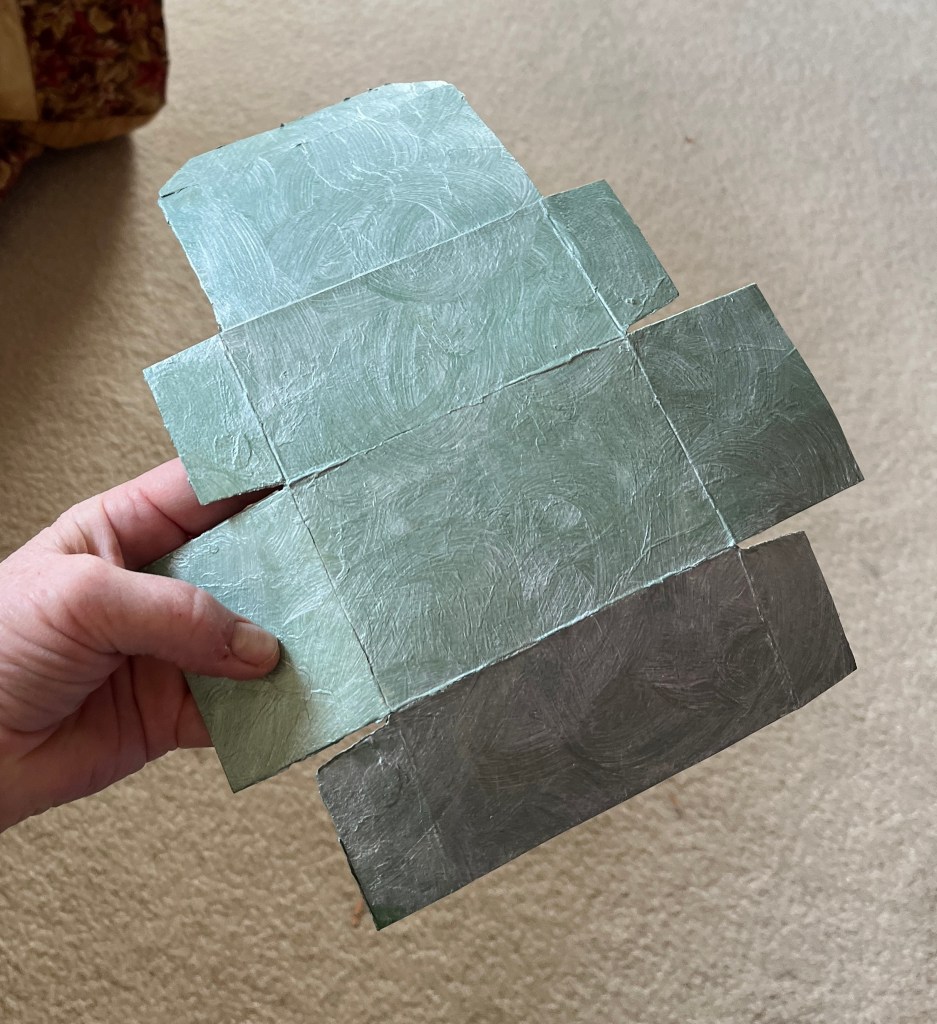
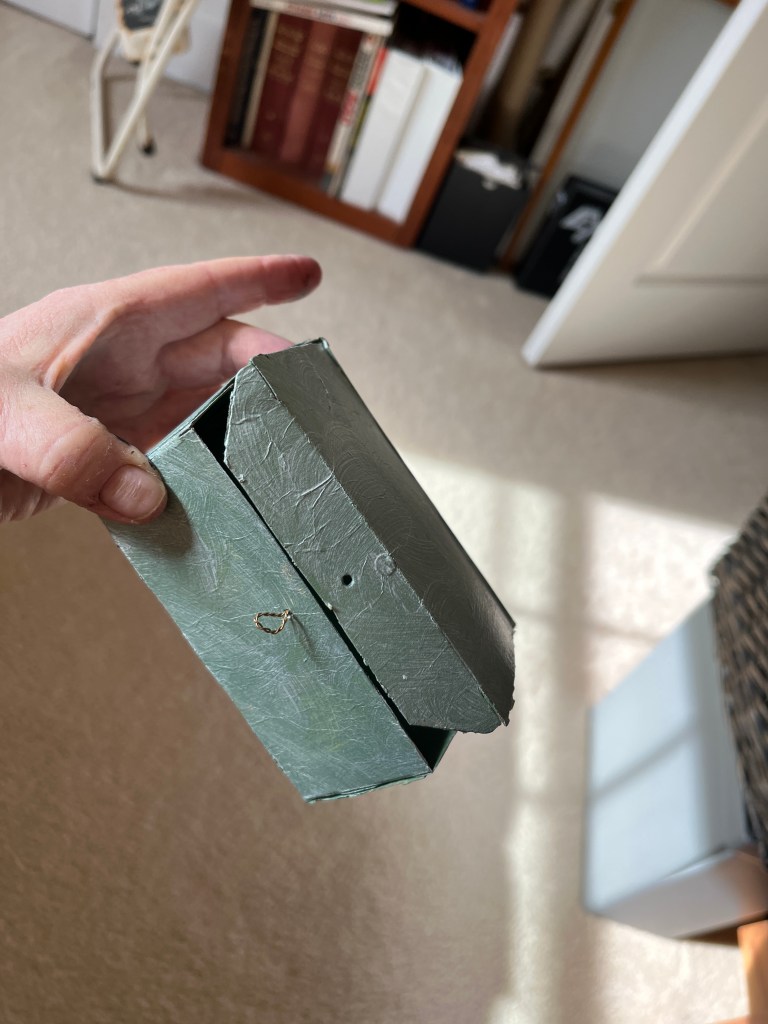
We measured some light-to-medium card stock about 3 by 5 inches, and joined 5 pieces together by their one inch flaps.

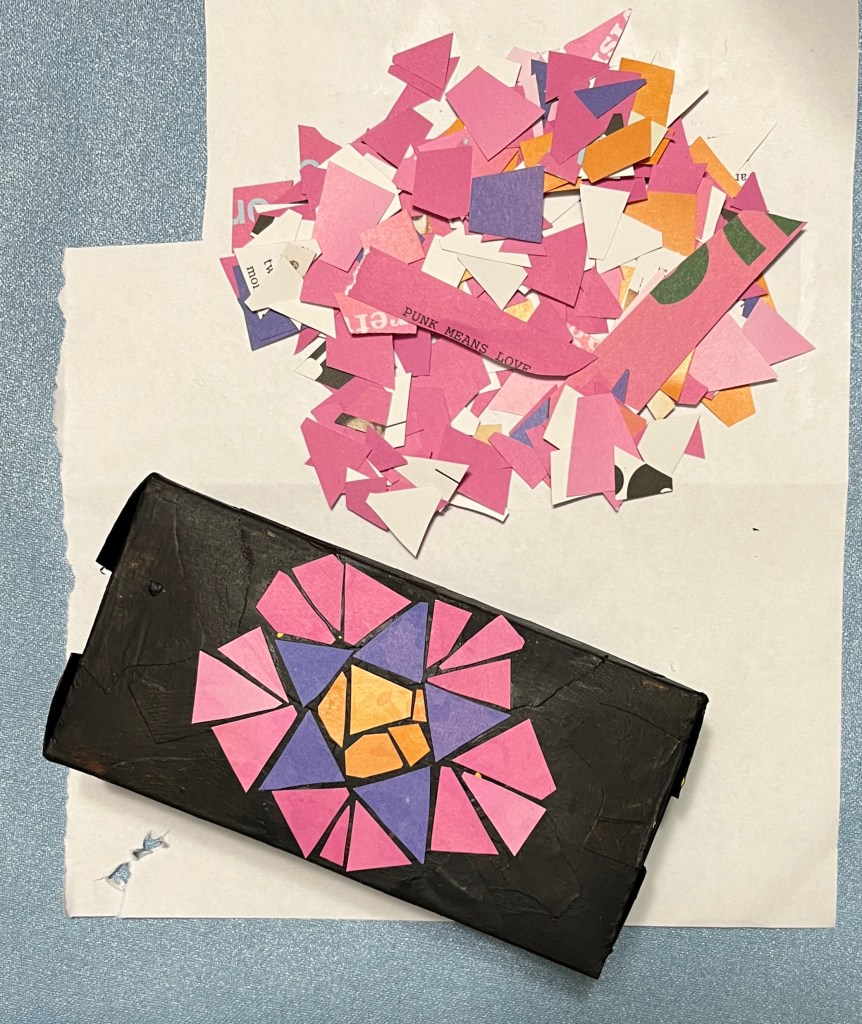
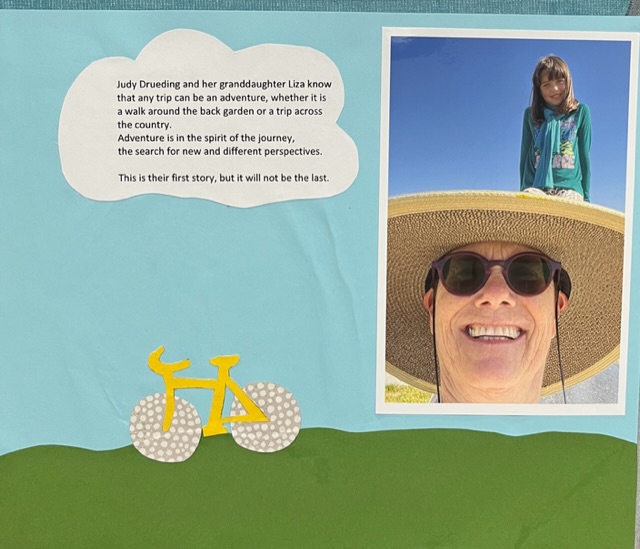
Since it was going in my France Journal, I chose bits and pieces that reminded me of the gardens, museums, restaurants and Emergency Rooms we had visited.

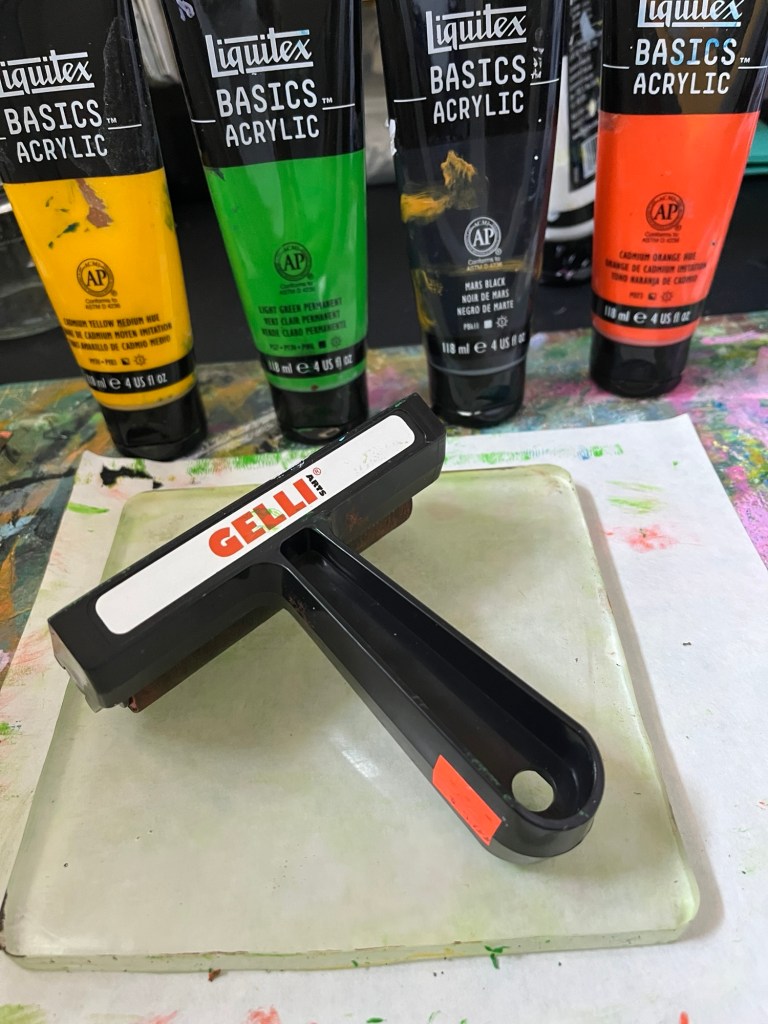
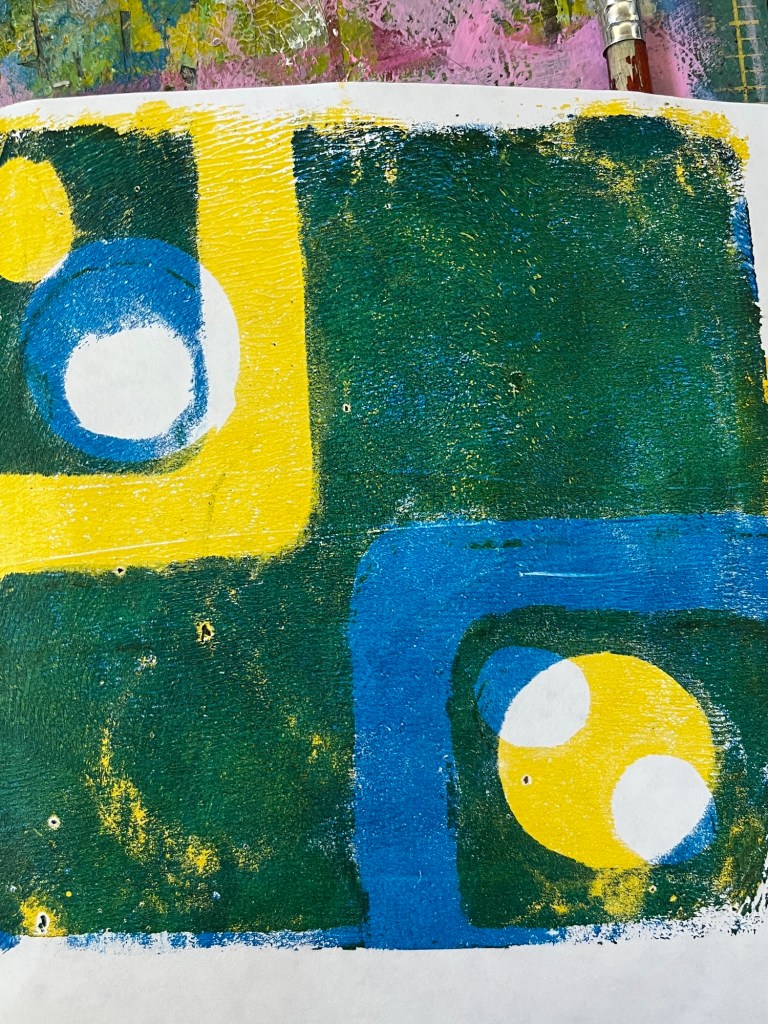
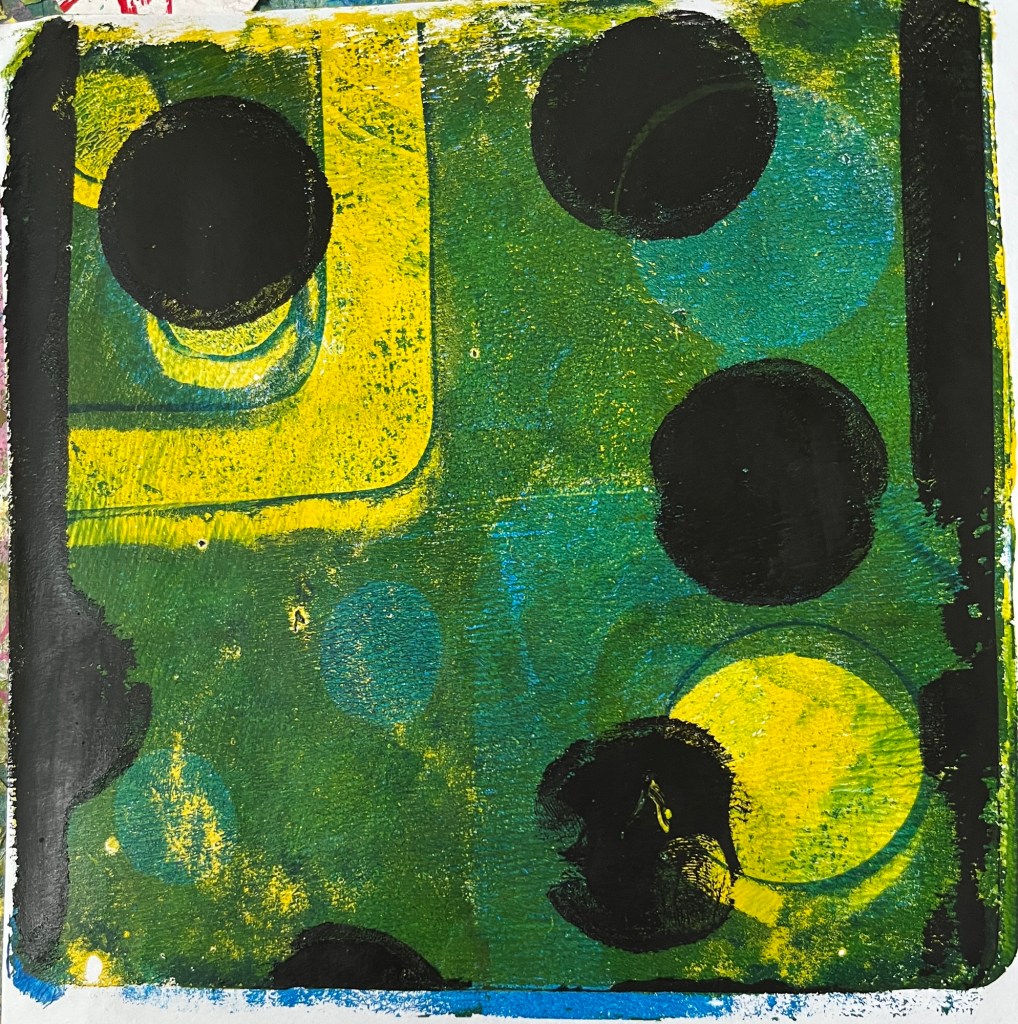
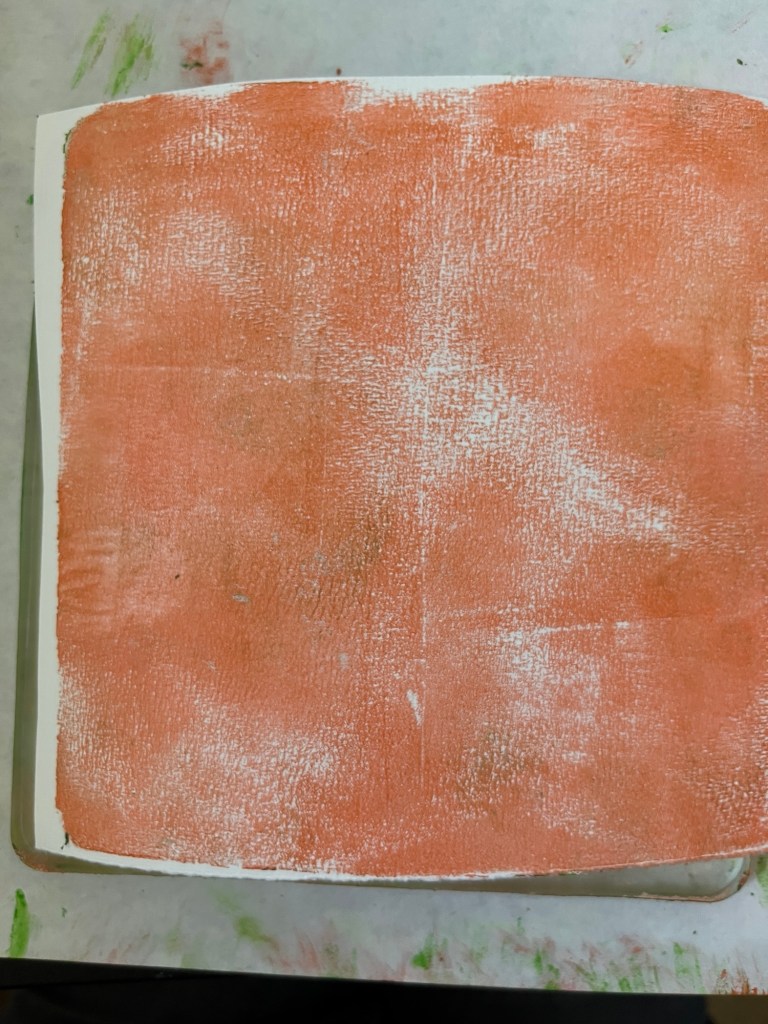
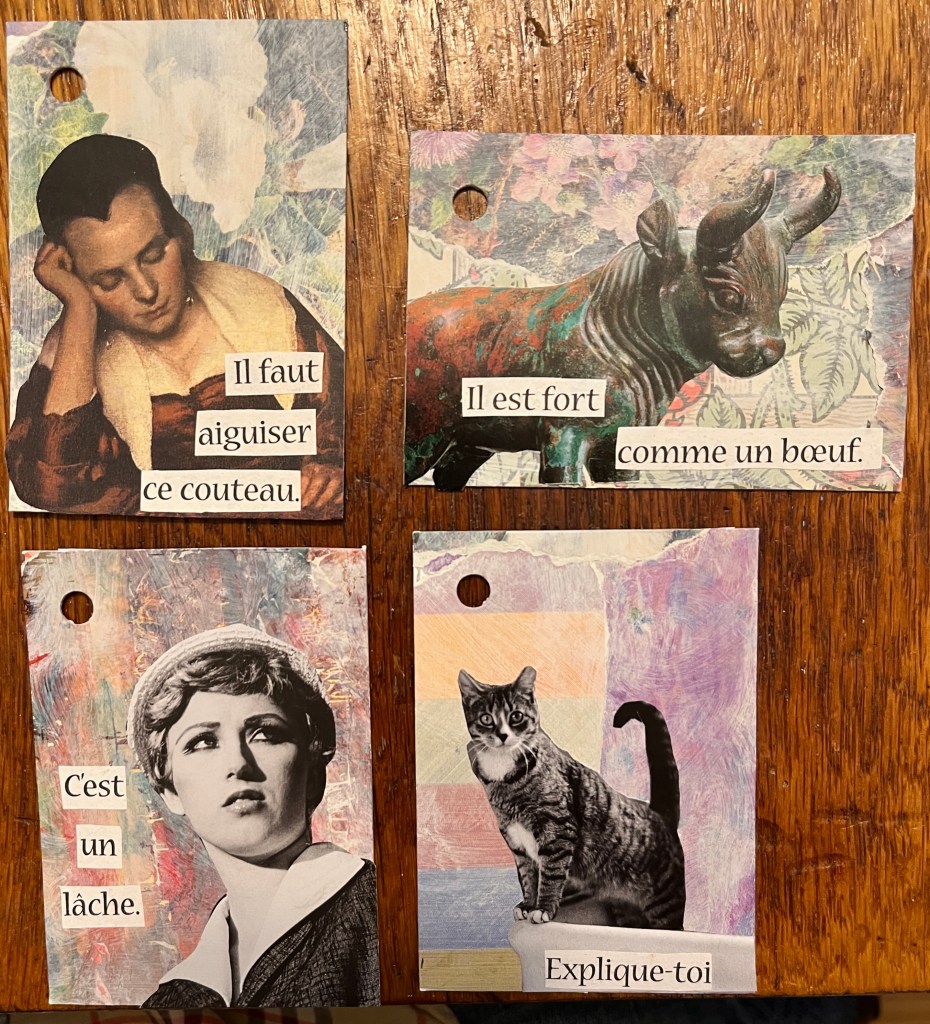
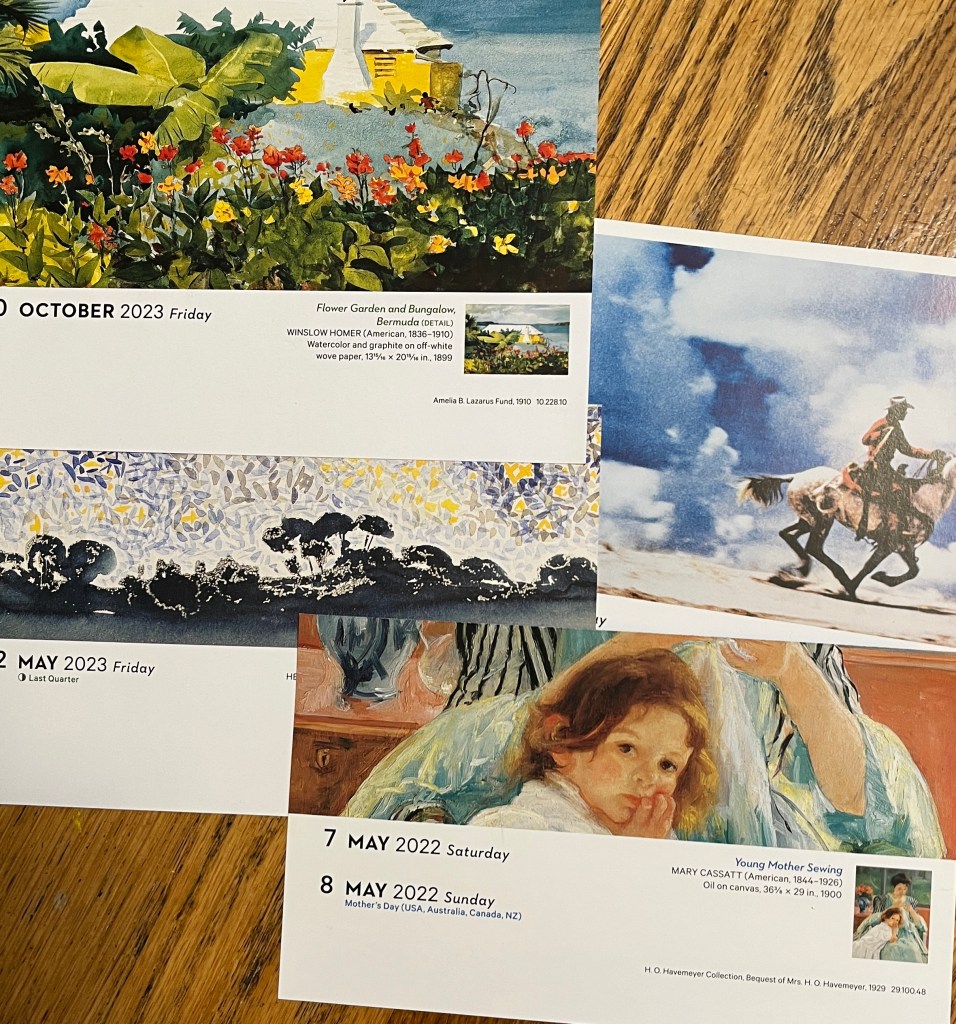
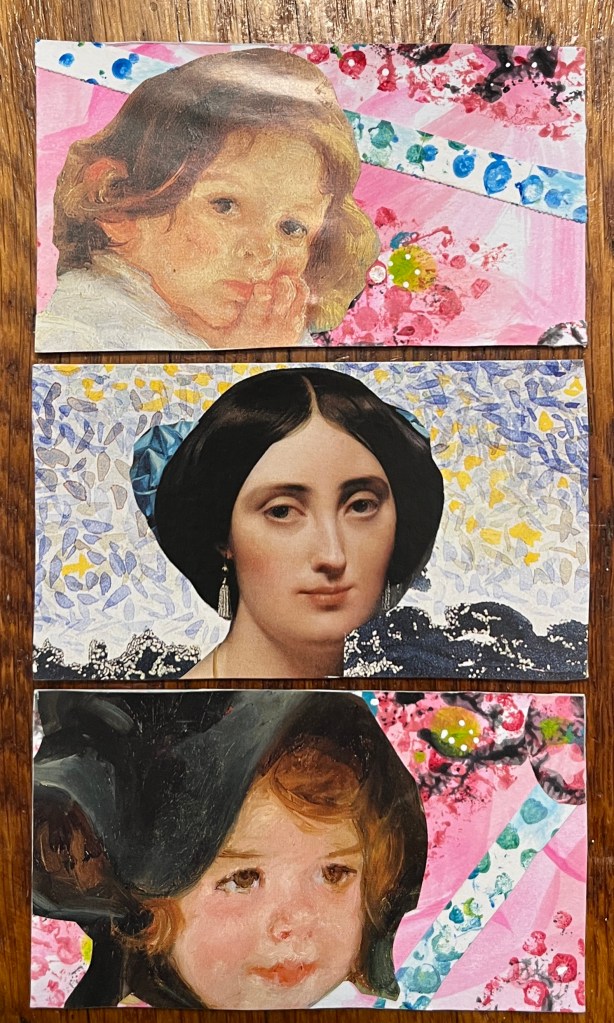
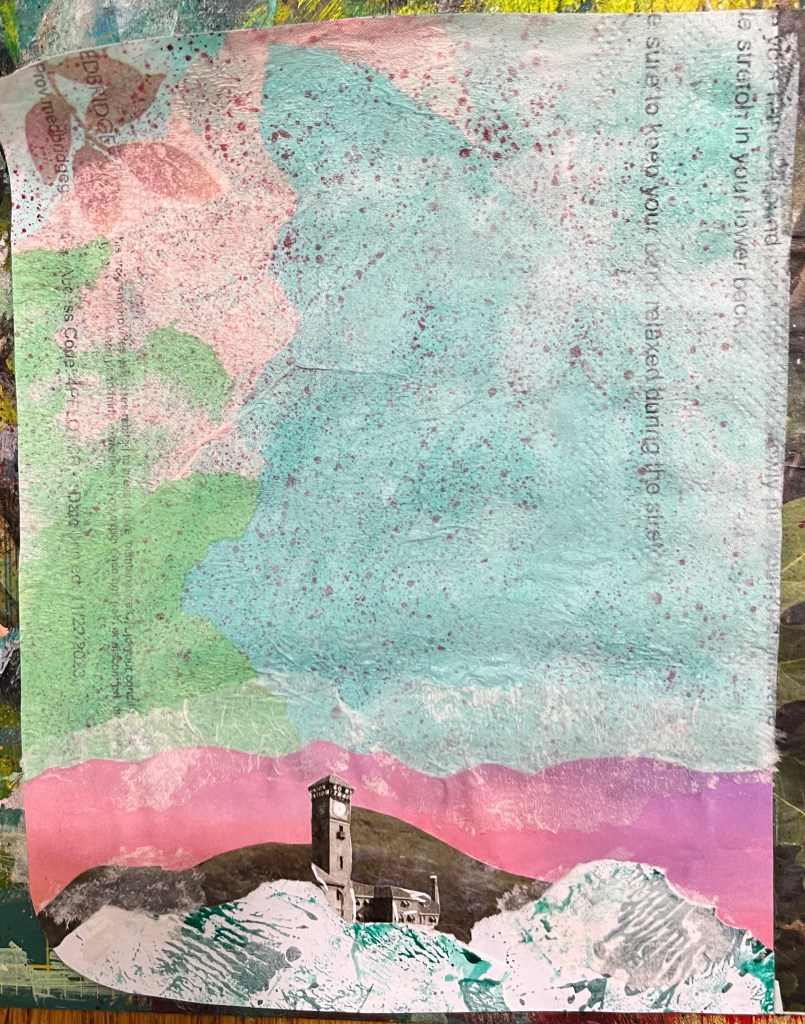
I used quite a few pages from Jennifer’s donated art calendar, adding them to ‘failed’ Gelli prints and roll-off papers, bits of an old Time/Life book on medicine, and pages from falling apart French language Agatha Christie mysteries. When I’m totally happy with it, I’ll stick it in my Journal.

I just love sticking bits of nonsense together to tell a story!

Doesn’t everybody?

Love,

Grandma Judy

Trying Something New

Dear Liza,

You knew I wouldn’t stay down forever, right? Once an Adventure Grandma, always an Adventure Grandma.

So while I am getting up to speed after the Shingles knocked me flat, I am learning something that I’ve been wanting to try for a while:

Gelli Printing.

Ruthie Inman sent me the basic equipment years ago (because she knows I’m cheap and really wanted me to try it), a squishy gelli plate and a brayer. I pulled them out last week and I’ve been itching to feel well enough to jump in.

I watched several videos enough to feel that I had the hang of it….

And, as so often happens, only got the first steps right.

Sometimes I tried to roll paint over the masks, or got my left and my right mixed up, or this one, where I tried one too many layers and covered the whole thing up,

Finally, after watching Carolyn Hassard‘s beginning video all the way through, I tried a simple, two layer print. First, the background layer.

Then the second layer, green paint overlaid with some masks cut from watercolor paper scraps.

And finally, my finished print!

It is embarrassing how many tries it took me to get one simple print right.

But now that I’m feeling better, I realize that even if a print is not what you were after, or even ‘pretty’, it’s usually going to be interesting!

Love,

Grandma Judy

Another Way to Share ATCs

Dear Liza,

You know how creative people are… once they get an idea, they follow it to the next, and the next. That’s sort of what is happening with my ATCs, or Artist Trading Cards.

Once I got the right size figured out, I laid down some floral bits of art from a donated calendar. To make them a softer background, I brushed on some white acrylic. I cut them to the proper 2.5 by 3.5 inches.

Then, to contrast with that lovely pastel, I searched the calendar again and found black and white photos or darker images to add. I really liked the way each one told a story.

But I’m a word person, snd I wanted words. I found them in Auntie Bridgett’s ‘French Phrase a Day’ calendar. Taking our current national situation into consideration, I added phrases. (I will let you look them up…) These were really coming along!

Then, to top it all off, Ruthie Inman suggested punching a hole in each one and keeping them on a ring! A portable, share-able art gallery! I am having fun imagining when I might share these on a train traveling through France, or sitting in a park. Of course, they have my information card on the back so folks will be able to find me on the ‘net.

Ain’t art grand?

Love,

Grandma Judy

Artist Trading Cards

Dear Liza,

I have found a new kind of art to make, and even a group of people to share it with! Ruthie Inman’s ZOOM art group includes Zoë, a delightful lady who lives in Tasmania, Australia. Zoë and Ruthie both make ATCs. That is, Artist Trading Cards.

Artist Trading Cards are little pieces of art, 2.5 inches by 3.5 inches. They can be painted, collaged, drawn, just about any medium you can imagine. You make them, then mail them to friends, who mail you theirs. It’s like having artsy pen pals!

I used a few failed Valentines, but mostly clipped bits from the art calendar Jennifer Coile sent me.


I made my first ATCs using Auntie Bridgett’s old business cards as backing, then realized that they are a half an inch too small for the ATC trading rules.
They are just two in he’s high and 3.5 inches wide.

But that’s okay! First, because I don’t think art should have rules; and second, because I can still send them to friends who don’t care about the rules.

But for my second round, I’m doing something different. I laid out rectangles of the right size, and made six ATCs at the same time, with bits overlapping.

I glued bits of art down, then gave it a quick smudge with white paint to soften the colors. I really like them, but they need something… I’ll show you what, tomorrow!

Love,

Grandma Judy

Pages for The New Journal

Dear Liza,

Once we had the journal cover made, it was time for pages. Since this isn’t a journal for writing, but for doing art in, we were free to experiment.

I started gluing images down to scrap paper, which is always fun. Making THIS piece of junk mail look spiffy by sticking on THAT piece of old napkin is very satisfying.

When the pages were dry, I lined them up with the butterfly cover. I love the way the greens and soft pinks go together.

But wait a second! That cartoon dude is SO out of place! He looks like he got into the book through an unlocked window. He’s adorable, but he’ll have to wait for another project.

I kept looking, and more images kept showing up. This little girl and part of a watch face came together nicely. It needs something else, but it will come.

The Zoom Art group got together again this morning and I added this landscape over the splattered page. Not bad, but as it is here, it felt unfinished.

I put it aside and went on with the day. When Cousin Kestrel came over this afternoon, I asked her for advice. She suggested a setting sun with some rays, and I gave it a try.


I love it! Thanks, Kes!

This page of text strips goes with the color scheme and looks suitably cryptic. The splatters add a little character. As I told Ruthie, “Splattery will get you anywhere!”

And that’s the newest art journal so far.

Love,

Grandma Judy

The Art of Figuring Things Out Part 3

Dear Liza,

Some things take longer to figure out than others. The last time I worked on the stacking hearts paper sculpture, inspired by Ruthie Inman, was March 7.

I laid some colored paper on it, and it wasn’t turning out like I wanted. I got to what Auntie Bridgett calls The Picasso Stage, where you sort of hate your project. I set it aside to work on the Crazy Quilt, work in the garden, and make pies for Pi Day.

By Saturday, I had some time to spend and hated the project less. I added some acrylic paint, then some sparkly papers, then ink, then more paint. I started stacking them while on a zoom call with you and your Dad.

And by the end of the day, I had the hearts the way I wanted, and even had a solid base for them to stand on. I got the Elmer’s Glue out and stacked them up!

When it was dry and strong, I gave it all a shiny coat of high gloss medium and varnish.

I like that this piece has a front and a back, and that it stands all by itself. I like a lot of things about it. Still, I know I can make a better one, and maybe I will sometime.

But for now, here are my Stacking Hearts. Eight inches by five by three, light as a feather and finally done.

Love,

Grandma Judy

Makin’ Boxes with Ruthie Part 2

Dear Liza,

As we have often agreed, learning curves are a good thing. The first of anything that we make is rarely the best… it takes experience and time to get the hang of things.

Languages… Rock Climbing… and crafts.

A few weeks ago I started making decorated boxes with Ruth Inman. I struggled a bit with shiny surfaces and flimsy cardboard. I even took a tea box apart to try and strengthen it.

I trimmed the too-deep, too-fragile Yogi tea box down and gave it some reinforcement with tissue paper and a strip of cardboard around the top edge.

Today was another Art Zoom. Zoe, (who isn’t quite awake yet because she lives in Tasmania and it is 6 A.M. there) , made such a wonderful box that I needed to take a picture. She used Velcro as a closure for her box, and put a nifty ribbon and stick contraption on the outside to look pretty.

I got inspired, so while we were chatting, I pulled out some wire and made a hasp. It wobbled around a bit, so I anchored it with glue and thin paper straps.

I need to let the glue dry before I do the next part, which will be to push the hasp through the hole and slide a tiny twig through to lock it.

I love learning new things! Some things, like languages and geography, make the world more accessible. And others, like crafts, just make it more fun!

Love,

Grandma Judy

Makin’ Boxes with Ruthie

Dear Liza,

My friend Ruthie Inman is always finding new ways to challenge our little zoom art group. This week she asked us to get a cream cheese box so we could cover it and make it pretty and useful.

The silvery coating on the box was very slippery and needed lots of gesso before it would take any paint. My first idea was to paint the whole thing bright orange and then collage over it. I didn’t take a picture, but trust me, it was awful.

I asked YOU and you said i should paint the whole thing black and figure out what to do next. So I did, and here’s what came next : really beautiful paper cut into teeny tiny bits.

I love mosaics, and black always looks good between bright colors. I got the top covered while Ruthie, Zoe and I chatted.

And to make the inside pretty, I found some gold foil (it came wrapped around pears at Christmas) and cut it to fit the bottom of the box.

This box still isn’t finished…. The black parts aren’t pretty and it needs a clasp to keep it closed.

And speaking of works in progress, I did another experiment with boxes… this time, a Yogi tea box. I was thinking of using it instead of the cream cheese box.

But as I held it, it felt too flimsy to be of any use. maybe I could reinforce it? I pulled apart the glued corners and laid it flat, laid tissue paper over the whole thing, front and back, with Mod Podge medium, then put it back together. It is stronger, but is still in its slightly-lumpy-tissue state.

But fear not. All will be well…and if it isn’t, I am only out a few cents of Mod Podge.

I am so glad I get to do artsy stuff with Ruthie!

Love,

Grandma Judy

Just Some Fun

Dear Liza,

Today I just want to share some pictures I’ve taken lately that wouldn’t fit in the stories I was telling. So here they are.

We picked this pillow up at IKEA when we were replacing a broken bed. It looked so much like Mouse, we couldn’t resist! It sits in her chair. Don’t they look cute together?

This is some of the incredibly funky art at the McMenamin’s Barley Mill, their first restaurant, which celebrated its Fortieth Anniversary last week. The theme of the restaurant is the Grateful Dead and their leader, Jerry Garcia.

I made this piece of collage with Ruthie Inman last week. It shows how I feel, sometimes, when my head is so full of creative ideas.

Here is one of the flowers growing in my other friend Ruth’s garden; a delicate grey-lavender poppy, set against the bright green of the foliage.

And finally, these are the shadows that a few houseplants cast on my wall every evening at sunset. The low light turns everything a magical orange.

Hope you enjoyed the pictures!

Love,

Grandma Judy

C’est Fini!!

Dear Liza,

Your book is finished!! Two solid days of being snowbound in Portland got me focused and brave enough to get it done.

After using a heavy grommet punch to put holes in the fabric covered spine, I clamped the pages, illustrations, and covers together. Ruthie Inman had sent me a whole book-sewing kit as part of her continuing role as “Judy Nudger”, getting me over being afraid of new things.

It must have worked, because here I am!

Using the awl from the kit, I pushed and twirled through all 70 pages, then started sewing! This is a technique called Stab Binding, and it was wonderful! I watched several YouTube lessons, then made up my own pattern.

I had been looking forward to this part, and it didn’t disappoint.

How satisfying to put the whole project together with my own hands!


See you soon!

Love,

Grandma Judy