May 25
Dear Liza,
When I travel, I walk miles every day and take way too many photographs. And since I know I won’t remember everything, I write and draw and collage into my travel journal. Here is the page that shows our train ride journey from Charles de Gaul Airport to Lyon.

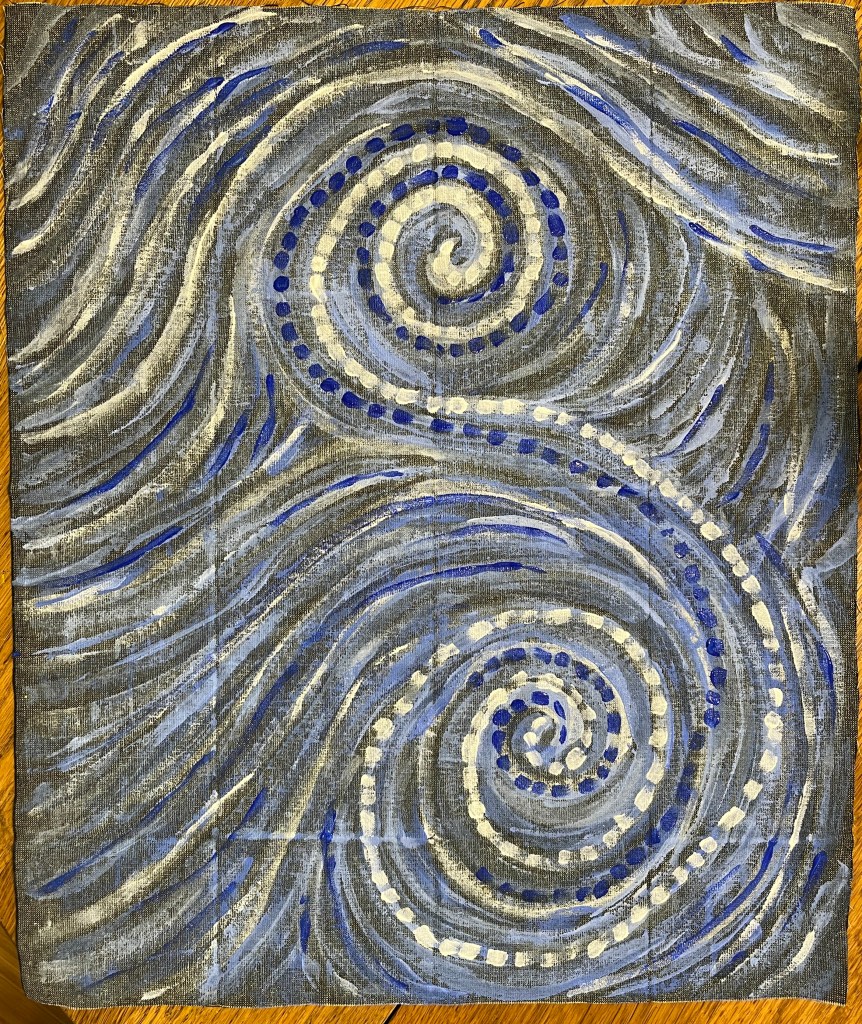
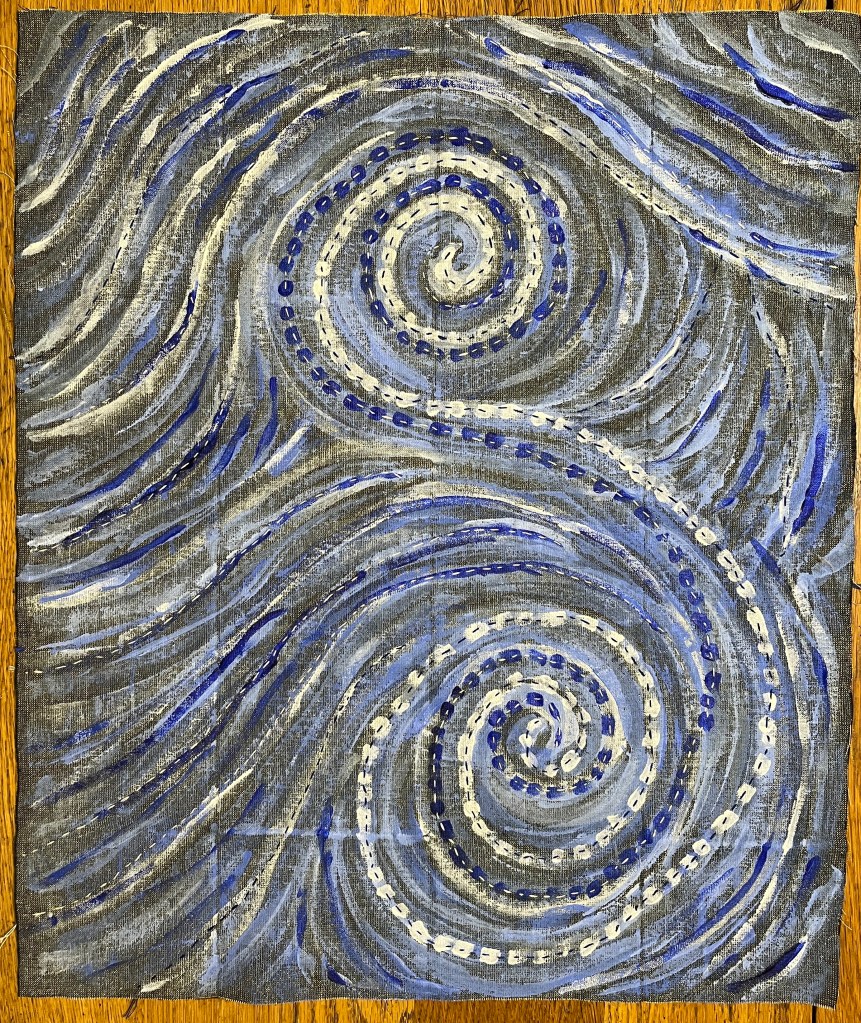
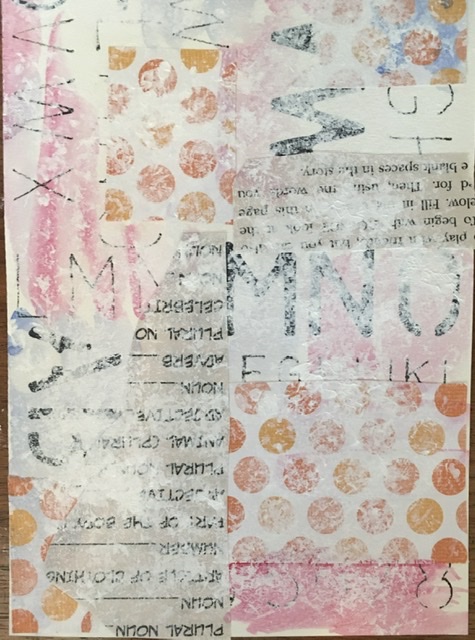
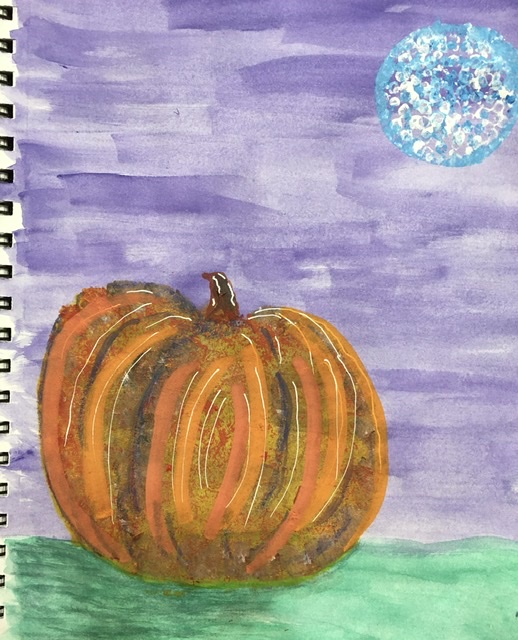
I try to write with accuracy about where we go and what we see, and how I feel about it. But my art …. Is somewhat less accurate.
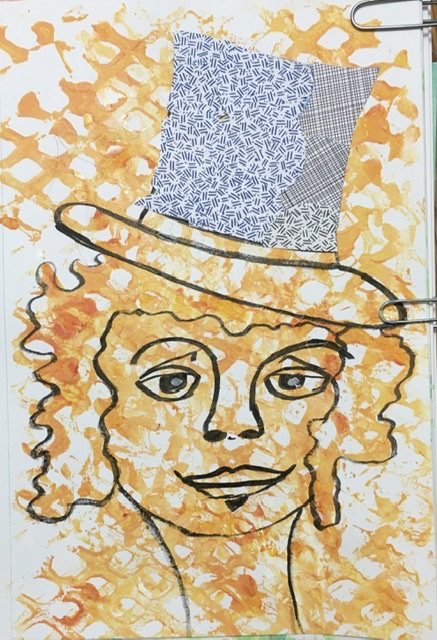
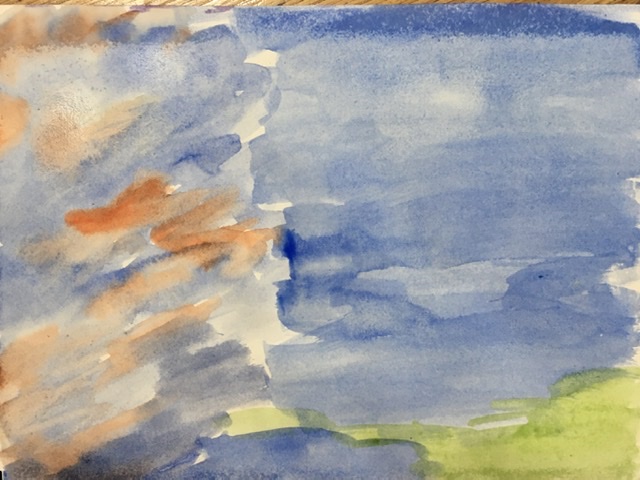
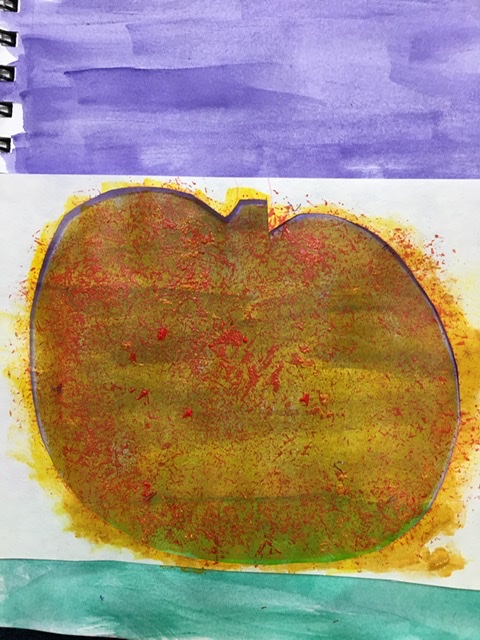
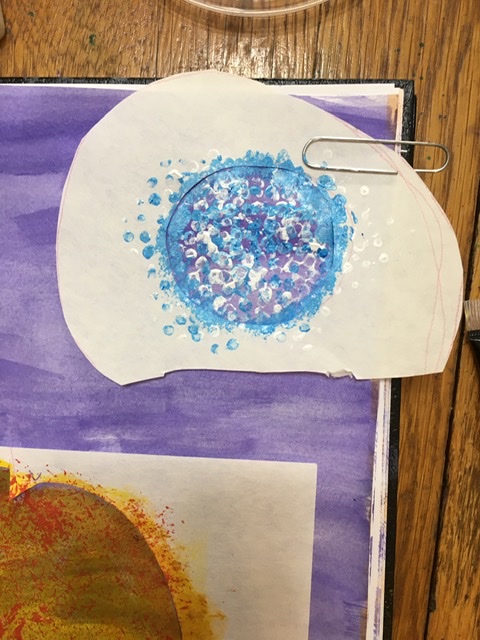
And that’s okay! Sometimes I work from my photos, trying to make things look just right…

.
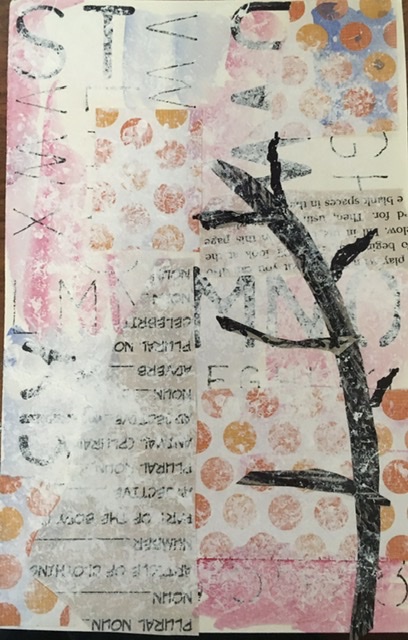
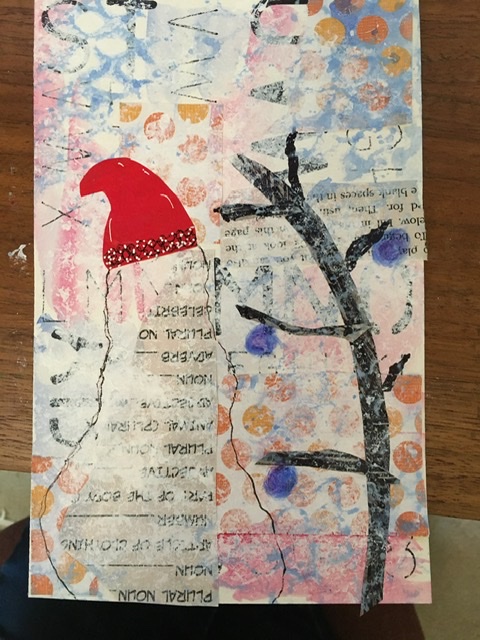
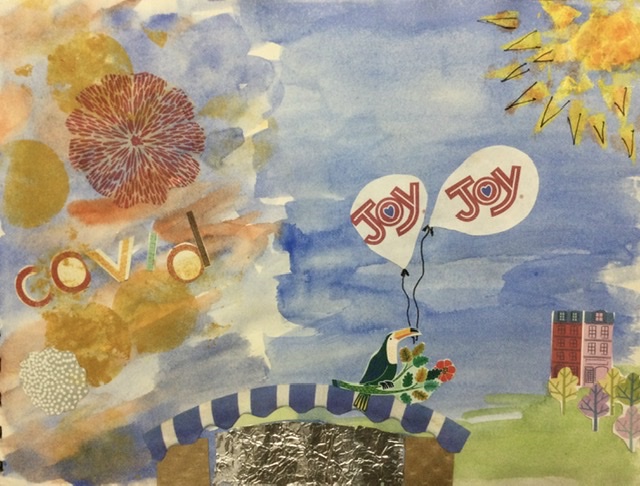
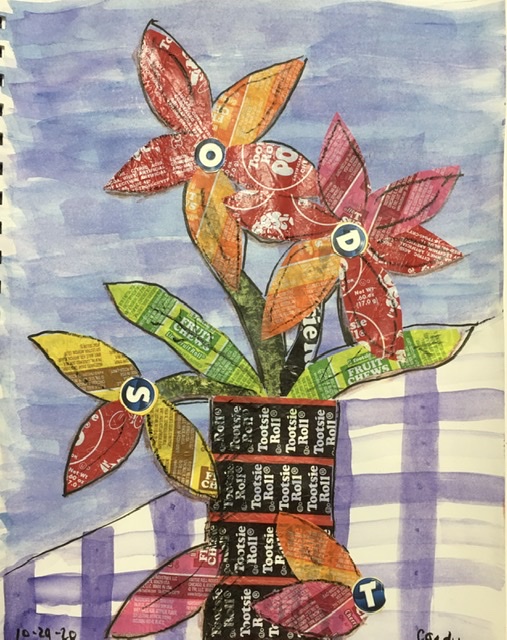
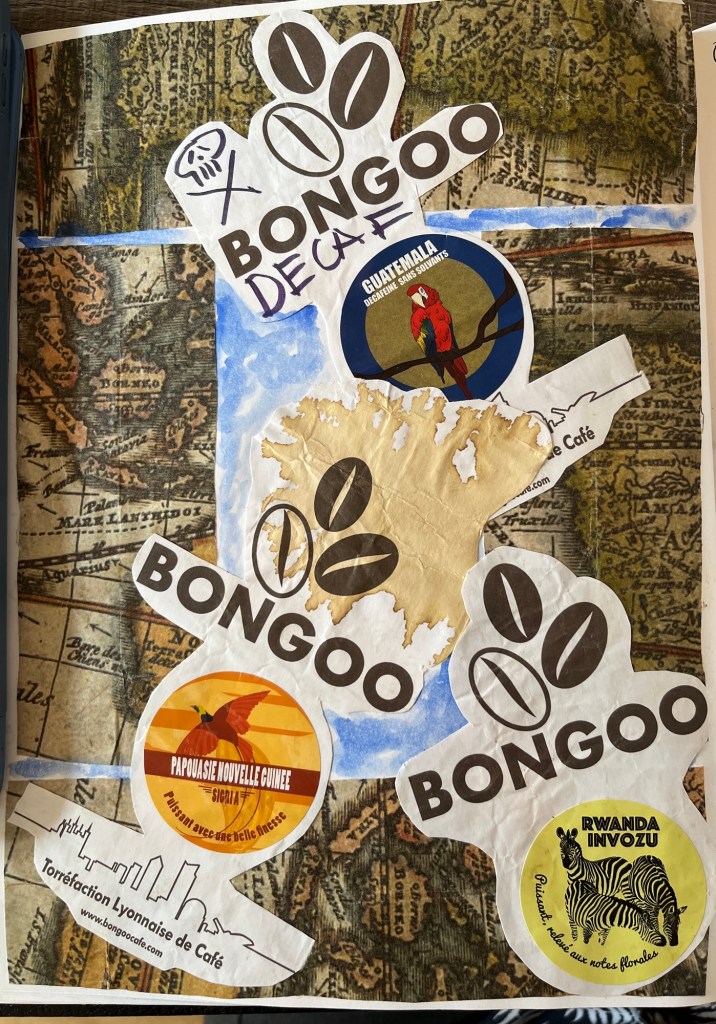
And sometimes it’s more of an impressionist collage sort of thing, like this page filled with coffee bags.
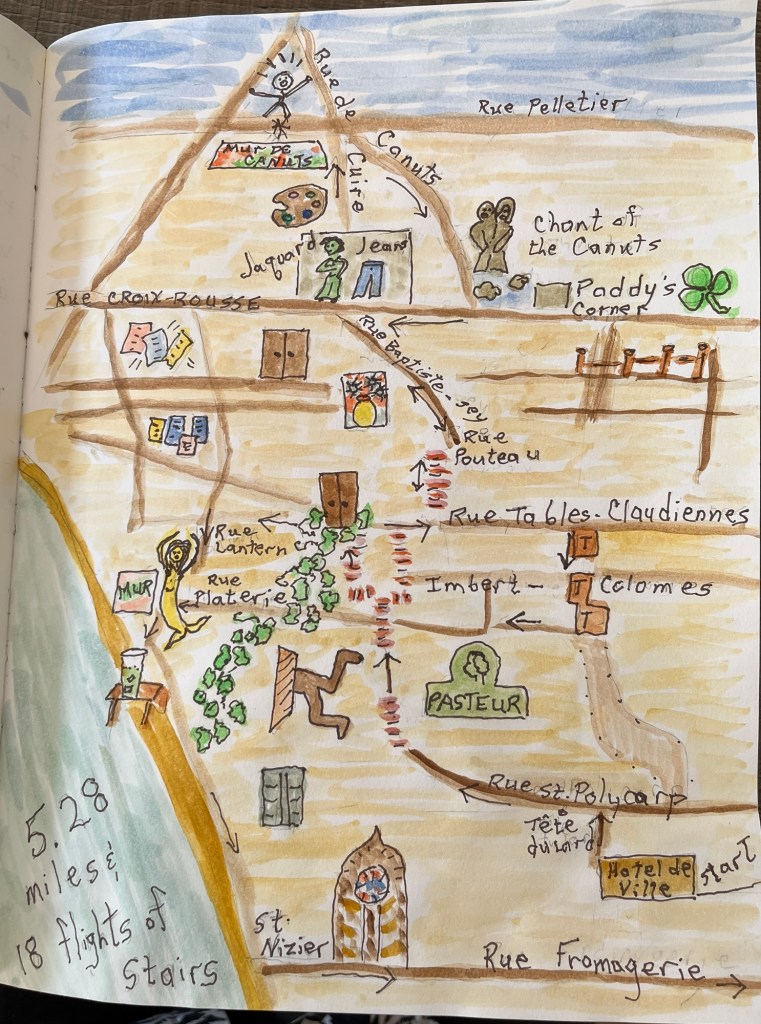
And MAPS!! I love maps, and they help me make sense of what I saw and where I was. Our long hike up the Croix-Rousse neighborhood ended up looking like a board game.
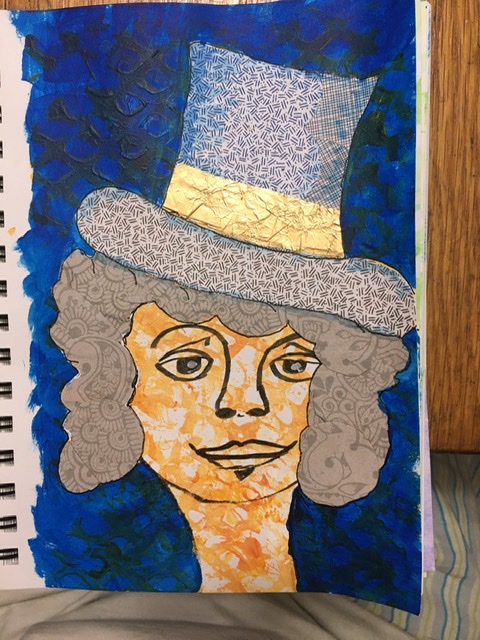
And then I feel the need to sketch some more. It’s my book, after all, isn’t it?

The problem (is it a problem? Or an opportunity?) is that my Journal is filling up fast. I will need another in a week or so. Do I get the same size? This one is 8.5 by 11 inches, and I like having the big pages to play with. Since I don’t carry it with me, it’s not really cumbersome.
I’m sure Bridgett will help me find an art store that will help me solve my dilemma.
Love,
Grandma Judy