A few weeks ago I started a new mixed media project with Ruthie Inman’s Zoom Art group. This week, I finished it up.
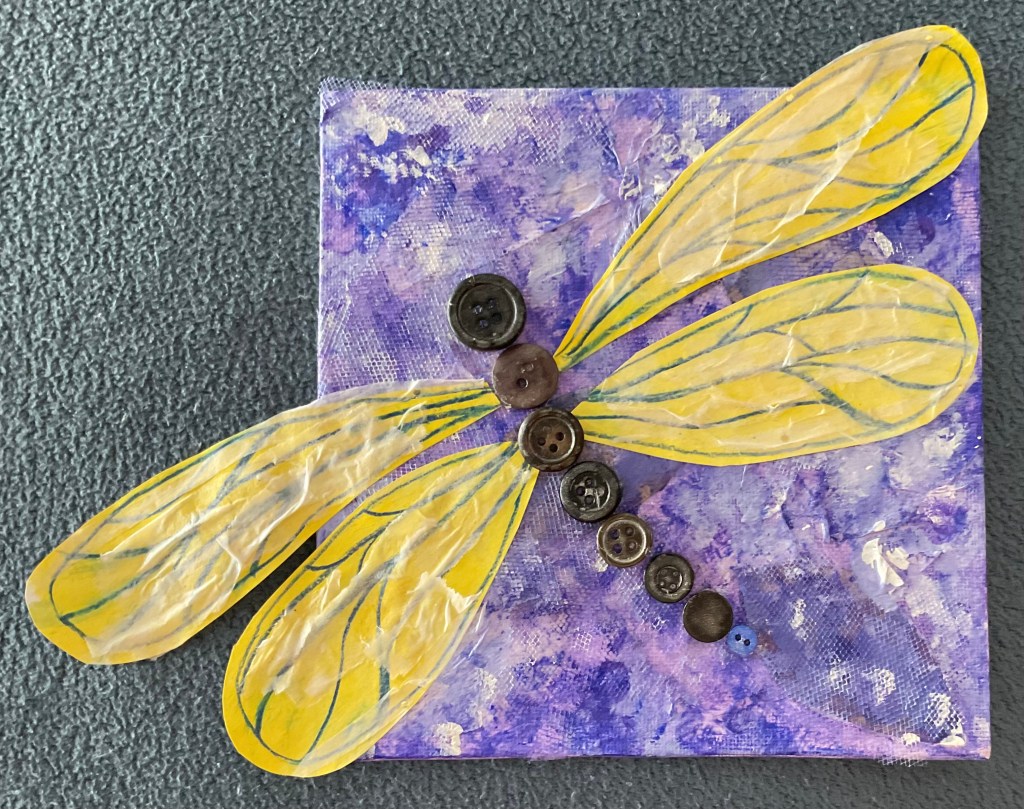
We were all aiming for a dragonfly of some sort, but we were using different materials. Ruthie debated between rickrack and an old bracelet, Vimi used paper and napkins, and I went with buttons. A hot glue gun did the trick.
For the wings, I went with plain paper painted with yellow acrylic and lines drawn in dark blue. I realized too late that I had used a water soluble pencil for the lines, which meant I risked smudging with any dampness.
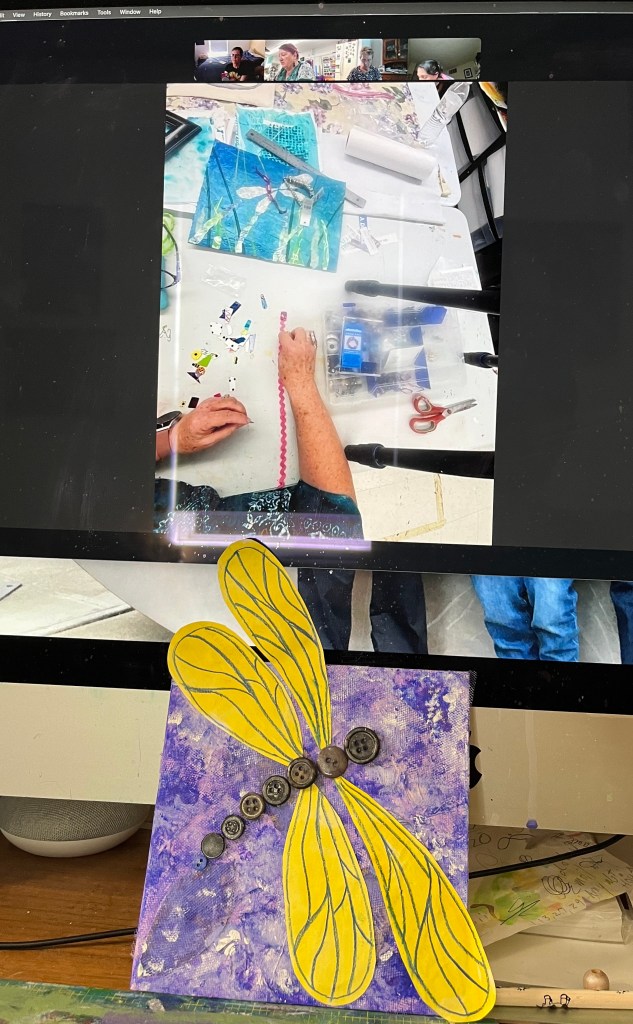
I was very sparing with the Mod Podge and got the wings attached with no damage. Here it is in front of my monitor, with Ruthie’s hands working on hers.
I wanted a bit more depth to the wings because they seemed flat compared to the textures of the background and body. Thin shreds of tissue paper did the trick!
Not a masterpiece, perhaps, but very nice, and better than I thought I could do. Thanks, Ruthie!
Ruthie Inman has done it again! She has gotten me started on a mixed media project that has so many stages, layers and materials, I can’t even see where it might end up.
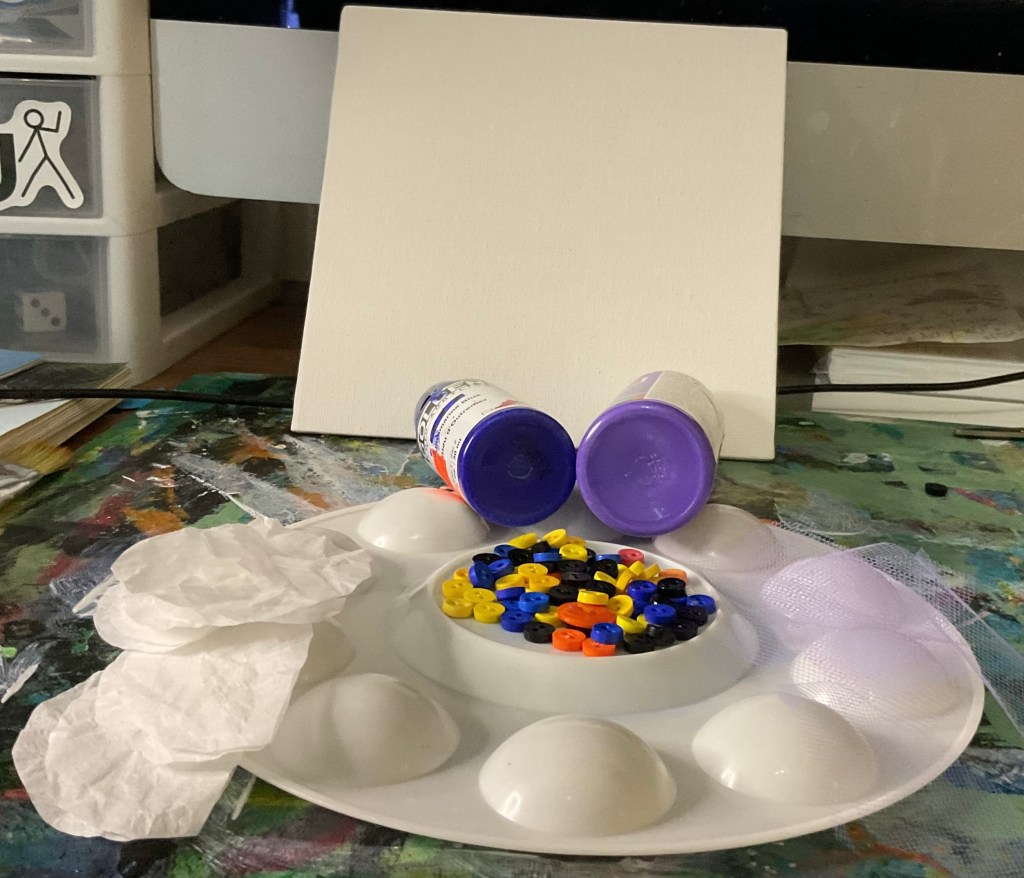
Here’s what I started with: three colors of acrylic paint, a canvas board, some tissue paper and tule fabric, and some beads. I added other materials as I thought of them.
My piece is inspired by some Ruthie showed us on line; rich, layered, abstractly leafy backgrounds with something that may be a dragonfly on it.
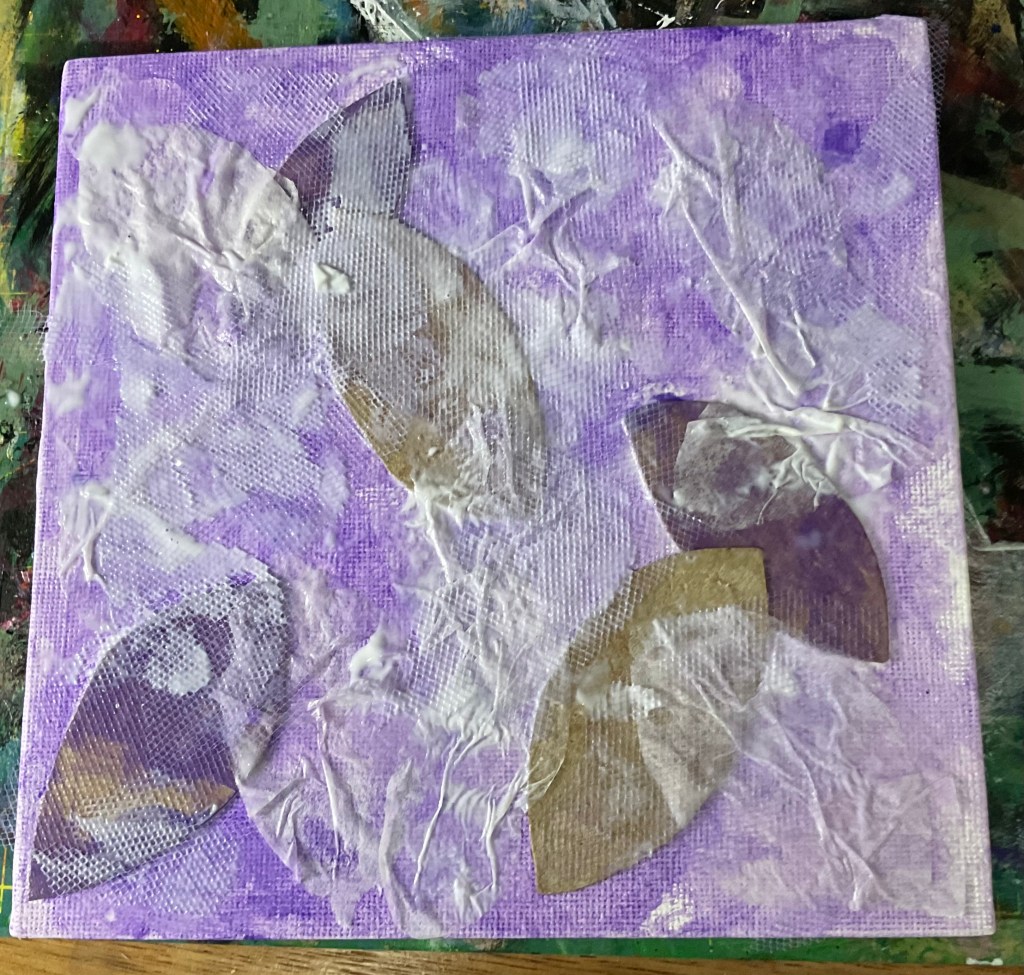
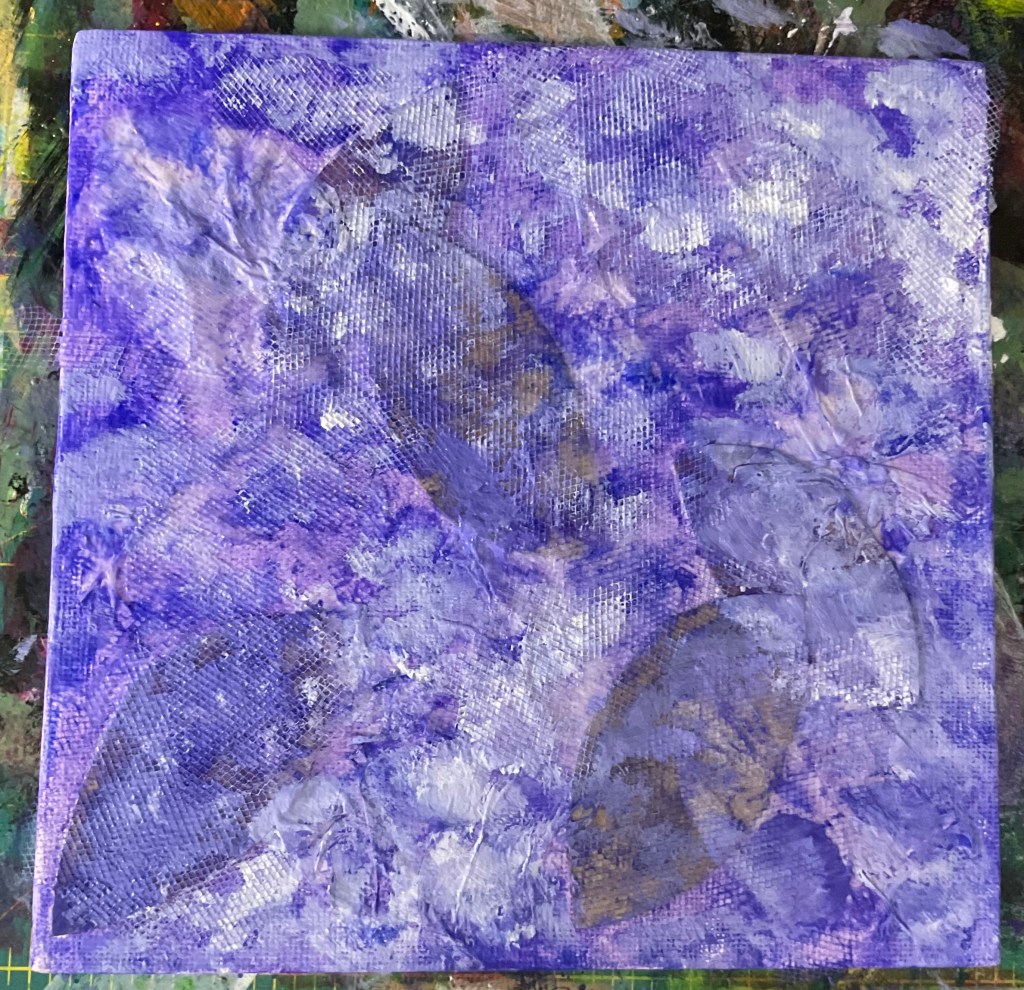
I wanted some texture under the color, so I glued some thin cardboard shapes down, then some splotchy purple paint, then tissue paper cut in sort-of leafy shapes, which got purposely crinkled. I found some tule from my jellyfish costume and stuck that down, too.
It was a good start, but seemed too pale. I mixed some dark blue in with the purple and dabbed.
No No NO!!!
Way too dark. So I pulled out the white and dabbed some more, just here and there, because I want to it feel like shadowy leafy shapes.
At this point, our class time was over and my piece needed some serious dry time. I’ll think about what it needs, and what I could make the next layers out of, between now and our next class.
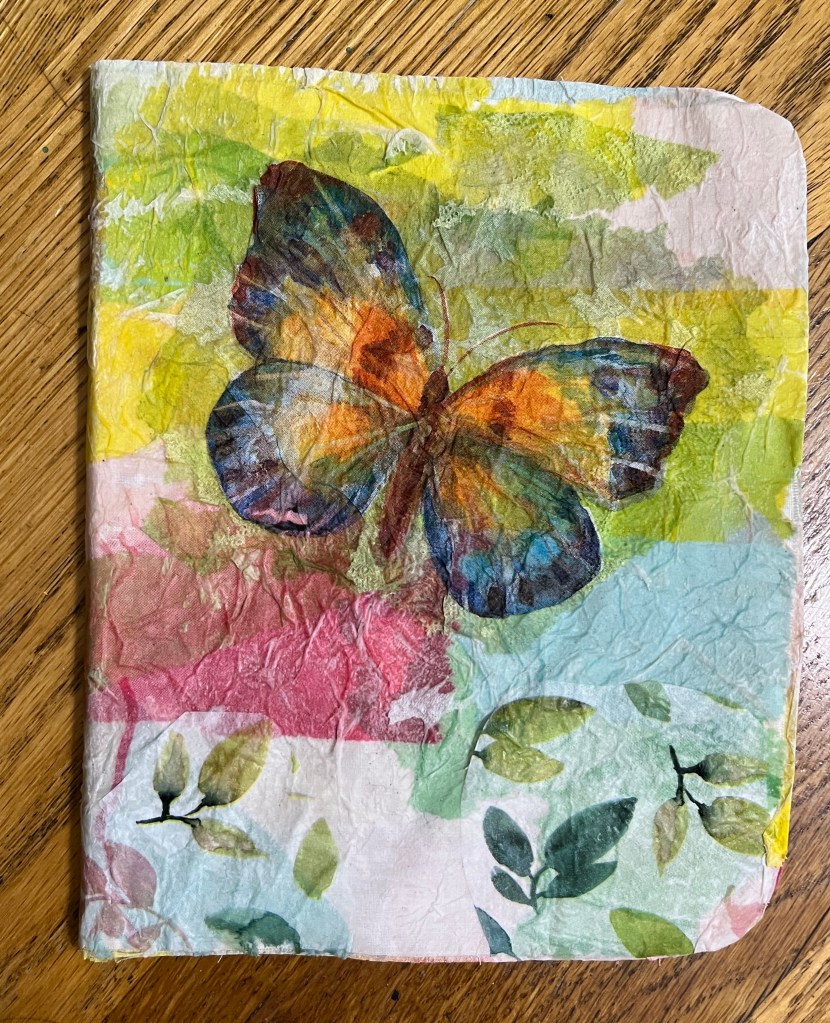
I am still playing in the journal Ruthie Inman got me started on a month ago. The cover is made of tissue paper built- up on fabric with thinned white glue, and has these pinks and greens.
I got quite a few of the pages done,
and then it was time to sew it all together. Using the awl and thread Ruthie sent me last year, I followed her directions and pierced and sewed the pages into the cover.
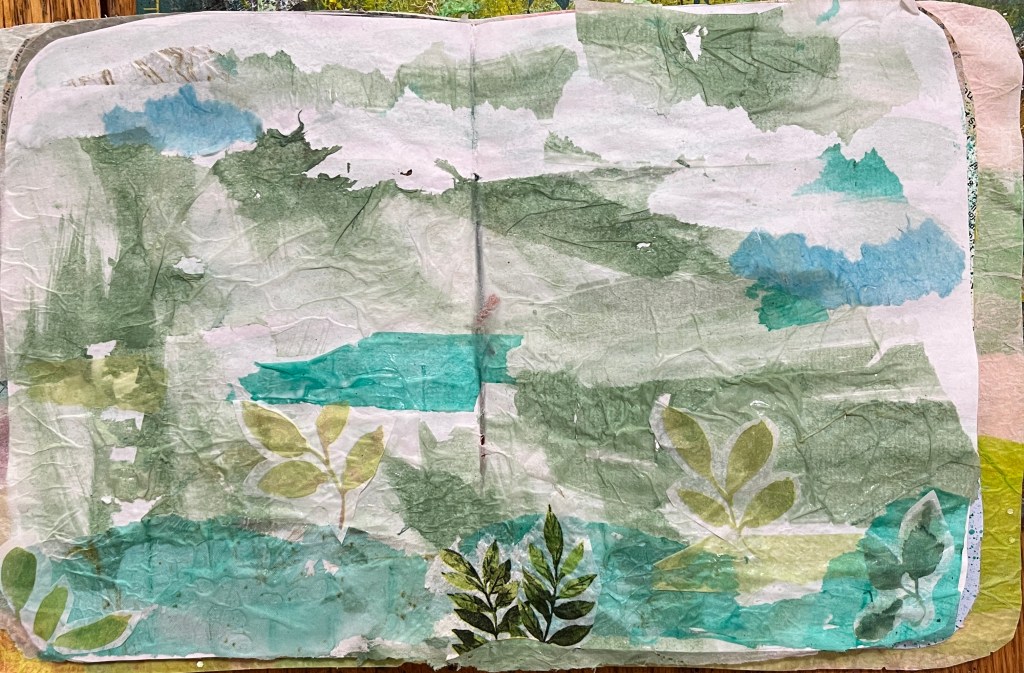
But I still had the center pages, the double page spread, completely blank. I wanted it to reflect the soft pinks and greens that are in the rest of the book, but couldn’t find collage materials I liked.
Finally, I painted them myself, using watered down acrylic paint. A sea green and a phthalo green gave me the look I wanted.
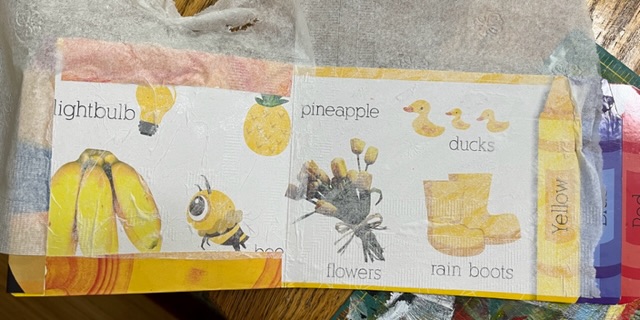
I kept building up layers of tissue paper, tissue leaves from napkins and such, trying for a sort of dreamy landscape look.
Then I made a mistake. I thought these pink worm-like bits of magazine paper would fit in, so I glued them down. The next morning, I realized that they were a bad choice. It took a few days for me to figure out how to fix it.
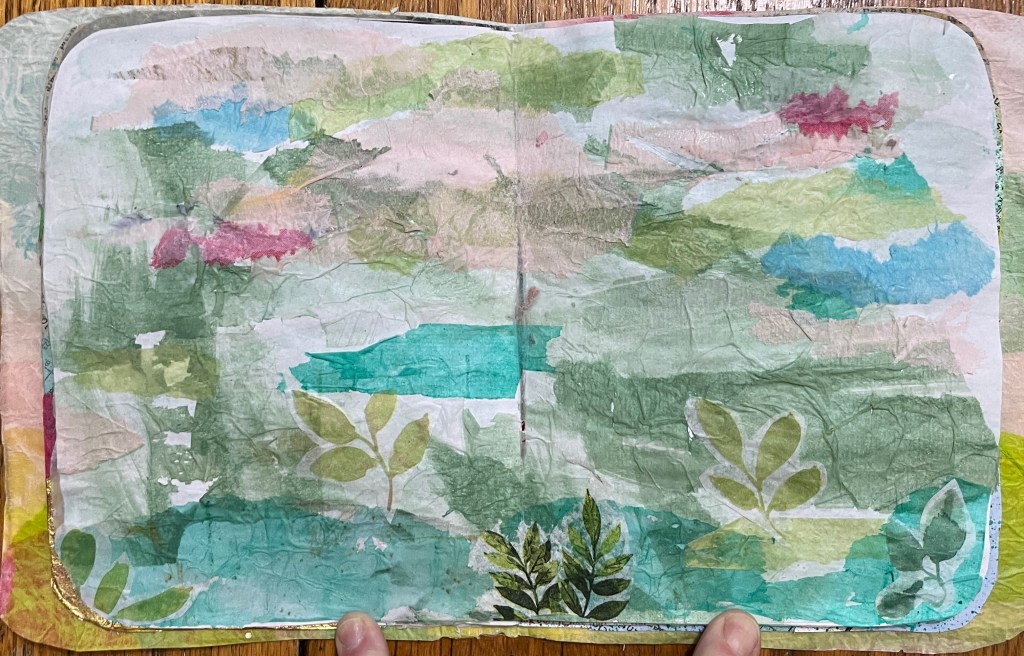
I got brave and used an exact-o knife to trim to awful pink bits away and repair the scratches with bits of deeper pink tissue. I like that every layer shows the layers underneath.
Now I have the dreamy landscape I wanted. I might find something else to add to it, someday. But for now, I love it.
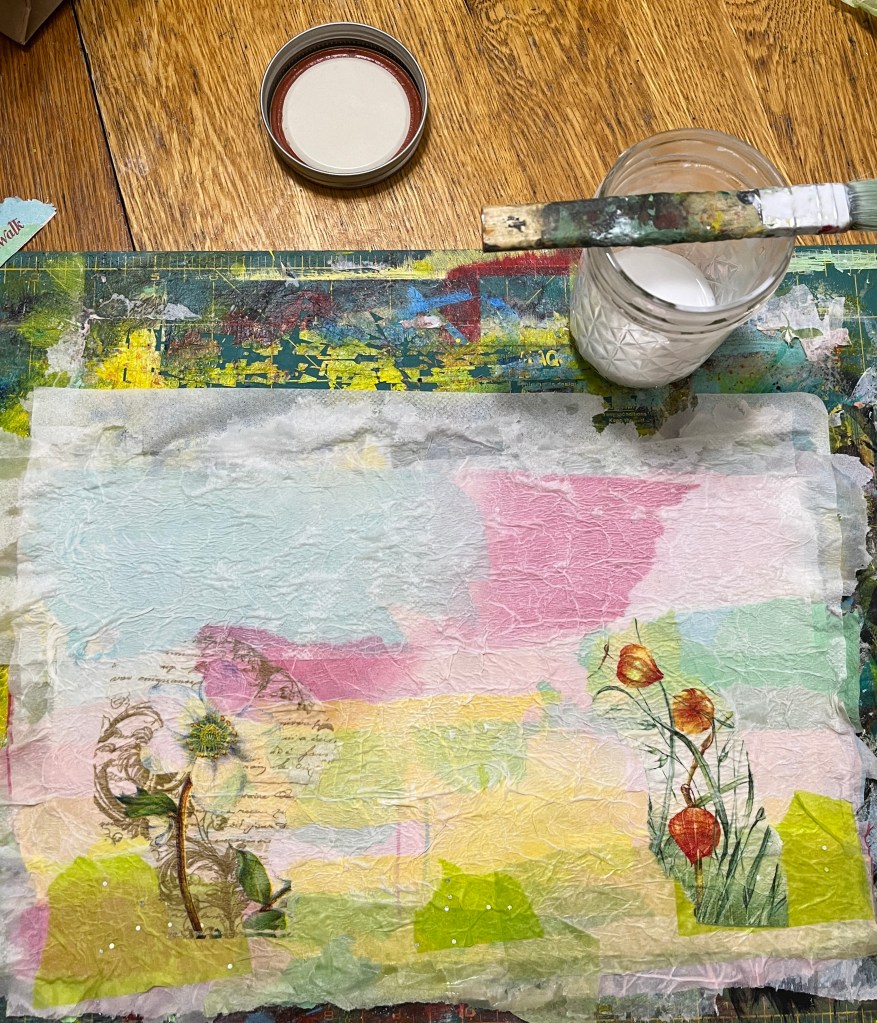
My fabric-and-tissue project with Ruthie Inman continued once the first side dried, as I laid down the reverse side. I used the same technique of watered down glue and layers of napkins. I stayed with the pastel flower-y color scheme.
After a few layers, I laid in the flowers and let the whole thing dry, using the cooling rack as before so it didn’t stick to the mat.
Once it was completely dry, I followed Ruth’s direction and gently folded the thing in half. I also gave it a trim so the edges look nice.
Now we just need to make some pages! That will happen next week.
My friend Ruthie Inman is always teaching me new things! This week, we are making a new journal cover.
For our Zoom Art group this week, she asked us to pull together some muslin fabric, tissue papers or napkins, and some watered down glue.
So friends in Scotland, Illinois and Portland did just that. And the project, at least this part, was just as easy as it could be. We slathered the thin glue mixture onto the fabric, tore the tissue paper into pieces, and stuck them down.
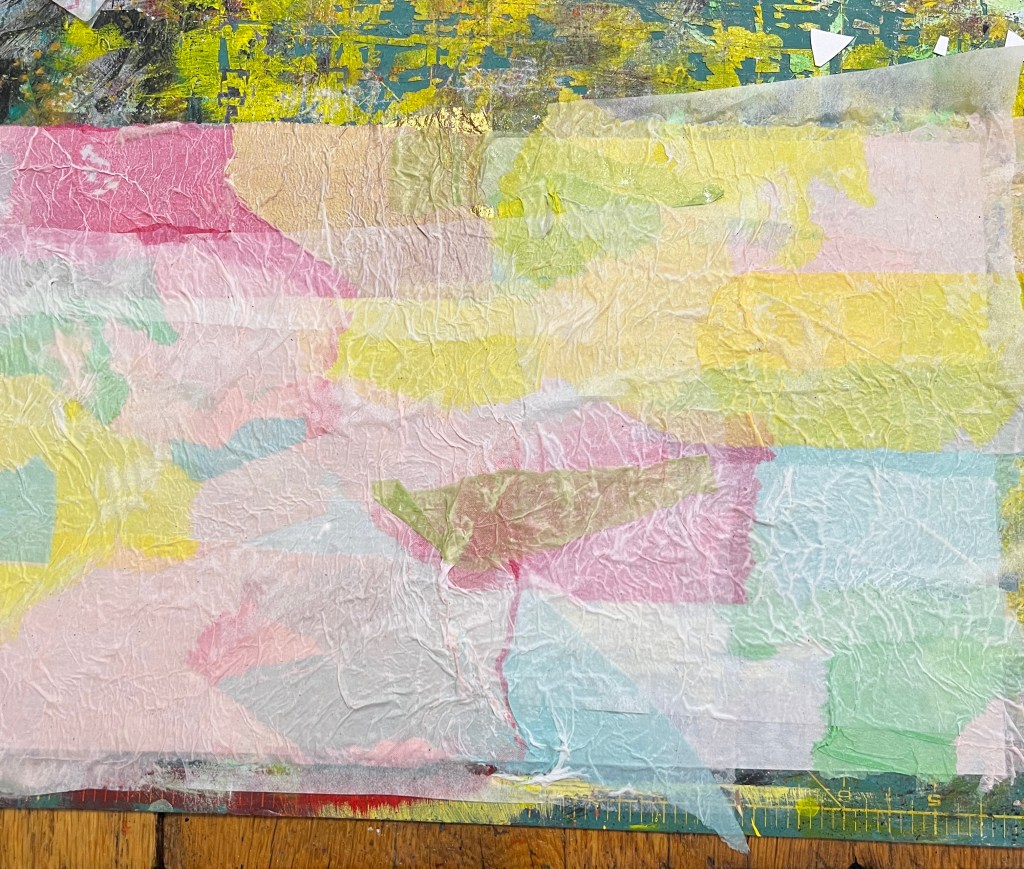
I started with bright colors from napkins, and then softened them with the white layers.
We kept gluing until we had about four layers, pausing to let it dry a bit in between layers so the whole gooey thing didn’t disintegrate under our brush.
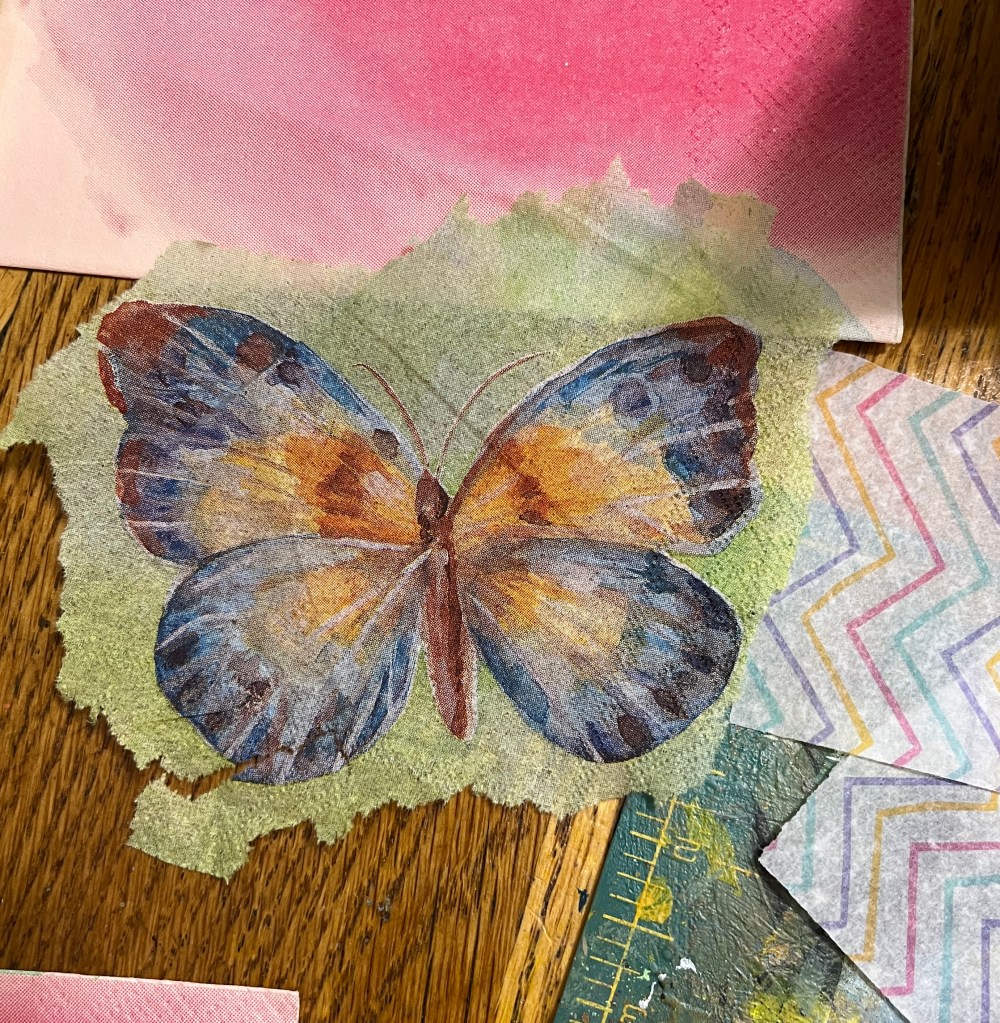
I finished my piece with some old wrapping tissue flowers and a butterfly from a napkin, and left it to dry.
And to make sure it didn’t stick to the mat and dried completely by tomorrow, I carefully peeled the fabric and paper layers off the mat and laid them on a cooling rack.
We’ll see what happens when we all Zoom Art together on Thursday!
Once I got the hang of making these three-dimensional paper sculptures, I couldn’t stop! The Zoom Art Group I do with Ruthie Inman was still working on theirs, so I started a second one.
This time, I wanted to play with interlocking shapes. I chose the yin/yang symbol. It was tricky to get the shapes right, but with some tracing and flipping, it all worked out.
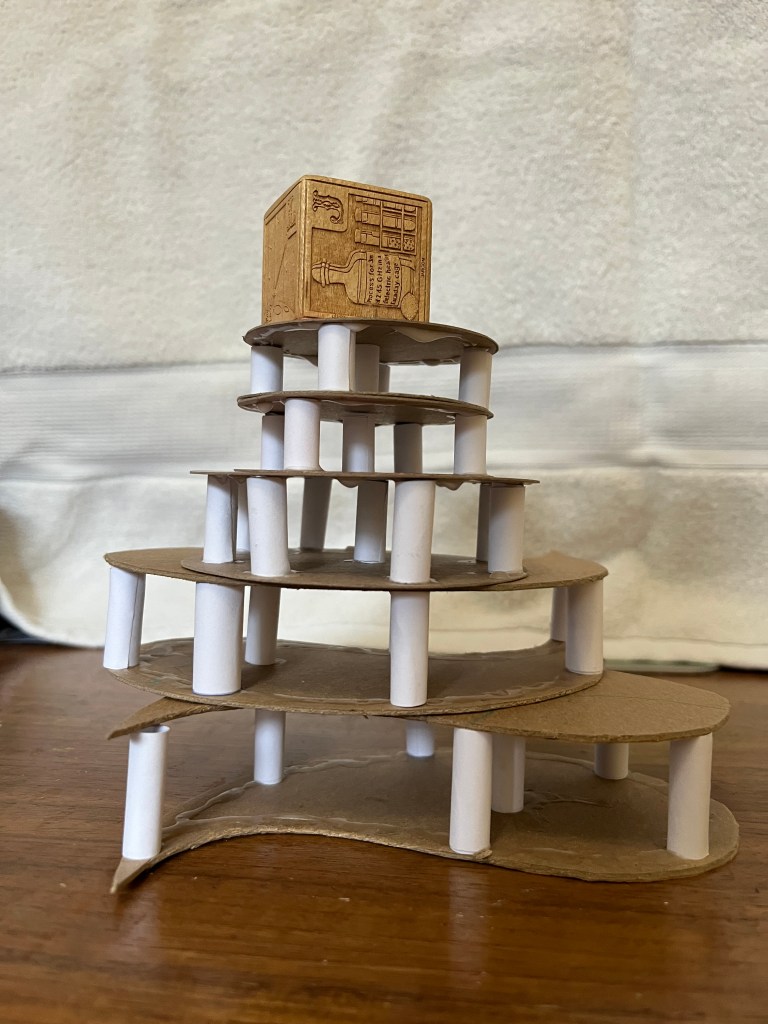
The supplies aren’t sophisticated… just cardboard from cracker and cereal boxes, paper headed for the recycling bin, and Elmer’s glue.
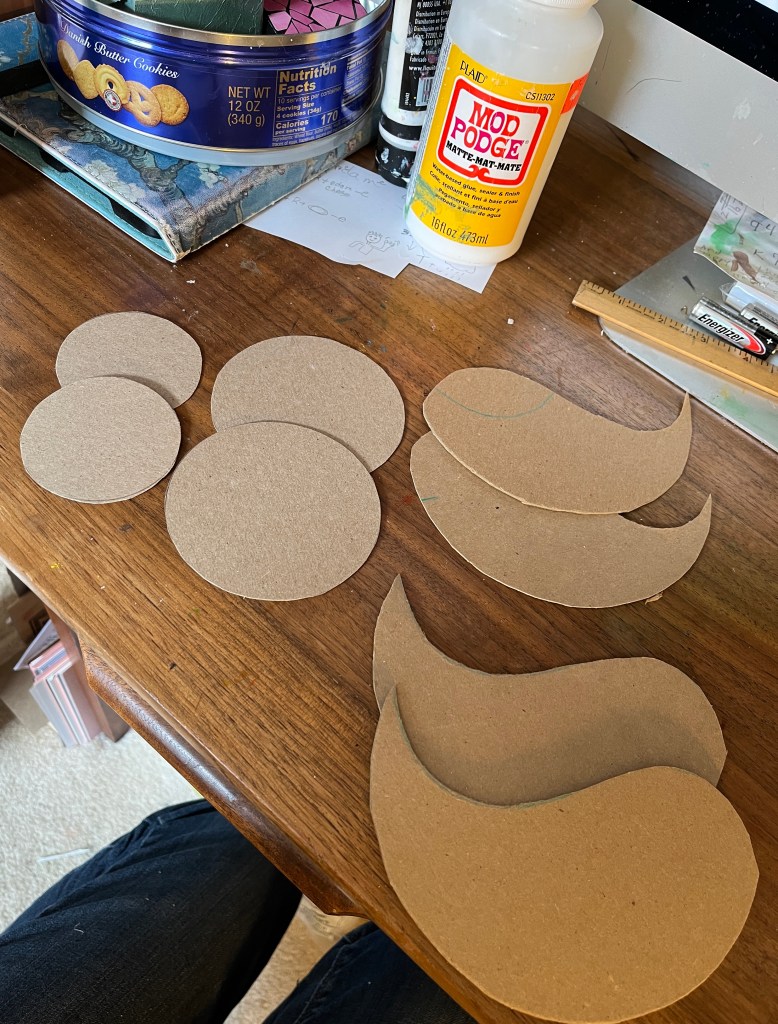
I kept making shapes! A big circle became two halves, and then a bunch of medium and smaller circles got assembled and dried. Tiny blocks kept them together while they dried.
Covering the curvy shapes is tricky, but clipping the curves and going slowly makes it more successful.
I used Mod Podge as the adhesive for this part because it is less slippery than Elmer’s. I tried a bit of flour paste, but it takes too long to dry and I am impatient.
Here are my shapes. Next step: Color and assembly!!
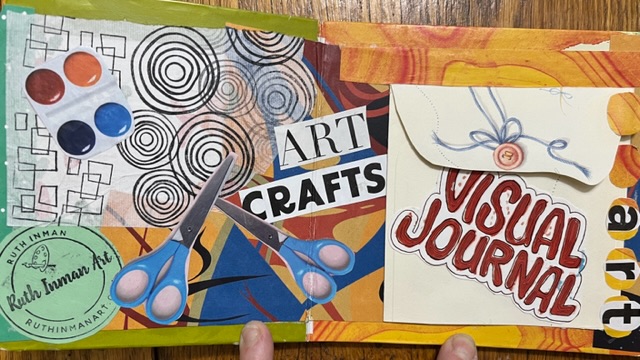
I have found another sort of Journal to make! It is a Gratitude Journal, creating pages of collage and other media of things, places and people that bring me joy.
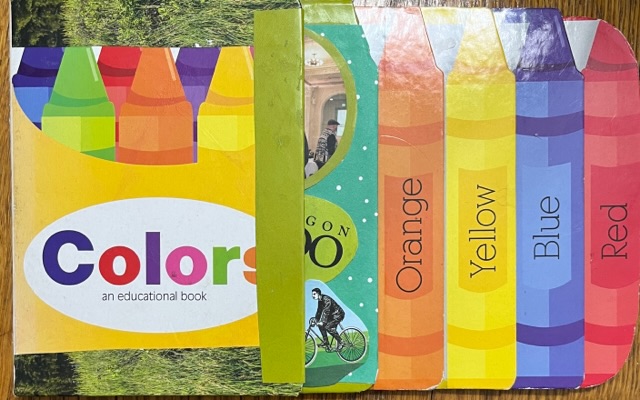
For the base of the book, I used a board book, like children use when they are little. It gives a nice sturdy work surface for collage. This one had this nifty format of short pages that get longer towards the back of the book, which made it even more interesting.
I decided to create one page for each of the types of things I am grateful for. That way, I would be thinking grateful thoughts on all the stages…. finding the papers, composing the page, and later, when I look at it. I looked through my boxes of magazine clippings and ephemera and started pulling pieces out!
From previous books, I have figured out to lay a napkin layer down (other folks use gesso) with Mod Podge to give the papers some grip on the page. I also wrapped the edge of each page with strips to keep them from peeling.
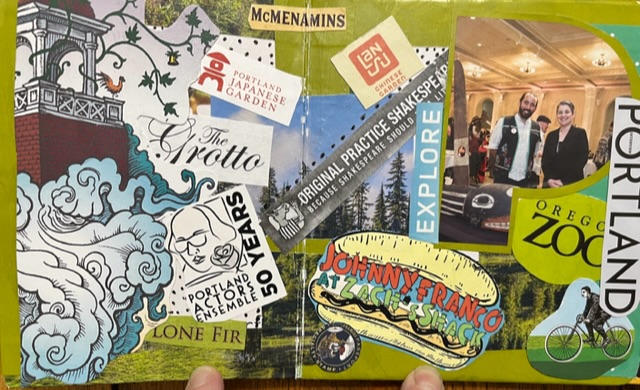
As always, there was lots of placing, moving, trimming, and talking to the pieces to get each page just right. I started with my adopted city of Portland. All my favorite places are there!
The next page was all about art. The art I have learned from Ruthie Inman and Auntie Bridgett Spicer, as well as stuff I make up on my own… it all makes my life richer.
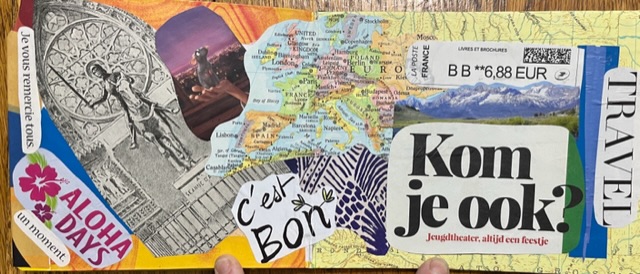
The next page is all about travel, with clippings from magazines, maps, and language calendars.
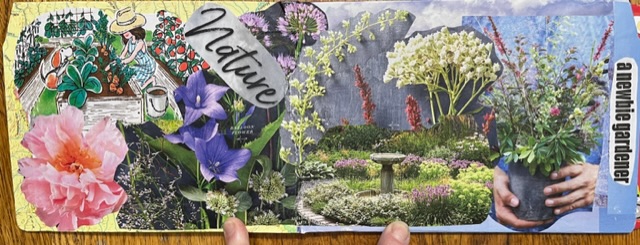
Gardens are next, with my own veggie plot as well as public gardens that I love to visit. Just walking through a garden makes my world better.
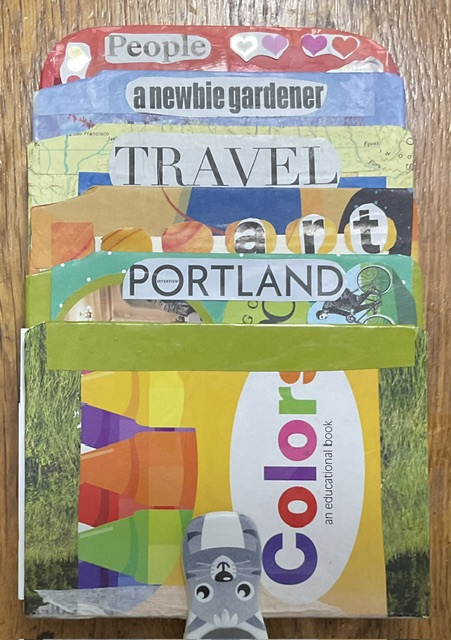
The last, and largest page, is for the people in my life (of course Mouse counts as people!) Most of them are represented by images… can you guess who is who? On this page are also things I love doing with my people… cooking, doing crossword puzzles on the couch, walking, biking, and learning.
I love that when the book is closed, I can see what each page is about… all that gratitude at a glance!
And no, I haven’t decorated the front or back covers yet. I wanted to get this blog written for Friday, but didn’t want to have to hurry the art. I will show it to you when I get it finished.
I enjoyed making this book so much, I have already picked up another second hand board book. What should THIS one be about?
Once Ruthie Inman got us started on her May Flowers project, we had some more paper-collecting to do. White with black text, black with white text, and red with any color of text.
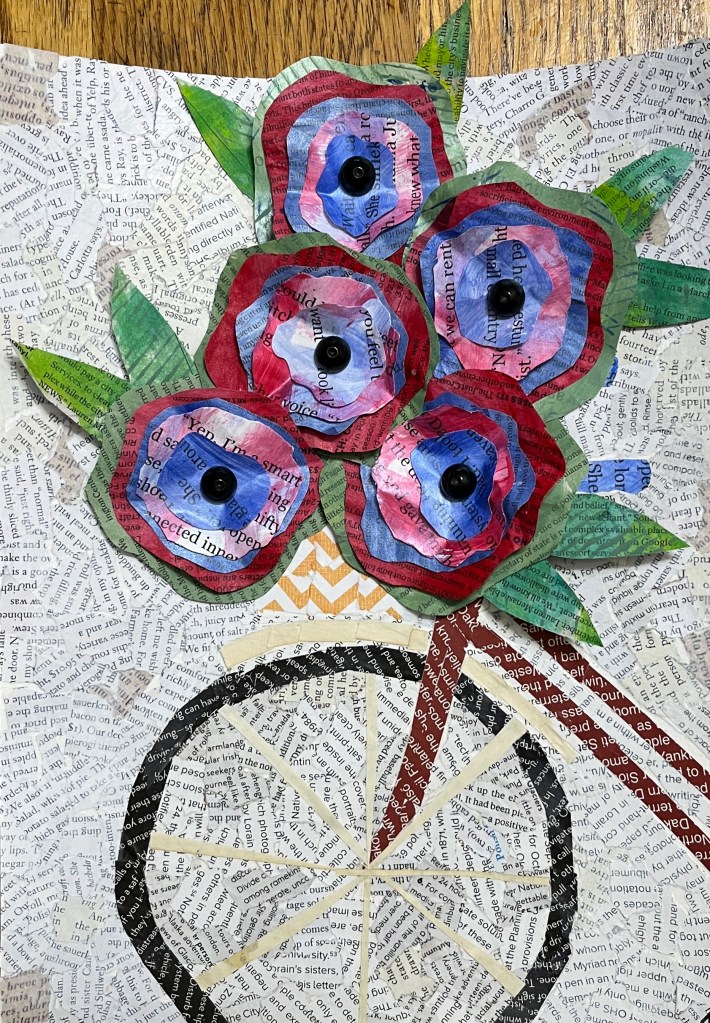
I started with the background, made of dozens of bits of white and off white with small black text.
I like the way the tiny lettering faded into the background.
Then the fiddly bits need to be dealt with. Cutting red, black and blue bits to fill in the bike, tire and some last minute orange for the basket tested my scissor skills. That done, it looked like a proper bicycle. Proper, but too plain.
I trimmed the flowers from weeks ago so they fit better, placed, placed, and re-placed them around the basket, and finally glued them down. I like the way they spill out! A few leaves cut from the same painted text topped it off.
I finished it by putting the spokes in the wheel, and was very happy with the results. Now, on to the next project!
Ruthie Inman is at it again! She has our Zoom Art class making lovely things and having fun. Since we are all in different places (Metamora, Illinois, Portland, Oregon and Edinburgh, Scotland) we meet over Zoom. Since she likes an element of surprise, she usually gives us just enough directions to get part of the project done, without giving it all away at once.
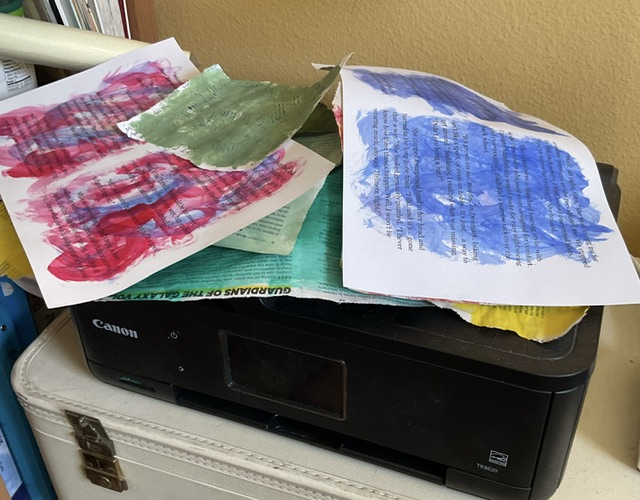
Her first direction was “collect newspaper, black and white text only.” This took a while, but having an artist in the house helps.
While we were in the Zoom meeting, Ruthie had us paint our sheets of newspaper whatever colors we chose. I pulled hand-me-down acrylics out of my box and slathered them on while we all chatted. I laid them aside, making sure they were mostly dry before they got piled up.
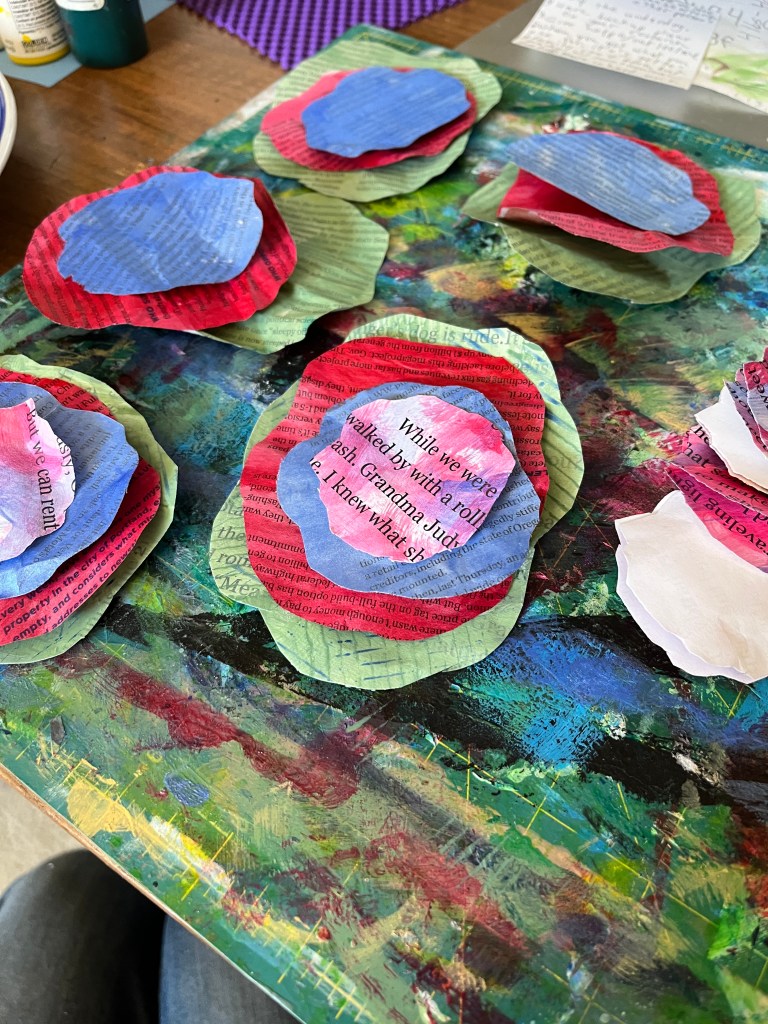
Our papers had time to get completely dry by our next meeting, and the next direction was “cut the papers in irregular circles, to stack into five layers, largest on the bottom, smallest on the top.” This needed some thinking. How big? Which color on the top? Which on the bottom? My biggest layer ended up being about four inches across.
Flowers. We were definitely making flowers.
After some fiddling around, I made my choice and started snipping. I love things that don’t need to be measured!
Then came the tricky bit… putting all the layers together. Depending on what we had handy, we all used different techniques. I chose five shafted buttons and, at Ruthie’s suggestion, used small twist-ties to keep them in place. Here’s how they looked, front and back.
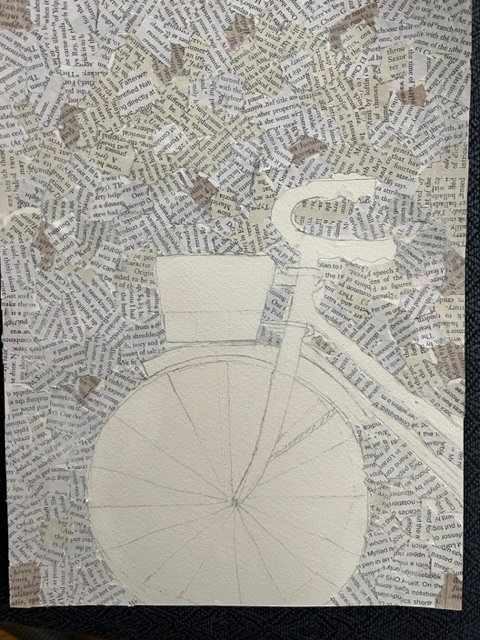
Ruthie sent us a guide for the next part of the project, a mosaic art piece of a bicycle and a basket, and I trimmed and traced it into a piece of heavy watercolor paper for the mosaic to come, editing it as I went.
The theory is that the bike’s basket will be overflowing with the flowers. I’ll show you what comes next at the end of the month, when we get it done.
After what seems like a really long holiday break, Ruthie Inman’s Zoom Art group is back together. I have missed doing art with this bunch of friends!
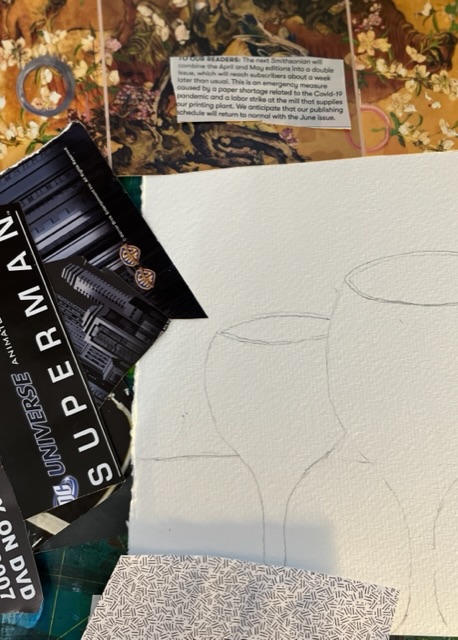
This week, Ruthie asked us to assemble collage materials in very specific color groups: white with black, black with white (an important difference!), reds, and something neutral, like a light brown print. I was intrigued. I dug in my scrap box and found some bits. Ruthie had found a wonderful art piece by Deborah Shapiro for us to use as reference. The red wine positively sparkled!
Art supplies are always a bit crowded on my desk, but I make it work!
As the meeting started, Ruthie, Shirley, Vimi and I chatted about everything under the sun and started sketching, sorting and snipping.
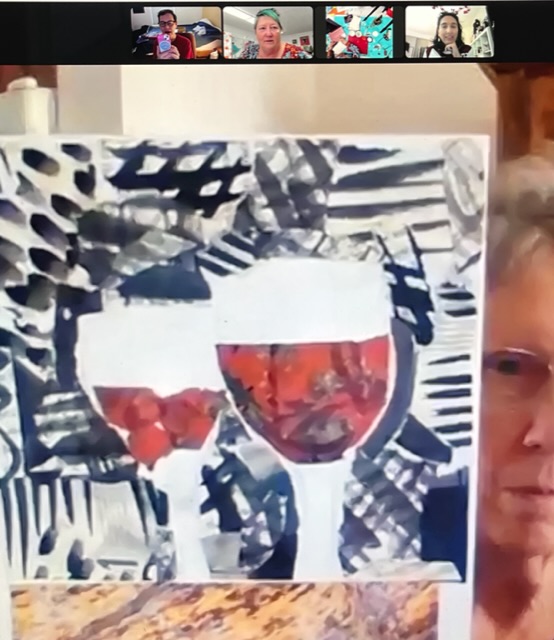
A quick hour and a half later, we were all surprised at how well our pieces were looking.
The next meeting, we made more progress.
But still not quite finished. But we will play along, and all will be well. Patience!