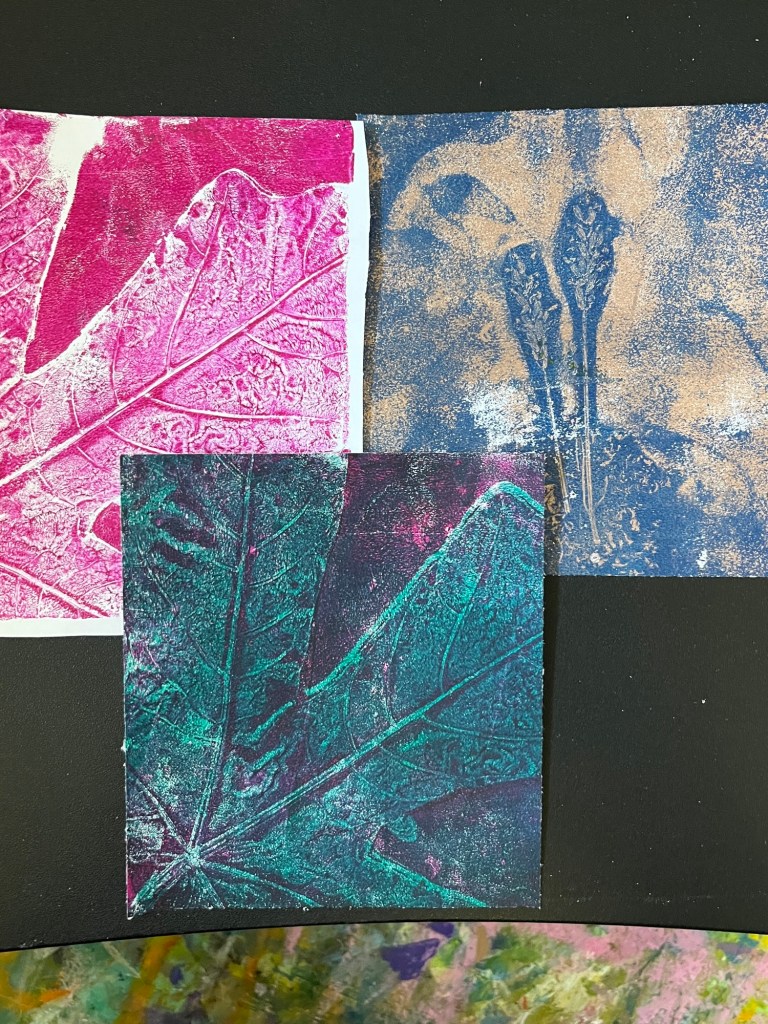
I am still making lots of mistakes with Gelli printing, because there are dozens of ways to do it wrong! But Ruthie Inman said don’t let a little thing like that stop me, and every now and then I get one right.
These are my favorites from the last few weeks. As you can tell, two used the same sycamore maple leaf and one is some lavender blossoms,
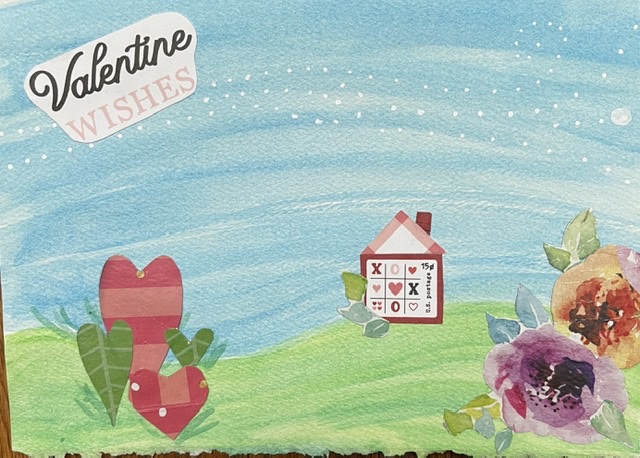
For today’s project, I chose these two to trim up for greeting cards. I couldn’t find a mat that worked with either, so I glued them down by themselves.
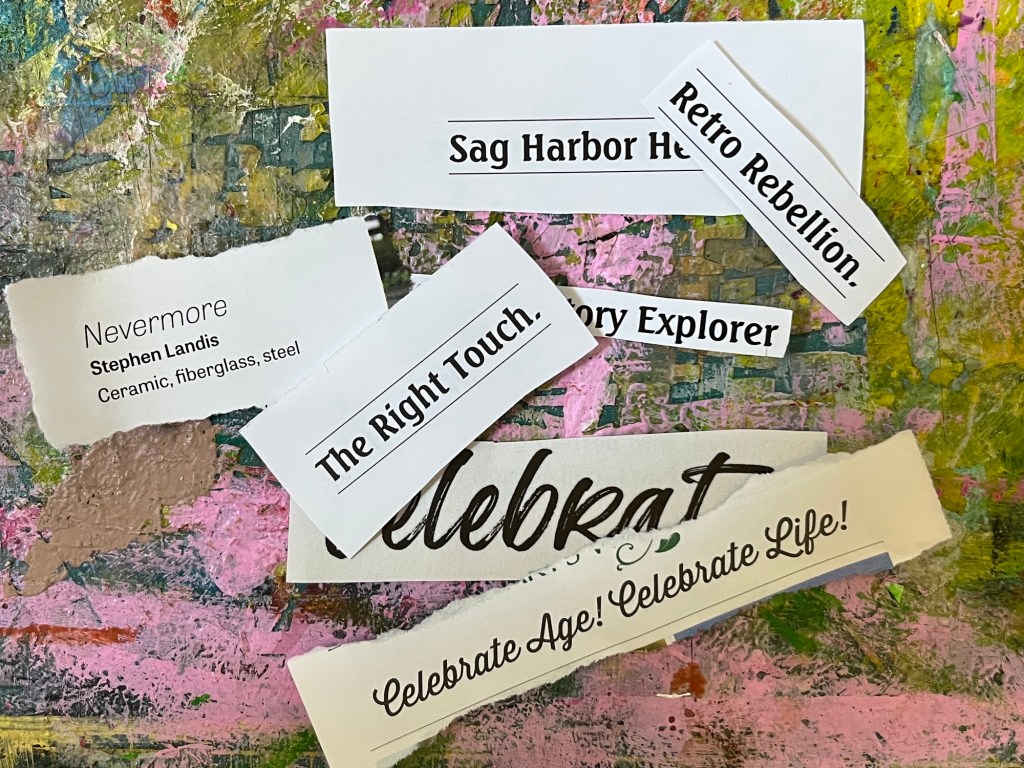
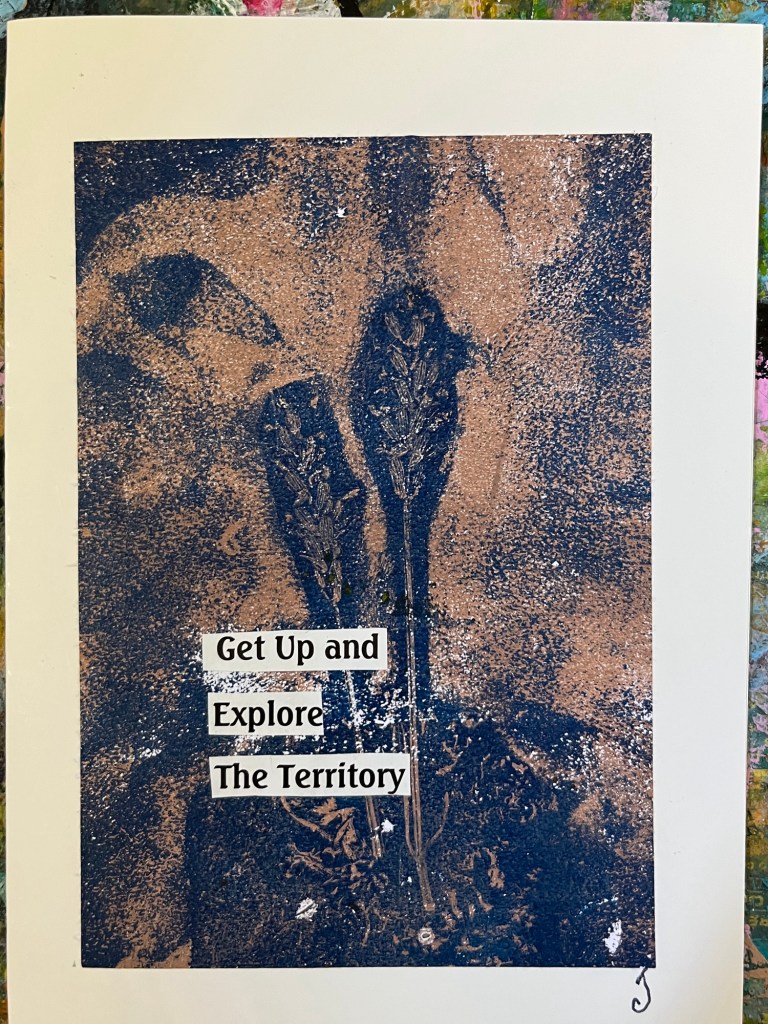
Only after I glued it down did I notice the white blotch on the lavender blossom one, but there is always a way to fix it! I pulled out my box of words cut from calendars, J. Peterman catalogues and magazines.
A few snips and careful UHU application (tweezers are best for those of us with short fingernails!)
and this one is ready for a friend who has just moved to a new country.
Every time I get together with the ZOOM Art group with Ruthie Inman, I get so full of ideas I could pop.
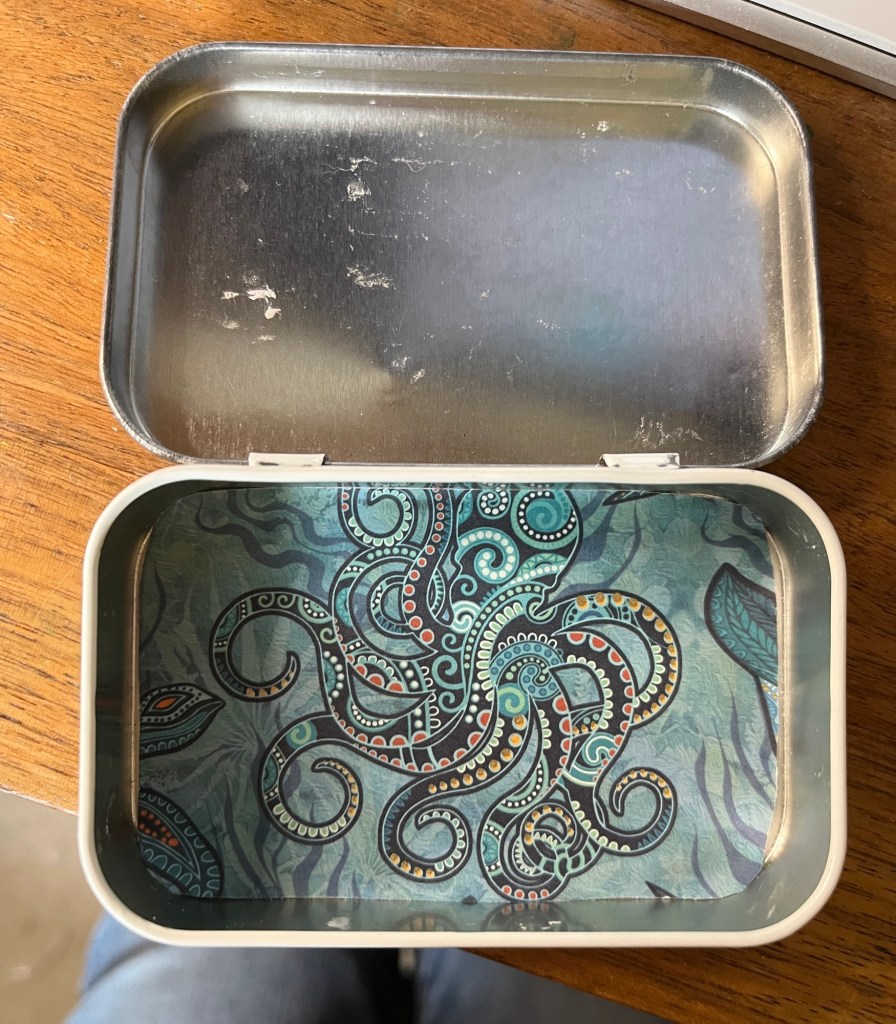
This past week she showed up these: tiny, accordion folded books that fit in a little tiny box. The samples she showed were people’s’ interpretations of their high school years, with black and white photos and bits and pieces from the fifties for illustrations.
I had a good time in high school. I met Grandpa Nelson there, and Ruthie. I learned a lot about who I am and what I believe in, on the way to becoming who I am. But it was just four years out of 69, and I didn’t want to make a whole art project about it.
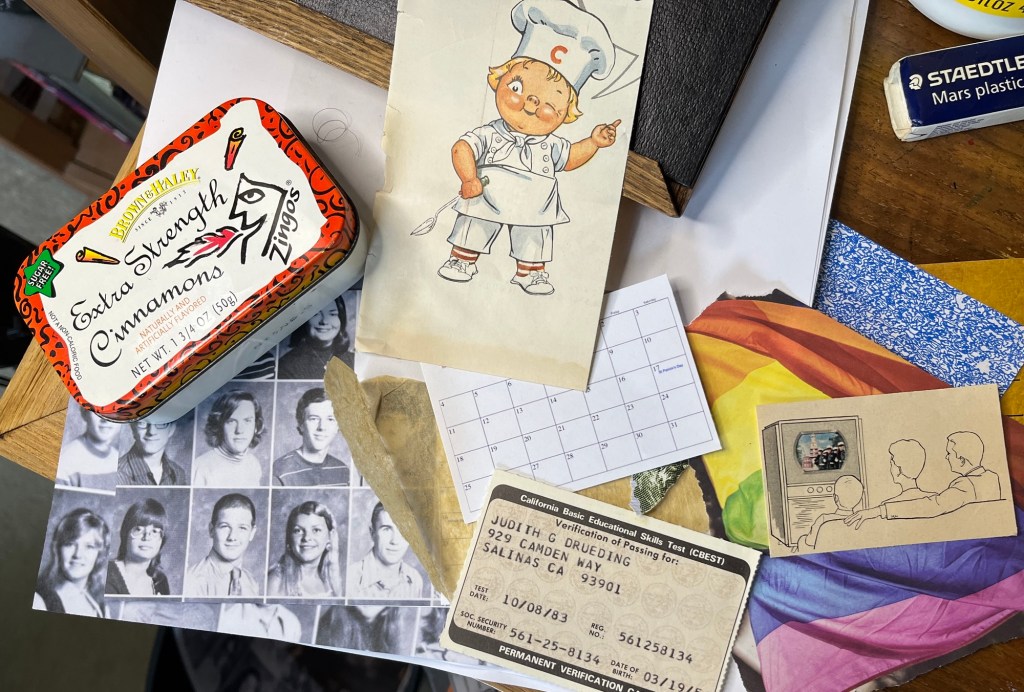
First, we cut some heavy paper so it fit into the little Altoid tin. Then we made little hinges from paper and joined the cards together like an accordion.
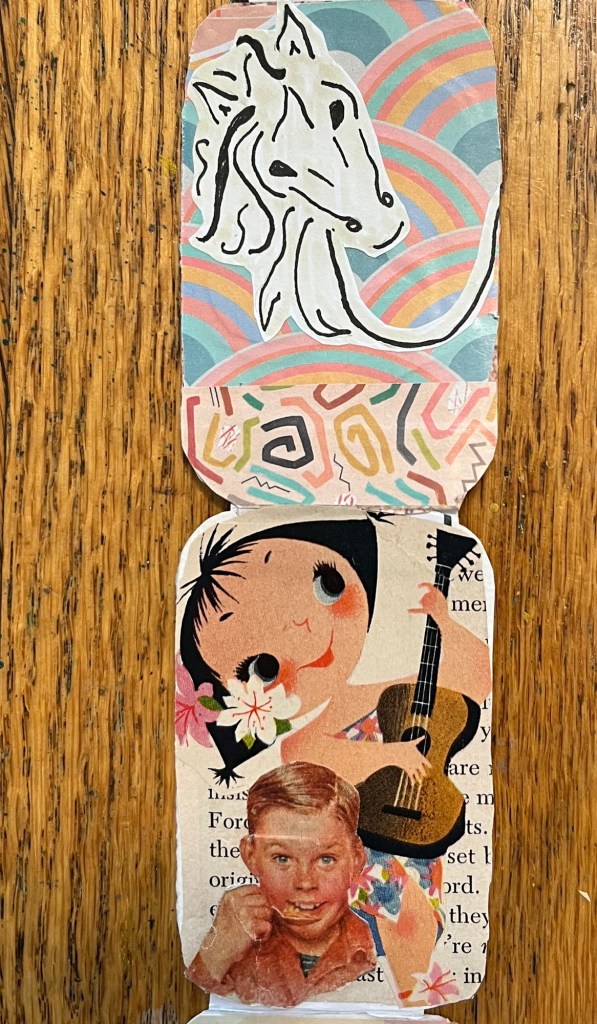
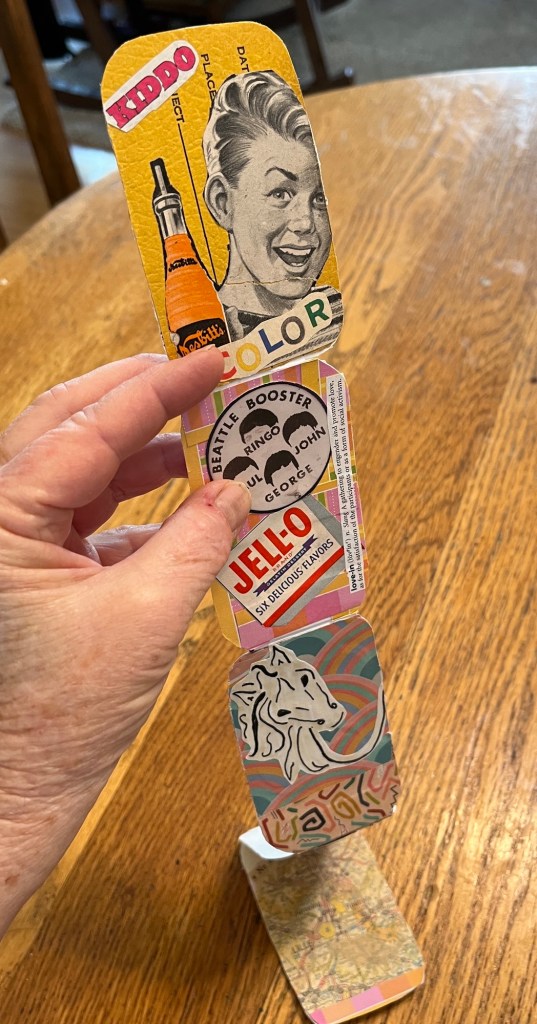
I decided to start my “Time Capsule” in the 1950s, when I was born. Some old ads and papers worked nicely. Then came the 1960s with the Beatles. I had to rework my High School years because the colors weren’t cohesive with the others. In the re-do, the horse stands for our Mustang mascot .
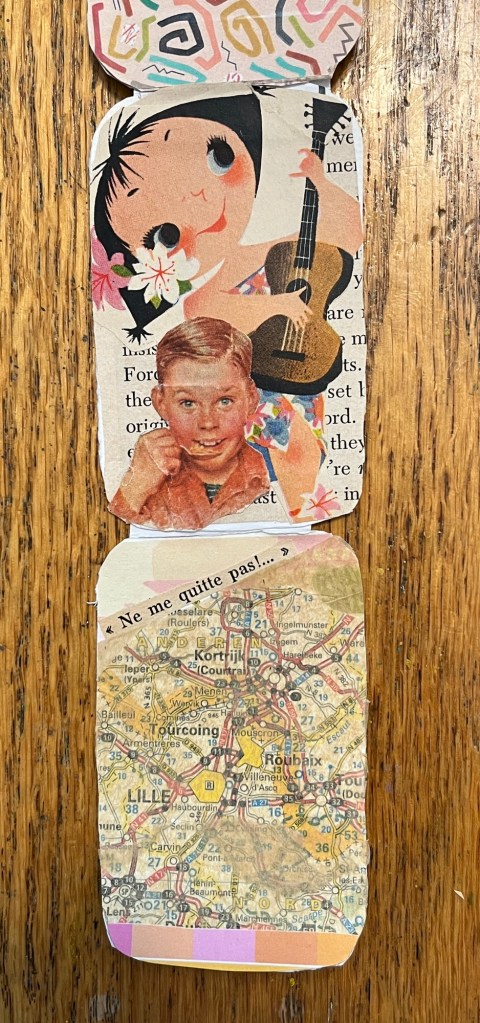
Since I got married right out of school, the kids came next. Sticking with the vintage ads, I showed our girl and boy….
And started in on the adventures! Traveling to France, learning French, and getting out in the world. I like how it folds up!
I am trying to choose colors that are cohesive so it looks like they belong together. Bridgett tells me this is color theory, which I have always rebelled against. Oh well.
I have found a new kind of art to make, and even a group of people to share it with! Ruthie Inman’s ZOOM art group includes Zoë, a delightful lady who lives in Tasmania, Australia. Zoë and Ruthie both make ATCs. That is, Artist Trading Cards.
Artist Trading Cards are little pieces of art, 2.5 inches by 3.5 inches. They can be painted, collaged, drawn, just about any medium you can imagine. You make them, then mail them to friends, who mail you theirs. It’s like having artsy pen pals!
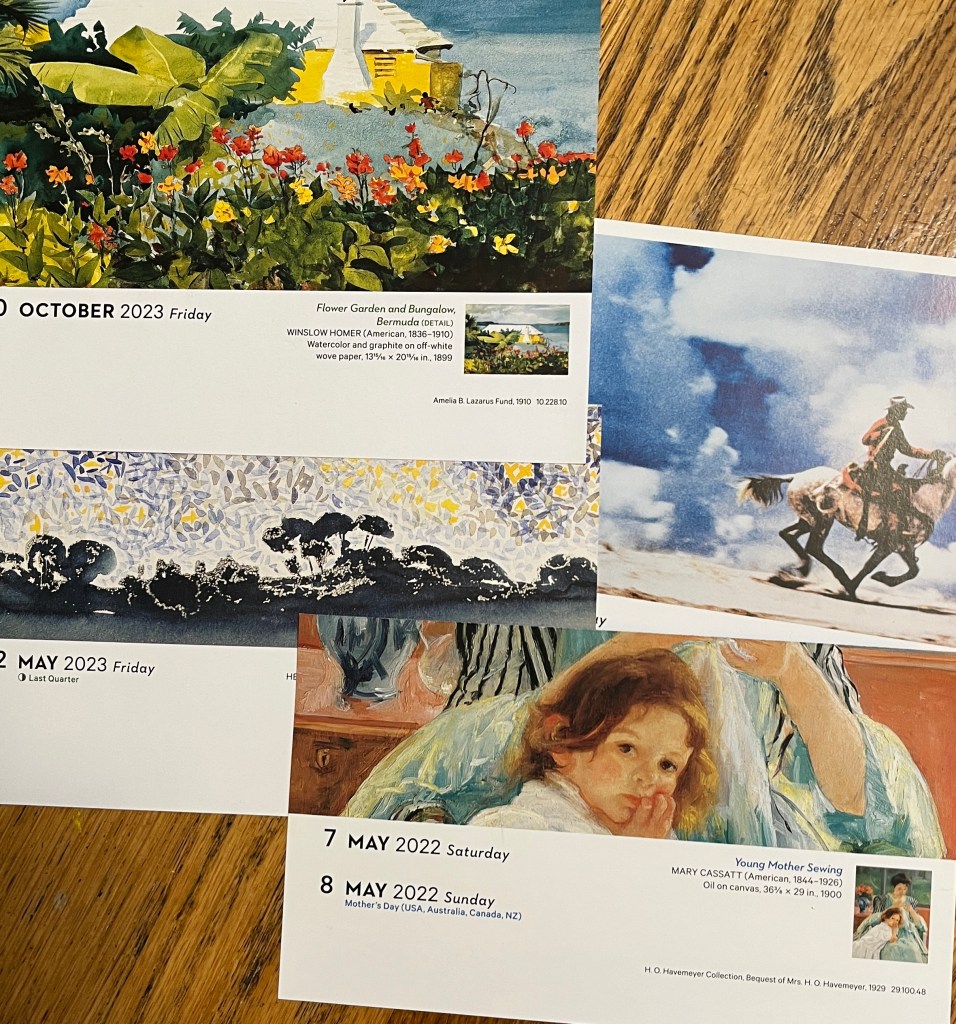
I used a few failed Valentines, but mostly clipped bits from the art calendar Jennifer Coile sent me.
I made my first ATCs using Auntie Bridgett’s old business cards as backing, then realized that they are a half an inch too small for the ATC trading rules. They are just two in he’s high and 3.5 inches wide.
But that’s okay! First, because I don’t think art should have rules; and second, because I can still send them to friends who don’t care about the rules.
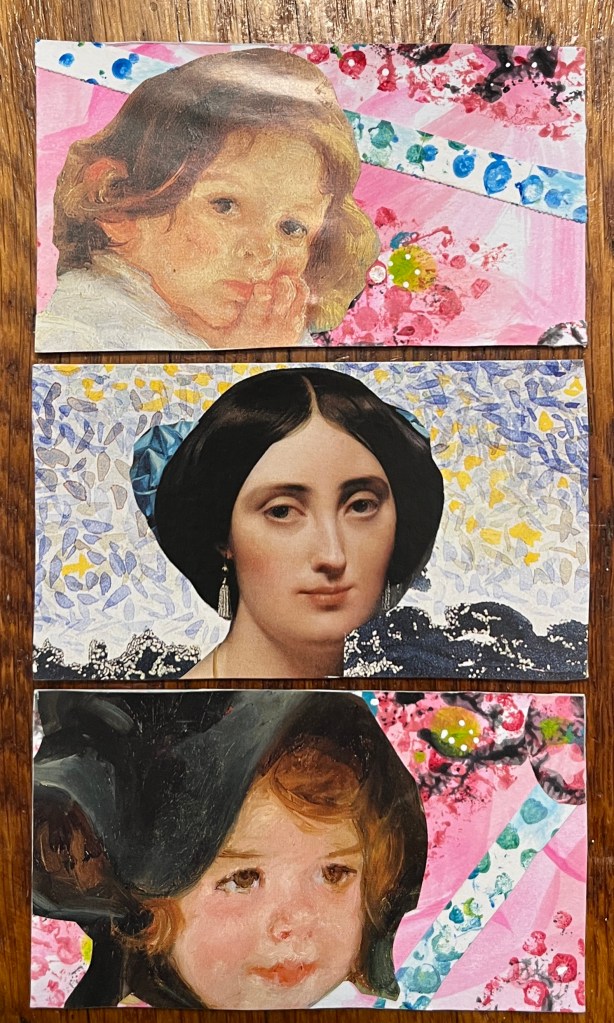
But for my second round, I’m doing something different. I laid out rectangles of the right size, and made six ATCs at the same time, with bits overlapping.
I glued bits of art down, then gave it a quick smudge with white paint to soften the colors. I really like them, but they need something… I’ll show you what, tomorrow!
Ruthie Inman has done it again. On a chilly day after two very busy days, I was feeling tired and not terribly artistic. Not awful, but … blah. And sure enough, within ten minutes of our art group’s beginning, I was slapping paint down like an inspired ten year old.
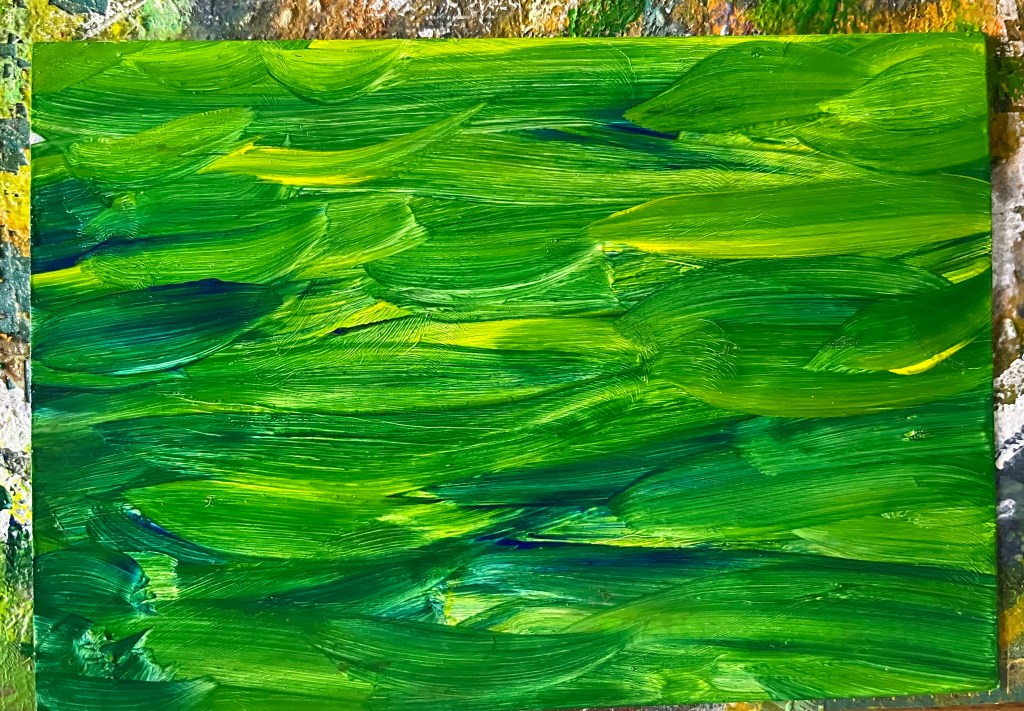
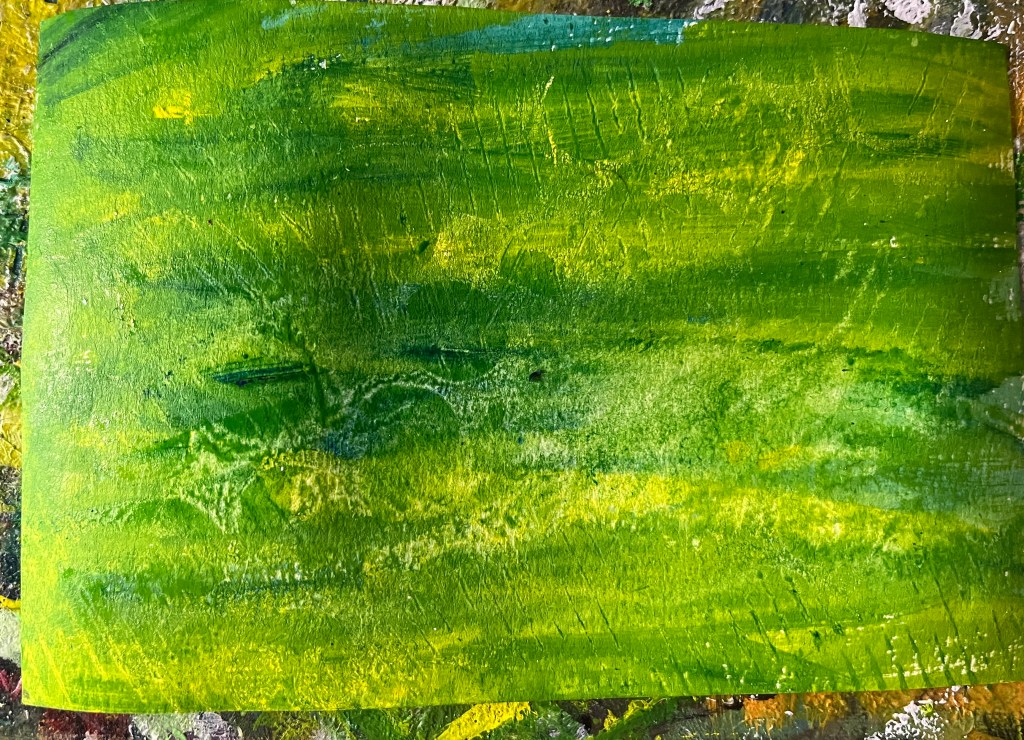
Before we got together, I had started an alternate project, coating the photo side of old postcards with gesso so they would take paint better. My plan was to use the same paints from Ruthie’s project on my alternate postcard project. I pulled out a dark blue, lemon yellow, and white as my color scheme.
I started with my project, laying down colors in a pleasingly haphazard way. Wet but not runny, brushing to blend until I liked it.
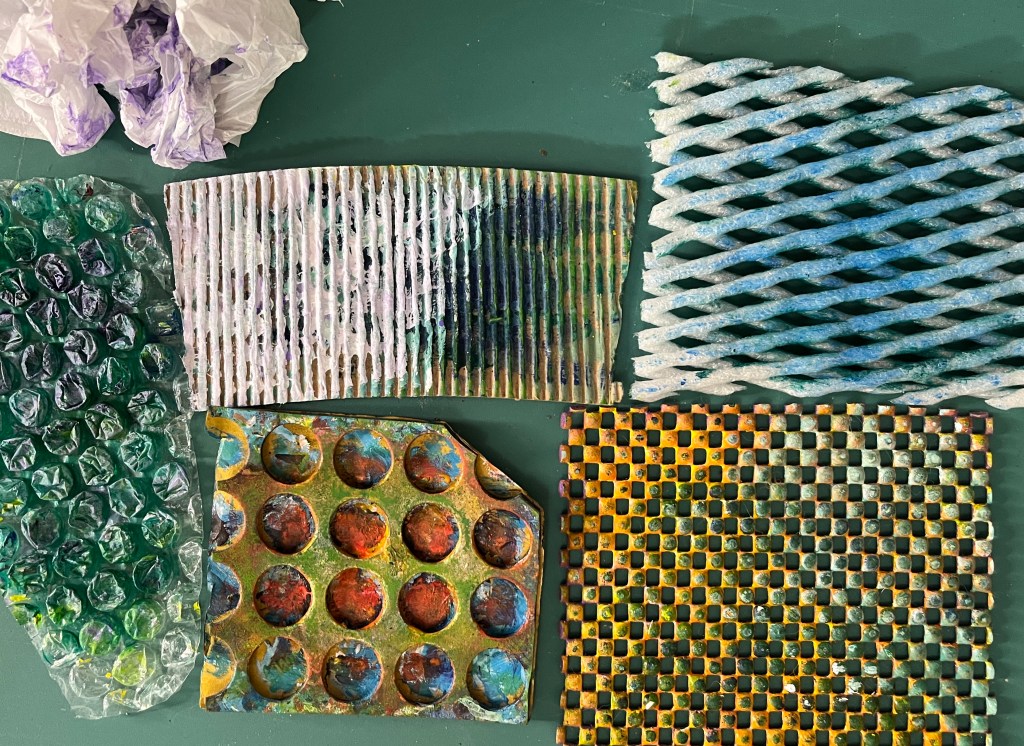
Then, at an inspiration from Ruthie, I pulled out my impressions makers (an odd collection of Starbucks coffee cup holders, fruit packing sleeves, crumpled tissue and bubble wrap) to change the textures of my colors.
I made about eight postcards in all, and one even looked something like Ruthie’s idea, this lovely, opalescent landscape. Of course, following directions is always optional, but it’s good to try new things.
Anyway, with this pile of colorful backgrounds, I can think about what can go on for the next layer. Some more textures? Collage pictures or words? Maybe some handwritten sentiments or just pretty squiggles?
I’m making more postcards! This time I have been focusing more on who the cards are for before I make them. It turns out, if I think about a person while I hunt through my collage box, things show up that I hadn’t seen before. It is some sort of weird picture-association Jedi mind trick.
For this batch of postcards, I thought about my newest friend Amy, my old friend Rick, my French teacher Veronique, and my newly-retired teacher friend, Cynthia.
Amy lives in Lake Oswego, just south of Portland. Every time we visit her, we get stunning views of Mt. Hood. When I mentioned this to Amy, she told me that she was as fascinated by the mountain as I am.
So of course the mountain had to be on Amy’s card, as well as some images that show her love of her garden.
My old friend Rick has an odd sense of humor and a long, tangled history with religion.
For his card, I put a silky terrier’s head on top of a print of a Cardinal on his throne, placed so Frida Kahlo’s head flowers and wallpaper shows. The foil that came wrapped around Christmas pears make up the finials of the throne.
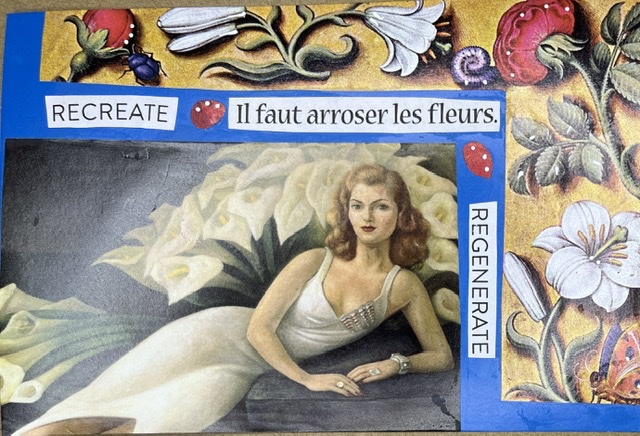
Veronique is from Belgium and loves beauty in all forms. She is multi-lingual and has been an inspiration to me for many years. This Diego Rivera painting reminded me of her. The French on her card says “You must water the flowers” and reminds her to relax and appreciate life.
Cynthia and I taught together for many years and took French lessons together from Veronique. Cynthia has a Master’s degree in library science and is a cancer survivor, and has recently retired. The many changes in her life are making things a bit hectic. The French says “There are so many things to do.”
I am having so much fun making these small, mailable pieces of art.
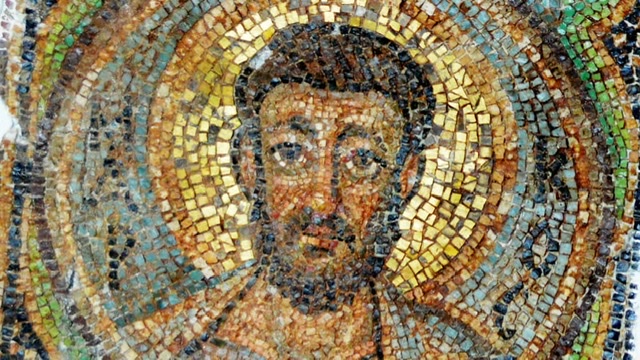
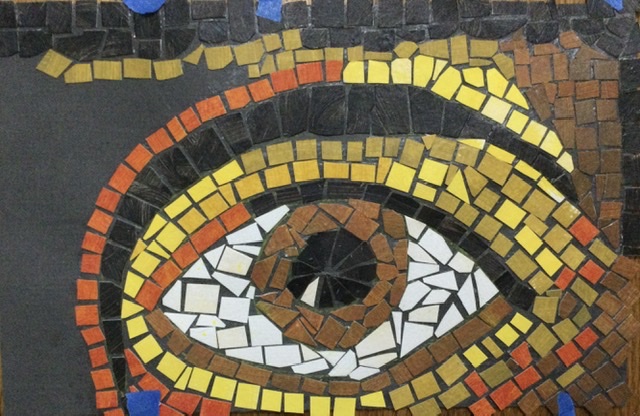
I have been bitten by the mosaic bug again, and I looked online for some inspiration. I found this is 1,600 years old mosaic, and I chose it because I love the eyes.
I know mosaics are labor intensive and wanted to start small, so I focused on just “the windows of the soul”, using a piece of backing paper about 5 x 8.
I sketched the basic shape in yellow pencil on dark paper about 5 by 8 inches. The dark background would mimic the grout usually used between tiles.
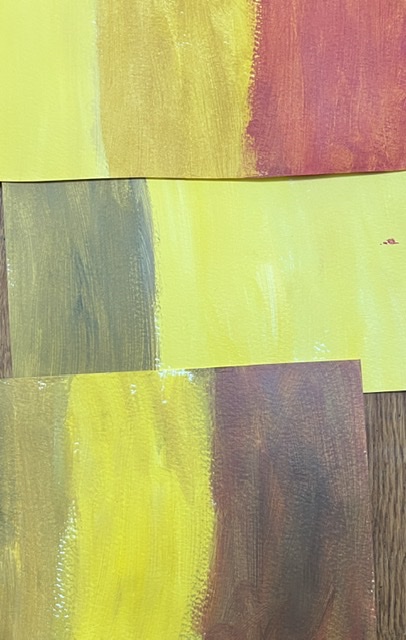
Since I loved the irregularity of the skin tones, I decided to paint a bunch to play with. Painting these swatches on heavy watercolor paper makes for bits that are easy to handle.
Then came the slow part, trimming and fitting and gluing. They should be small enough, but not too small, close enough, but not too close. It is intense work and I can only do it for about half an hour at a time.
There is a lot of second-guessing and talking to the bits as I work, lots of squinty work.
I was hoping to get this piece done today, because summer weather is predicted to start this weekend and I will (with any luck) be busy with planting and such. But I didn’t. Here’s what have for now.
I have learned something absolutely new from my friend Ruth Inman. She has found a way to re-use acrylic paints that dry on the palette.
Back when I first started painting, I was dismayed to learn that acrylics, unlike watercolors, become plastic once they have dried. Adding more water doesn’t dissolve them back into paint. This means that once that acrylic is on the palette, you need to use it, or throw it out. For my frugal self, this was bad news. But Ruthie discovered a way to make use of this dried paint.
First, prepare a background for your piece with acrylic paints. Any color combination that is complementary to the colors on your palettes will be fine. Let that dry.
Next, choose a few plastic palettes with good layers of acrylics on them. I use plastic food lids, so they sit around a lot and get re-used. Give the palette a spray of water. Make it wet, even a bit puddly, and let it sit for about 10 minutes, until it starts to wrinkle.
Using your fingernail or palette knife, gently ease the edges of the paint layer up. If it is a nice thick layer, it should peel up in one “skin”. But even if it tears a bit, it is useful.
If the skin is too big for your purpose, use your fingers to tear the skin into smaller bits. Look at both sides of the skin; the prettiest may be on the bottom.
While the bits of skin are still sticky and wet, press them down onto the background. Press firmly, but don’t worry if the edges are not all flat. The raised frills add dimension. They will stick once they have dried.
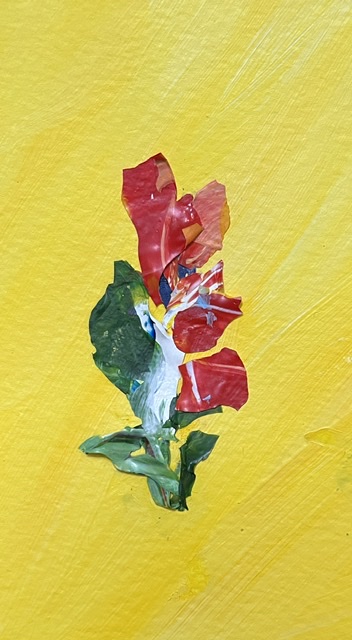
The trick to this sort of art is not to get fixated on what you intend the picture to be. The leaves of red flower on the yellow background was going to be a bit of landscape, but looked more like leaves. I turned it ninety degrees and added the flower.
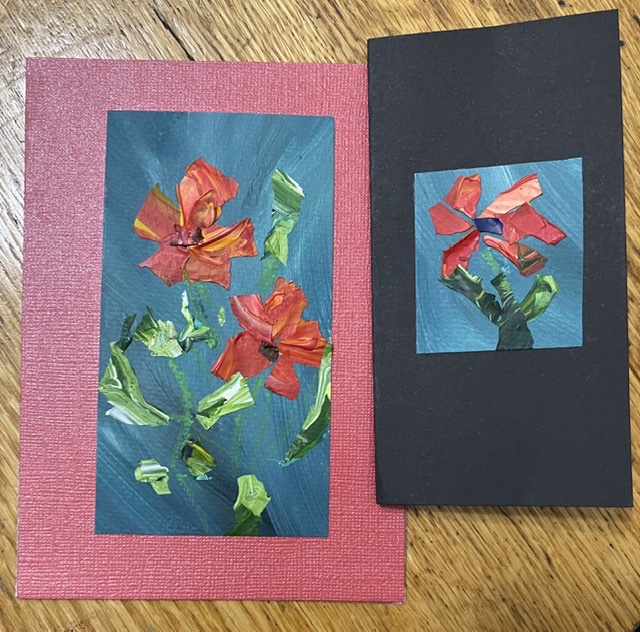
These flowers looked better apart, so got trimmed and put on cards.
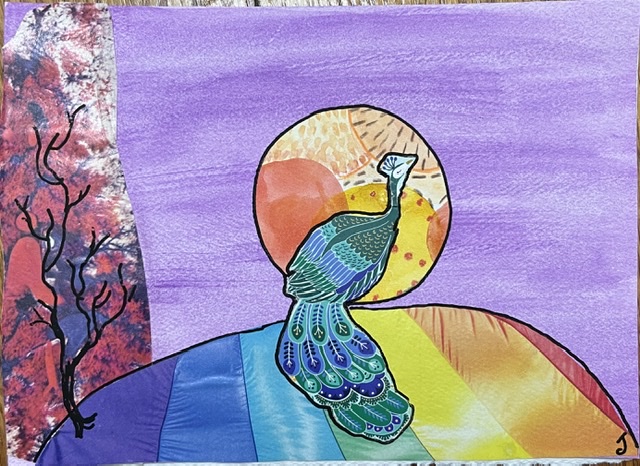
The irregular and colorful nature of the skins lends itself to flowers and leaves, but could also work as feathers for birds or maybe even mountains and landscapes.
I am happy with the results and will keep experimenting.
We are coming up on spring, and I am making my garden journal for this year. At the end of this month I will be pulling the burlap off my garden plot in the Blair Community Garden, and I want to be ready to write it all down!
Besides the usual encouragement from Ruth Inman and Bridgett Spicer, I am using “Making Books by Hand” by Mary McCarthy and Philip Manna as a guide.
First, I used the heavy backing of sketch pads for my covers, and layered some thinner tagboard with Mod Podge to make the spine. I glued these down to a nice canvas fabric, put a pile of books on them, and went for a walk. The canvas allows the heavy covers to bend properly.
When the spine was dry I covered the cover with some pretty paper, mitering the corners and folding them inside.
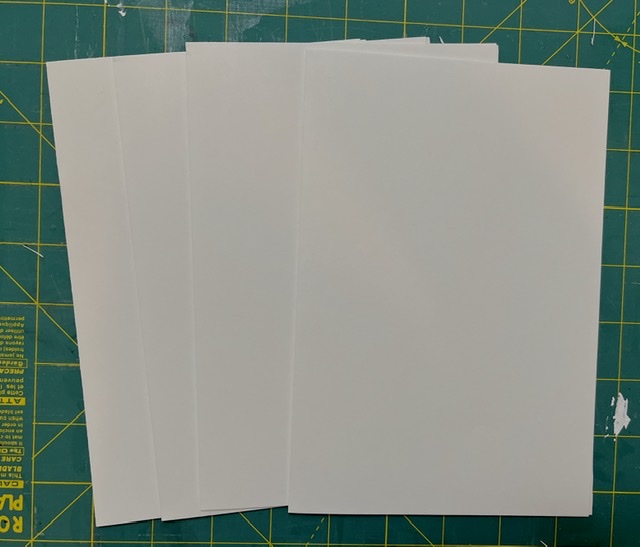
While these dried, I cut the paper for the pages. Each signature, or group of pages, takes four sheets of paper, folded in half. I gave them a nice sharp crease with the edge of my metal ruler.
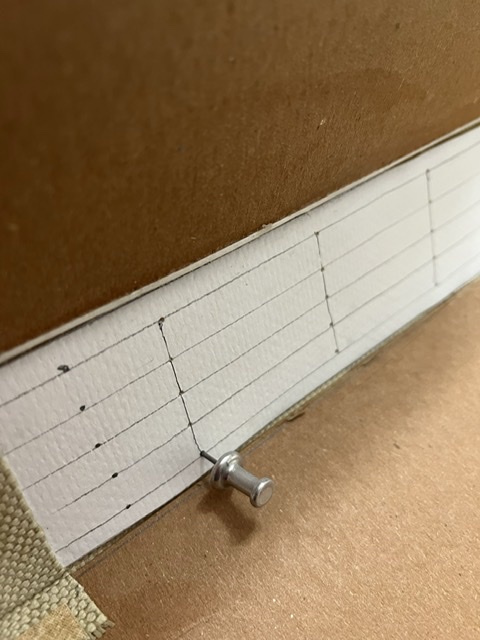
I used a trick from Ruthie to make my measuring device for where to put the stitches in the signatures. A strip of paper as long as my pages are high, folded in half, then each end folded to the center, makes a perfect guide for three holes without nit-picky measuring.
Poking the holes through all the pages with a steel artist’s tack before you sew makes everything easier. Sew the four sheets of each signature together with a strong thread.
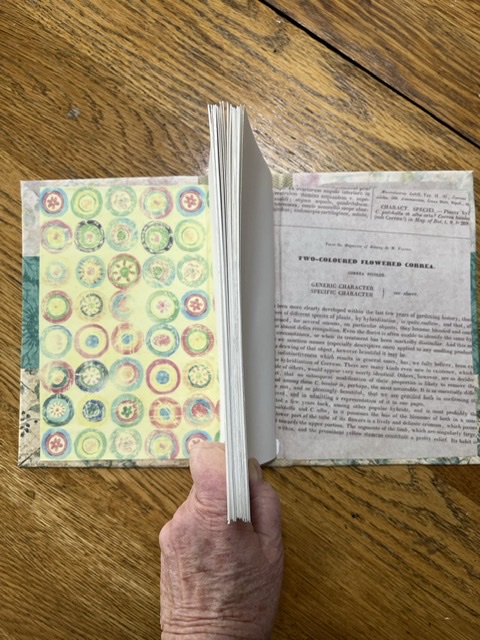
I made five signatures because the spine of my book was wide enough to accommodate them. This will be my thickest book yet!
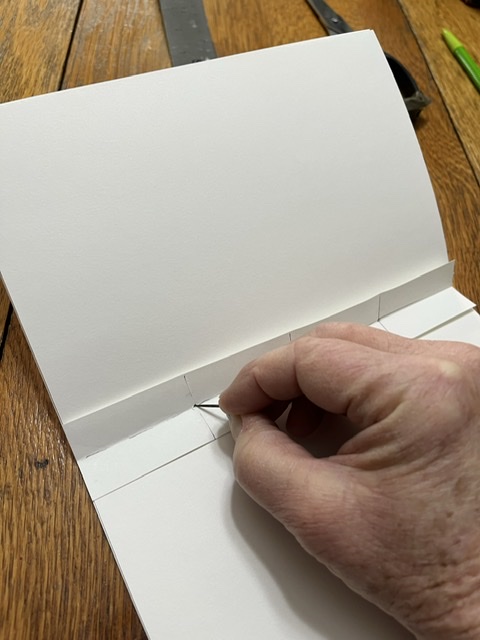
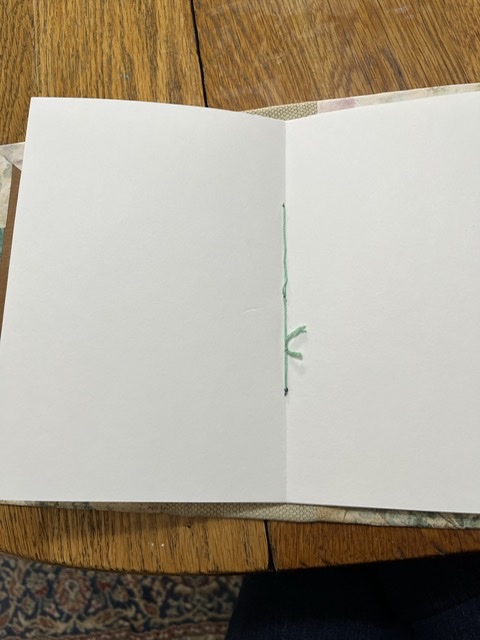
Again, use the steel tack to poke holes for each sewing point. Then sew each signature into the spine with a heavy thread. I used embroidery floss. This is a bit fiddly, but you will get better with practice.
The trickiest bit is making the knot tight. This is easier if you have a friend put their finger on the knot for you while you pull it tight. Trim the ends of the thread short.
Once the signatures are sewn in, apply glue thinly to each of the inside covers and lay the first and last pages against them, pressing the air bubbles out so they are smooth. This will stabilize the book and hold everything together. Put weights on these and wait a few hours.
The last step is to cover the inside covers with pretty paper. Press these flat and let everything dry overnight.
And there it is, my Garden Journal for this year! C’mon, Spring!
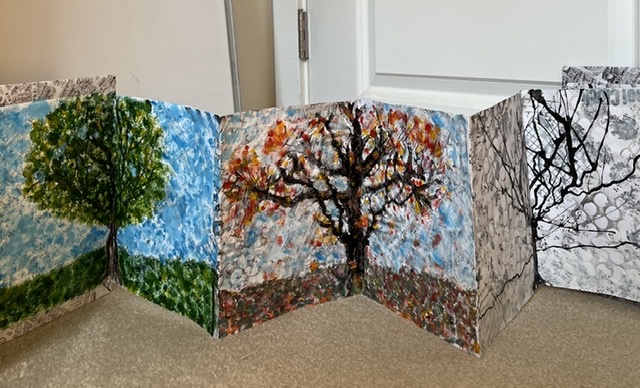
We got to finish the Concertina books! Weeks ago, Ruth Inman’s Tuesday Thursday Art group started painting black and white pages in this weird, accordion shaped book.
Once we had the black and white backgrounds down, Ruthie let us in on the next step. We would be painting a tree on each two-page spread, and each tree would show a different season.
I started with Fall, and I wasn’t happy with it at first. The background I had laid down included some very bumpy cheesecloth, which didn’t allow the ink to go down smoothly. It was a real wrestling match, but I decided to let it ride for the moment.
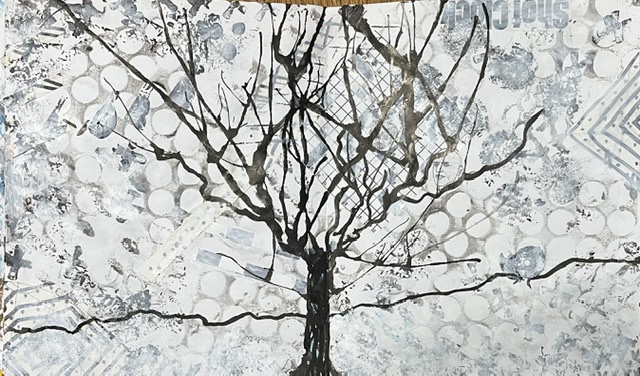
We continued on into winter, which went much smoother because the page itself was smoother. The ink was able to run freely and make some nice bare branches.
While I was waiting for the paint to dry, I covered the covers with some of the nifty Paris map fabric I bought to make Auntie Bridgett’s Christmas present.
For the third page, I watered down some acrylic paint for the bare branches. Using a small brush and a straw and tipping the paper, I got it to move the way I wanted.
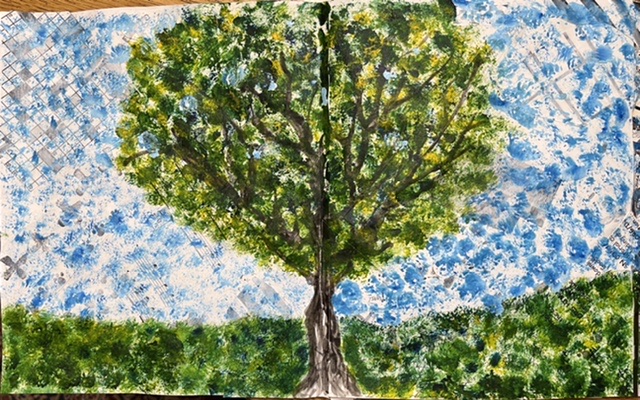
Then yellow, blue and some white got dabbed on to make the summer fullness of the tree.
When it was time for the class to all put our books together, my Spring page still wasn’t done, but that’s okay. I can paint it later. We all got the covers, glue media and scrapers, and went at it.
The fold-y bend-y parts kept folding and bending, but I managed to not make a mess of it. Now that it is all flat and dried, I feel pretty proud of it. My adventures in book making continue!