Once I got the hang of making these three-dimensional paper sculptures, I couldn’t stop! The Zoom Art Group I do with Ruthie Inman was still working on theirs, so I started a second one.
This time, I wanted to play with interlocking shapes. I chose the yin/yang symbol. It was tricky to get the shapes right, but with some tracing and flipping, it all worked out.
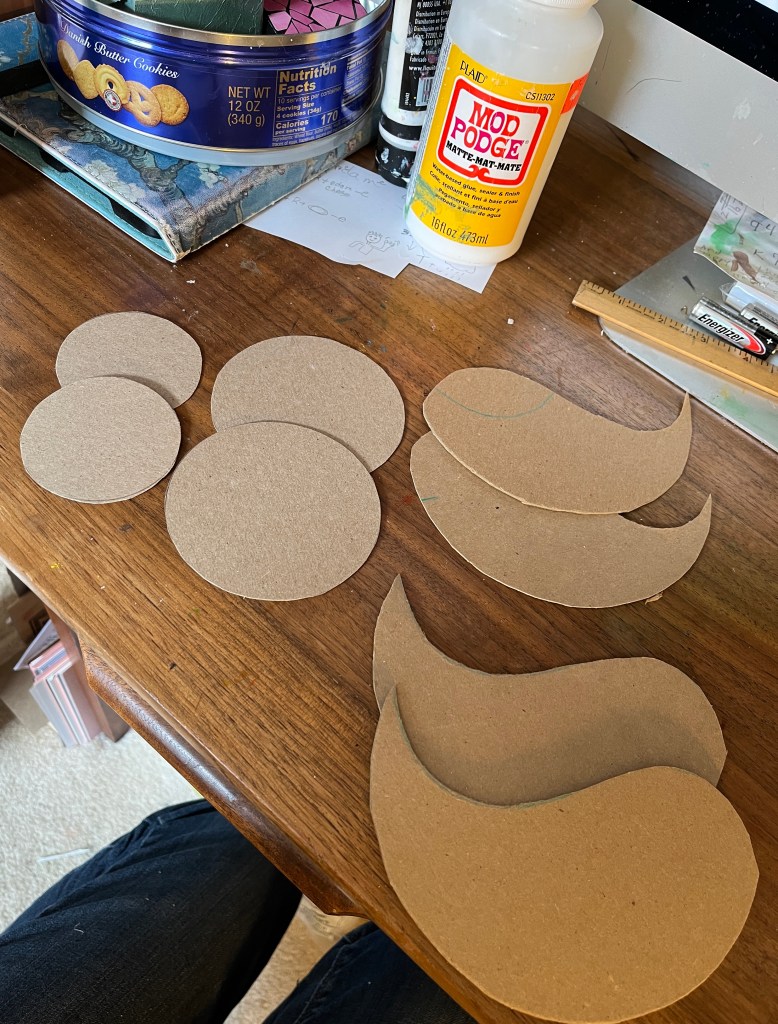
The supplies aren’t sophisticated… just cardboard from cracker and cereal boxes, paper headed for the recycling bin, and Elmer’s glue.
I kept making shapes! A big circle became two halves, and then a bunch of medium and smaller circles got assembled and dried. Tiny blocks kept them together while they dried.
Covering the curvy shapes is tricky, but clipping the curves and going slowly makes it more successful.
I used Mod Podge as the adhesive for this part because it is less slippery than Elmer’s. I tried a bit of flour paste, but it takes too long to dry and I am impatient.
Here are my shapes. Next step: Color and assembly!!
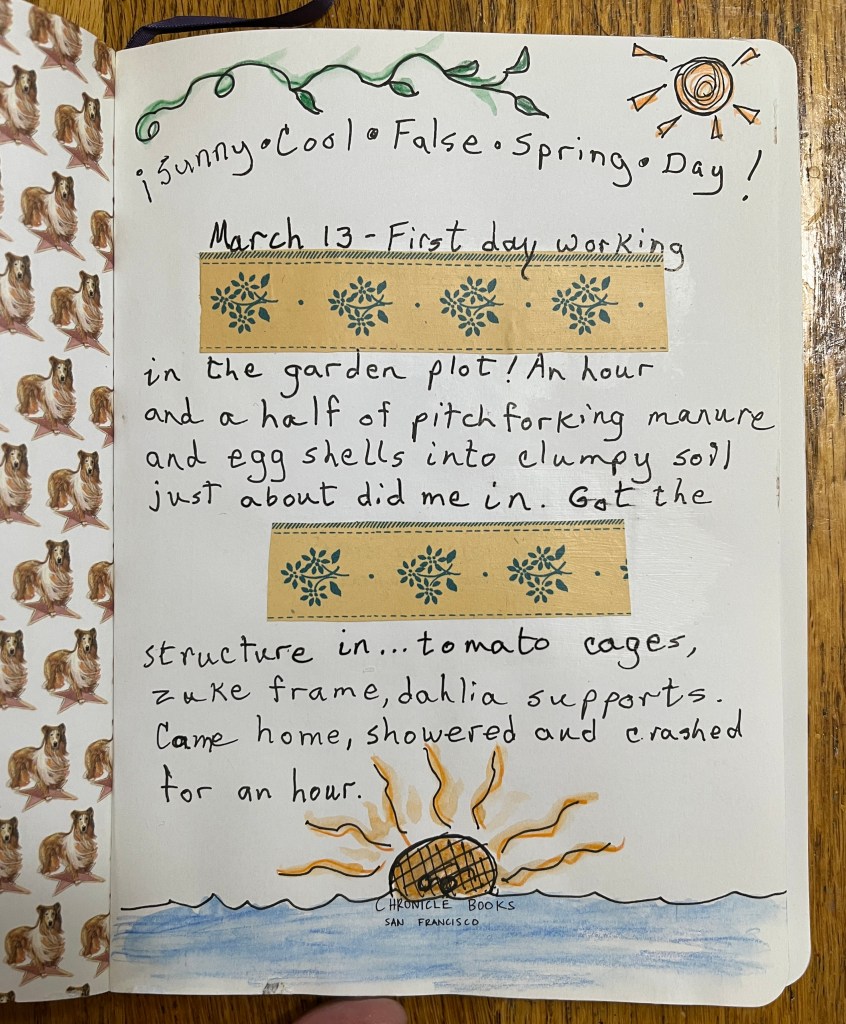
Since there is a garden, there must be a garden journal. For a few years, I made mine from scratch, delighting in learning a new process. Last year, I re-used a found day planner. This year, I looked in the box of books that we are giving away.
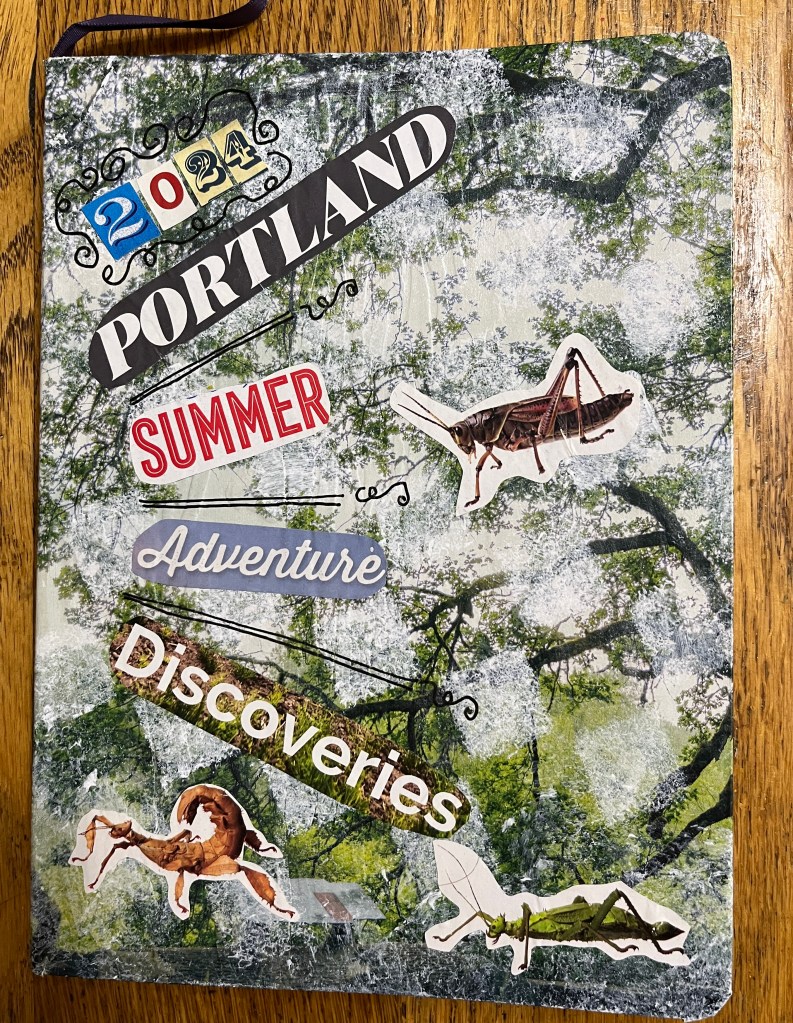
I found a book I bought years ago, called “Film Listography,” by Lisa Nola and Jon Stich. I enjoyed it very much, but I haven’t touched the book in about ten years, so I was ready to re-use it. To start the transformation of the cover, I laid down a leafy page from a magazine, then dabbed on some acrylic paint.
This softened the colors so they would be a background for the words. I love how they look all summery together! (And the bugs add a teensy creep factor).
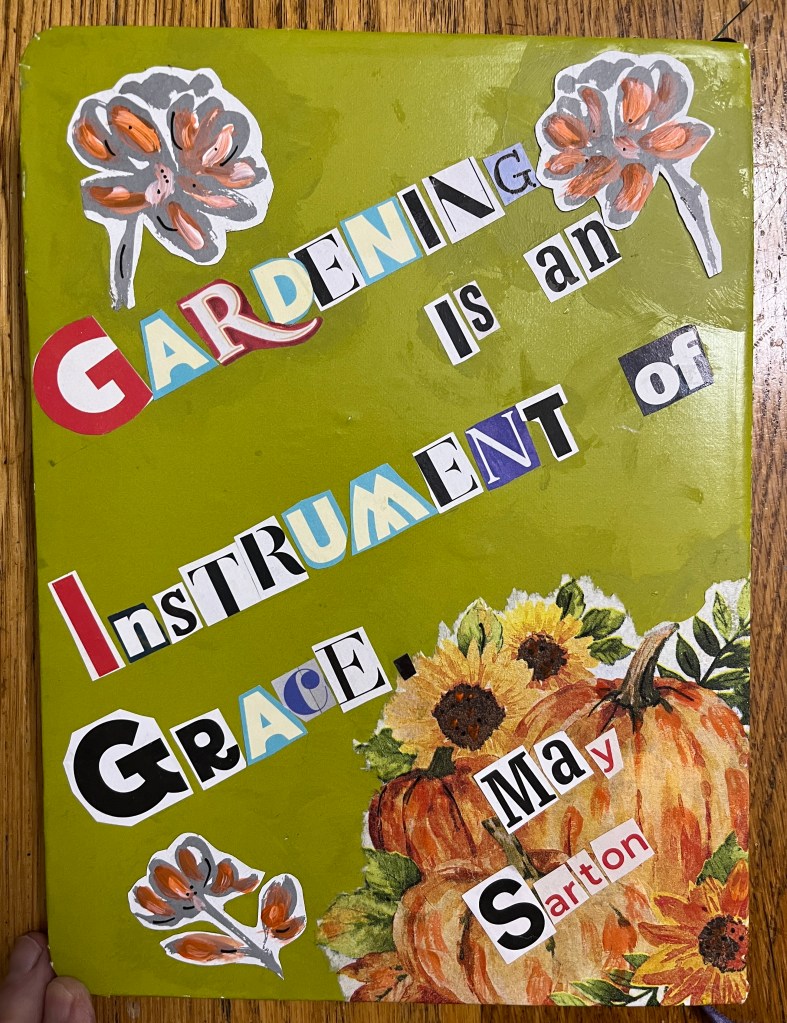
For the back cover, a page from the PAM magazine and a holiday napkin from Ruthie Inman go together for a proper autumnal ending to the book. I used a technique Ruthie taught me to get a nice soft edge on the napkin image. It’s just a little water and a gentle tug.
It still looked a bit empty, so I hunted up a gardening quote I like and gave it the “ransom note” treatment. I added few more flowers and a bit of paint. You think maybe it’s too much?
But I made it for me, and I like it!
Inside the journal, there will be some decisions everyday about how to manipulate the interesting images that are already in the book and include my own news and art. I can’t show you much of the unaltered art, because of the “no use without written permission” rule.
I am really looking forward to a garden-filled, artsy summer.
Some things take longer to figure out than others. The last time I worked on the stacking hearts paper sculpture, inspired by Ruthie Inman, was March 7.
I laid some colored paper on it, and it wasn’t turning out like I wanted. I got to what Auntie Bridgett calls The Picasso Stage, where you sort of hate your project. I set it aside to work on the Crazy Quilt, work in the garden, and make pies for Pi Day.
By Saturday, I had some time to spend and hated the project less. I added some acrylic paint, then some sparkly papers, then ink, then more paint. I started stacking them while on a zoom call with you and your Dad.
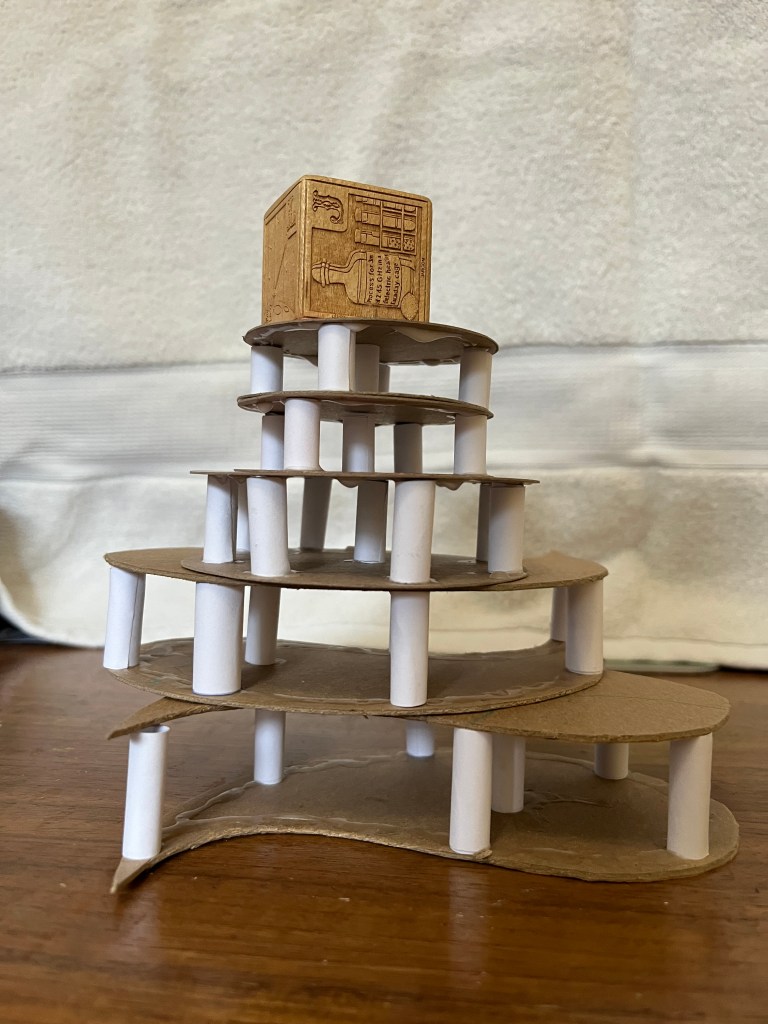
And by the end of the day, I had the hearts the way I wanted, and even had a solid base for them to stand on. I got the Elmer’s Glue out and stacked them up!
When it was dry and strong, I gave it all a shiny coat of high gloss medium and varnish.
I like that this piece has a front and a back, and that it stands all by itself. I like a lot of things about it. Still, I know I can make a better one, and maybe I will sometime.
But for now, here are my Stacking Hearts. Eight inches by five by three, light as a feather and finally done.
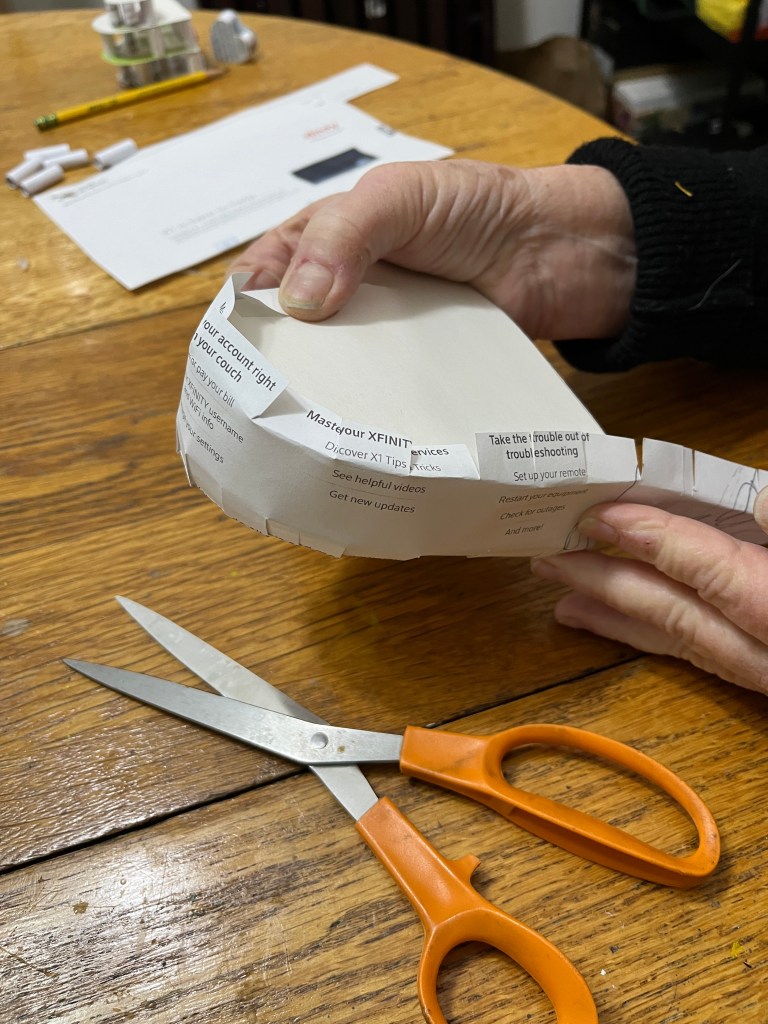
Once all the heart ‘insides’ had dried and gotten solid, it was time to cover them. Ruthie suggested card stock, but I was worried that it would be too stiff to go around the curves.
I tried regular paper. I cut a strip an inch wider than the heart, and drew a line a half inch in from each edge, so I could clip the paper, like you do fabric, to make flanges on the curves. I spread some Mod Podge around the edges of the heart and went to work.
It was a bit fiddly to hold the paper to the glue for just long enough to adhere but not so long as to stick to ME, but it all worked out.
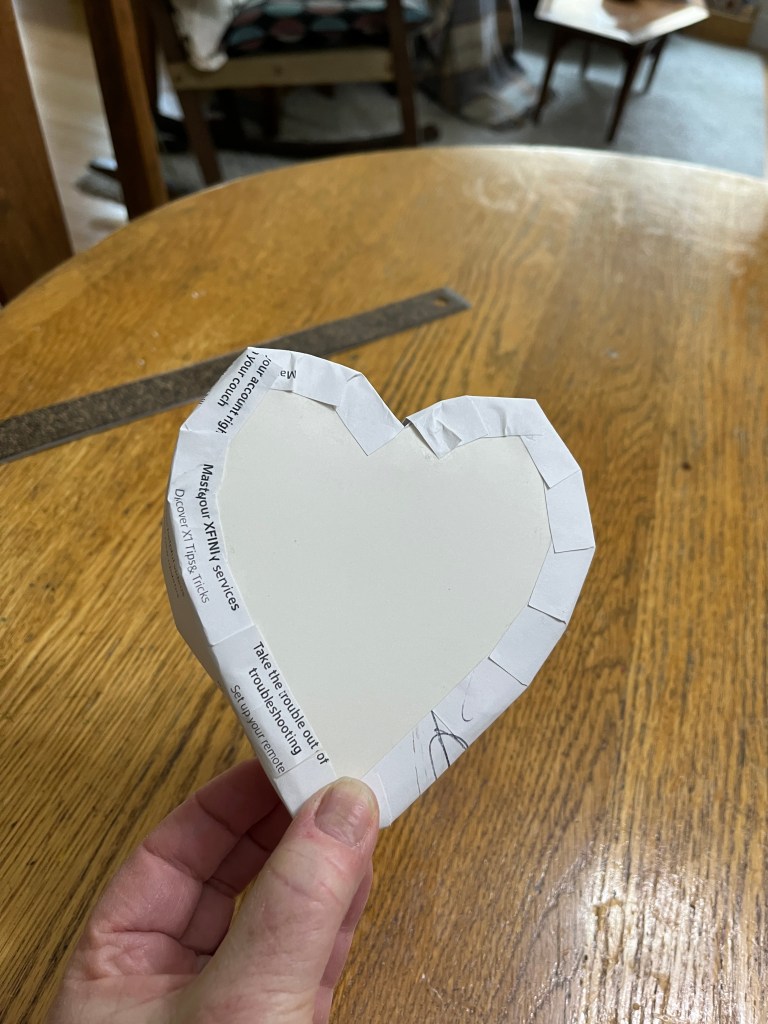
And where the strip of paper came up a bit short, it was easy to patch.
I got so carried away that I did three of them in a row!
I will show you the last steps once I have done them. I’m figuring this out as I go along.
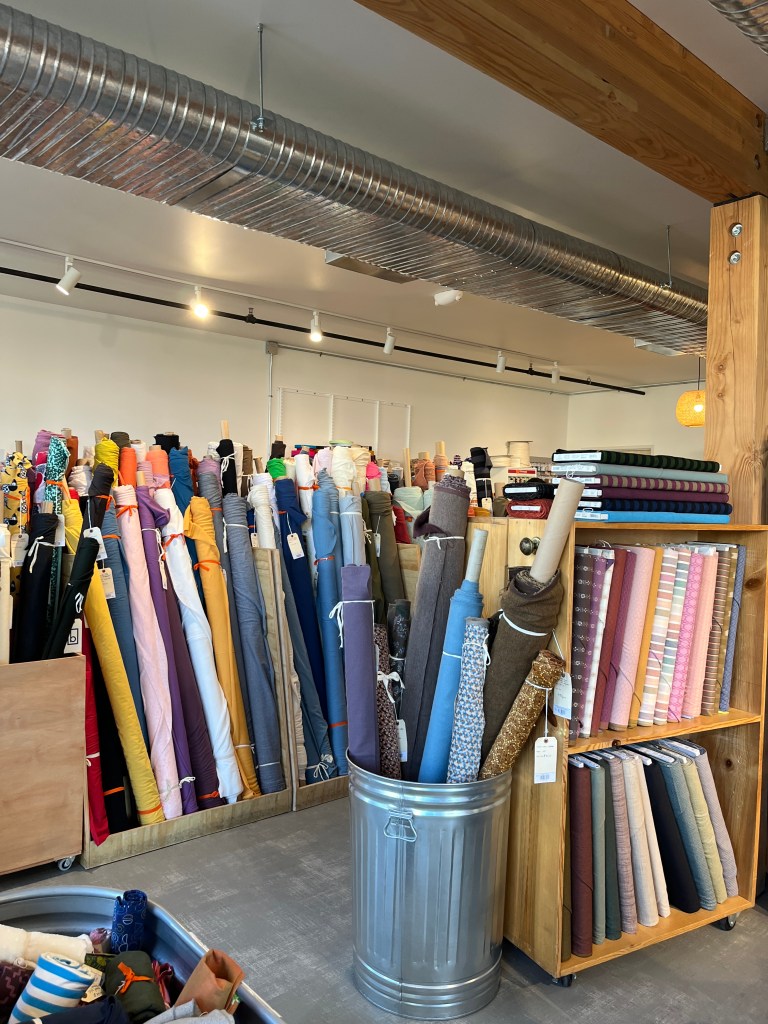
After we had our usual ZOOM chat with you and your folks Saturday morning, Auntie Bridgett and I headed off for an adventure. We drove up to Bolt Fabric. I needed to have my scissors sharpened and to pick up some new fabric for the ongoing crazy quilt.
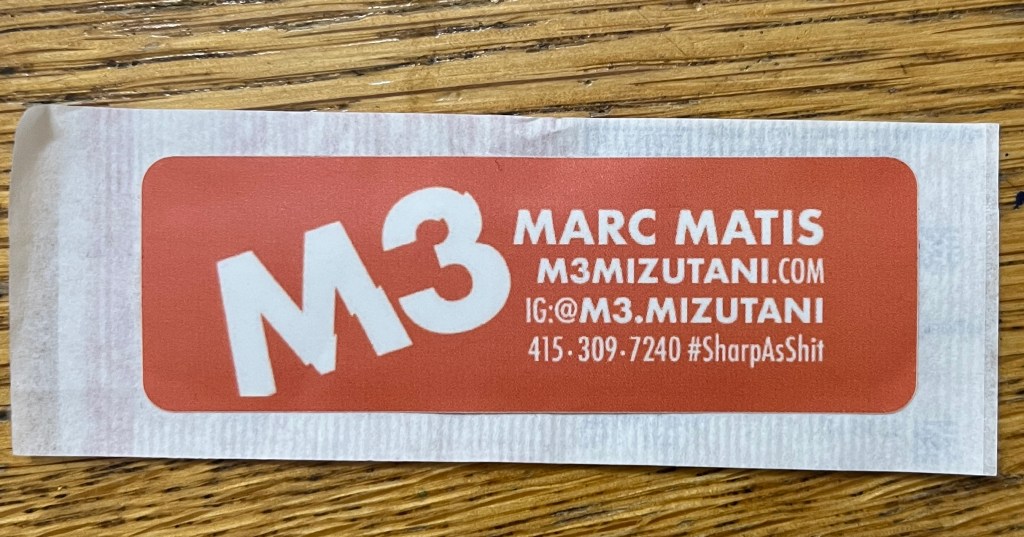
The store has moved since November, and it took a while to find it! The new shop is at Alberta and 29th, and is a larger store, with lots more selection and fun displays. I left my scissors with Sharpener Marc Matis, who has a shop on Sandy called Sharpening 4 U, and we looked around a bit.
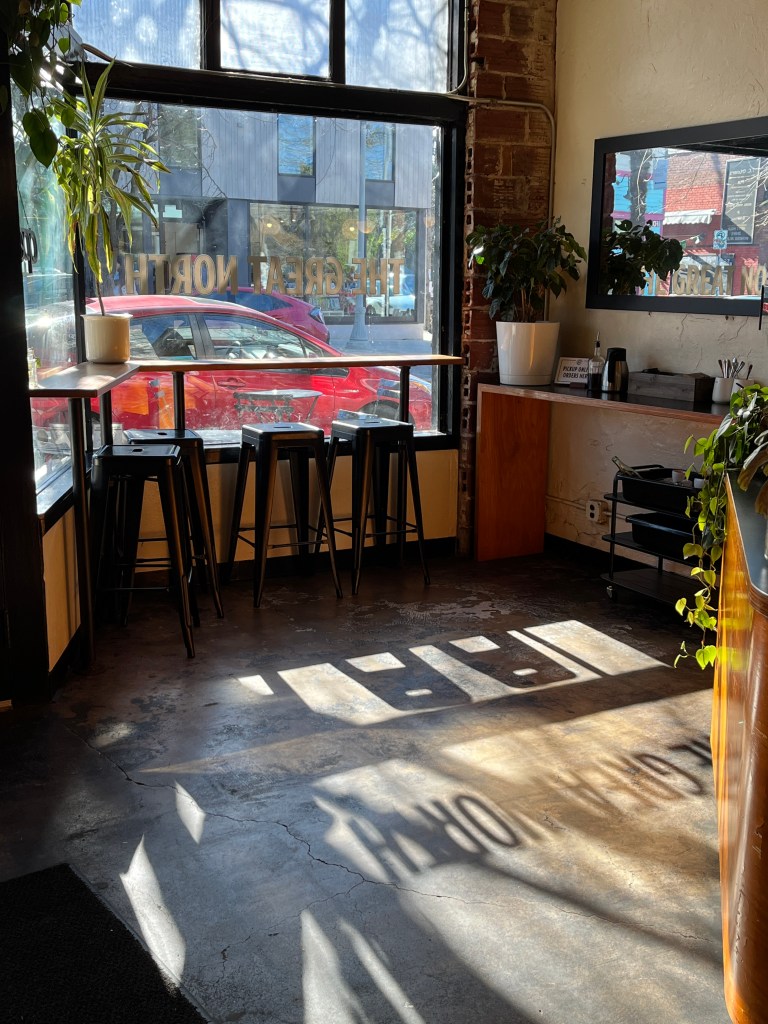
I was feeling a little light headed, so we found The Great North for coffee and pastries across the street. This place is also new, and very bright and sunny. And delicious!
We found the fabric I needed, along with some thread, since I have been going though a lot of it with the quilt, and picked up the nicely sharpened scissors from Marc. I love that his business sticker is on a bandaid!
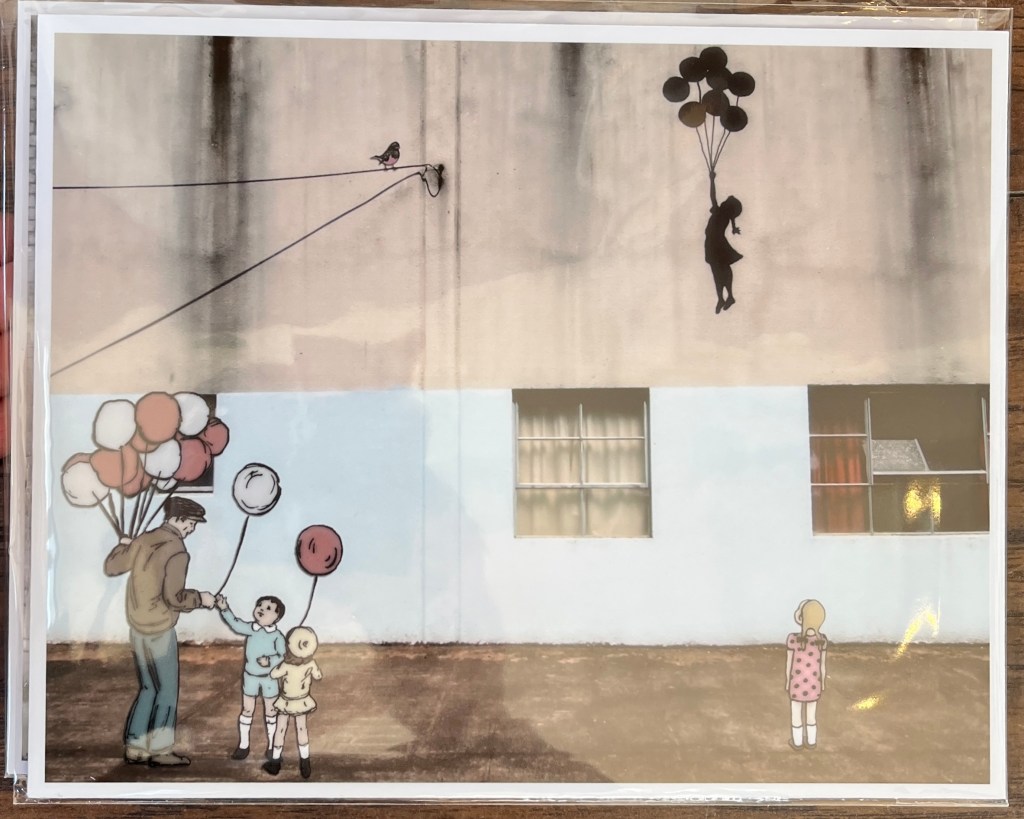
On the way back to the car, we found a tiny new art gallery called The Blind Insect. Pepe Moscosos displays his art as well as other artists’ work. I like Pepe’s work, though they were hard to photograph because of the strong afternoon sunlight. He has traveled to photograph deserted places in the U.S.and then uses the photos as the basis for story-evoking multi-media art. I enjoyed making up stories about them.
When we are done, and done in, we drove home and I washed the new fabrics.
Some will work for the Crazy Quilt and some won’t, but they are all pretty… and certainly won’t go to waste!
There are all kinds of art. Painting, sculpture, singing, writing, acting, architecture. All of these consist mainly of a set of skills combined with a desire to explore or show the world in a certain way.
I am not particularly good at any of them. I can draw a cat that looks like a cat if I have to, but it isn’t my strong point.
And, I’m realizing, that doesn’t preclude me from being an artist. Just like so much of what I enjoy in the world are combinations of things, the way images are arranged or layered, can be a work of art.
This is where collage, mosaic, and assemblage come in. The arrangement and layering of paper, images, and objects as a work of art that explores the way the artist sees the world.
To me, it feels more like playing with tinker-toys. I find bits I can manipulate and put them together to make something pleasing to my eye that says, well, whatever I want it to say. And, for want of a better word, I will call it art.
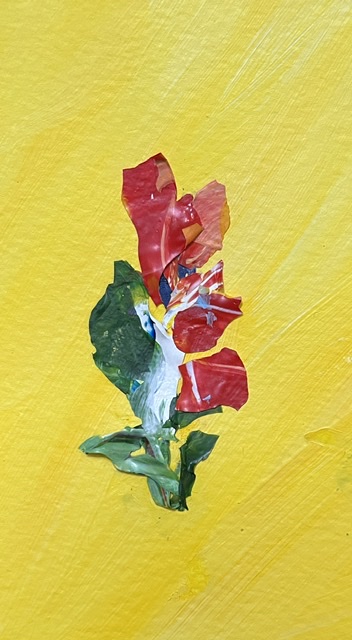
I have learned something absolutely new from my friend Ruth Inman. She has found a way to re-use acrylic paints that dry on the palette.
Back when I first started painting, I was dismayed to learn that acrylics, unlike watercolors, become plastic once they have dried. Adding more water doesn’t dissolve them back into paint. This means that once that acrylic is on the palette, you need to use it, or throw it out. For my frugal self, this was bad news. But Ruthie discovered a way to make use of this dried paint.
First, prepare a background for your piece with acrylic paints. Any color combination that is complementary to the colors on your palettes will be fine. Let that dry.
Next, choose a few plastic palettes with good layers of acrylics on them. I use plastic food lids, so they sit around a lot and get re-used. Give the palette a spray of water. Make it wet, even a bit puddly, and let it sit for about 10 minutes, until it starts to wrinkle.
Using your fingernail or palette knife, gently ease the edges of the paint layer up. If it is a nice thick layer, it should peel up in one “skin”. But even if it tears a bit, it is useful.
If the skin is too big for your purpose, use your fingers to tear the skin into smaller bits. Look at both sides of the skin; the prettiest may be on the bottom.
While the bits of skin are still sticky and wet, press them down onto the background. Press firmly, but don’t worry if the edges are not all flat. The raised frills add dimension. They will stick once they have dried.
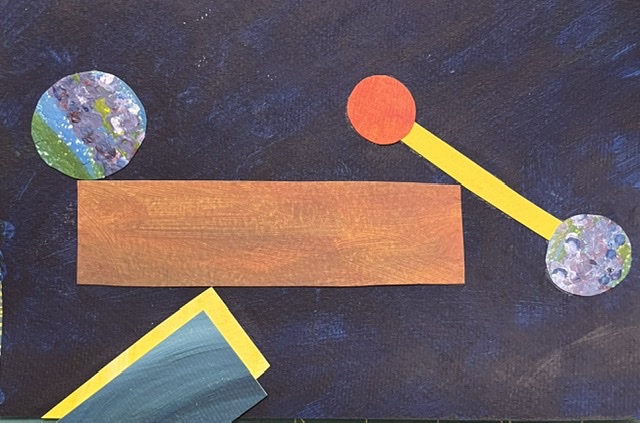
The trick to this sort of art is not to get fixated on what you intend the picture to be. The leaves of red flower on the yellow background was going to be a bit of landscape, but looked more like leaves. I turned it ninety degrees and added the flower.
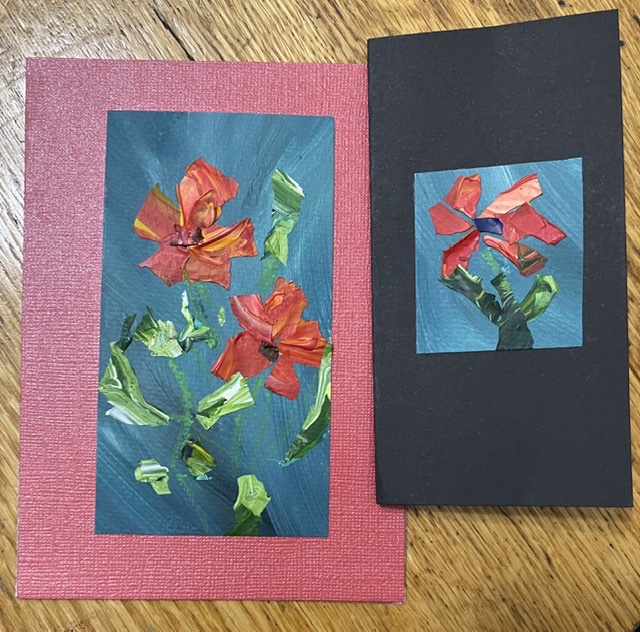
These flowers looked better apart, so got trimmed and put on cards.
The irregular and colorful nature of the skins lends itself to flowers and leaves, but could also work as feathers for birds or maybe even mountains and landscapes.
I am happy with the results and will keep experimenting.
When I was teaching, we talked a lot about creating ”life-long learners. In talking with the students I have kept in touch with, I see that I was mostly successful. And I was very successful in becoming one myself.
Since I have been retired, I have had lots of time to learn new things.
I have studied the histories of Paris and Portland, The Monarchs of France and England, How to write mysteries, and The history and structure of Broadway Musicals..
The inspiration to learn something new can come from anywhere. A random “Why on Earth…?” can lead me down a internet and library rabbit hole for a week or more.
And sometimes the inspiration comes from you, Liza. Our Sunday Evening Art Zooms give me reason to draw something I normally wouldn’t, and stretch me a bit.
I have drawn Anime characters while you told me their stories and then drawn a robot and then made up a story about him. And everytime, I learn something new about faces, or color, or composition.
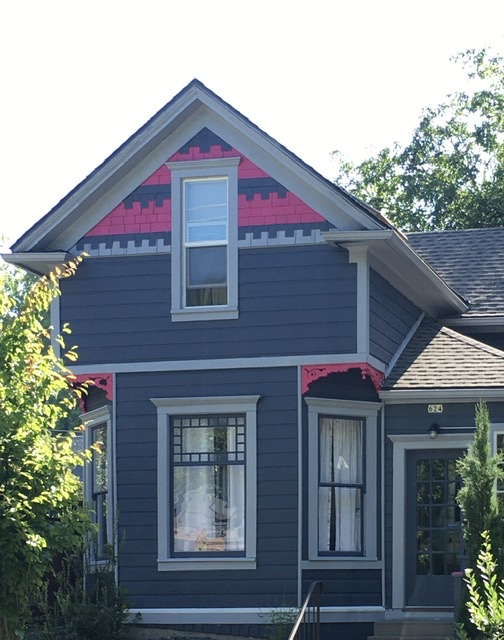
I have been taking care of Auntie Katie’s cats this week while she is on vacation. This means I have been getting to walk in different parts of the neighborhood.
There are cool old houses and huge trees in our Sunnyside, Richmond and Ladd’s Addition neighborhoods. I love the bright colors!
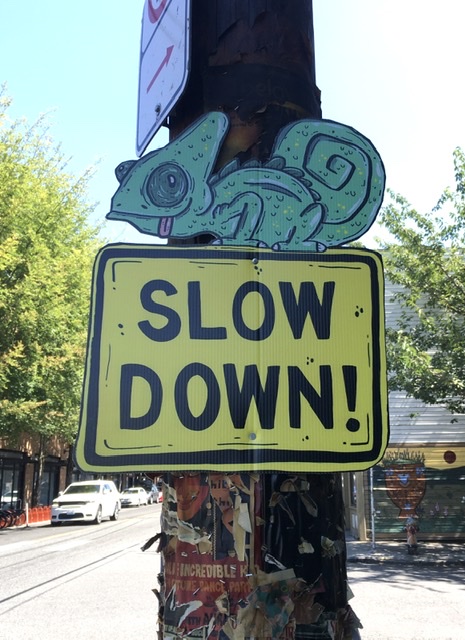
There are dozens of pieces of art put in place just to amuse people.
The weird Morrison Mini Art Gallery….
And there are generous folks who share their ripe fruit right off the trees with anyone who wants it.
This has been a good week for figuring stuff out. Whether that is because of the new brain exercises I have been doing or not, I think I will keep up with them. A happy brain makes a happy Grandma Judy.
Left- handed portrait of a neighbor
Drawing pictures with my non-dominant hand has made my whole body work harder. My left hand is figuring out how to hold a pencil, my right hand makes a fist, thinking she should be doing something, and my brain works overtime, making sense of the whole situation. It just seems to wake everything up!
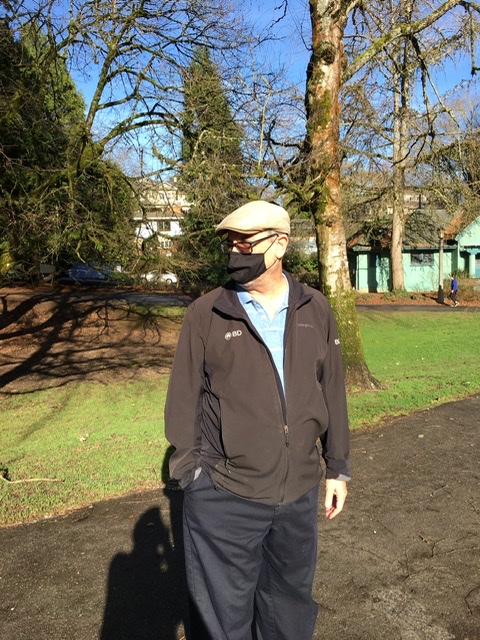
Grandpa Nelson, enjoying the sunshine
This week I have gone on more walks. The sudden sunshine after weeks of rain is part of the reason, of course. Blinding sunshine through winter trees is just good for the soul.
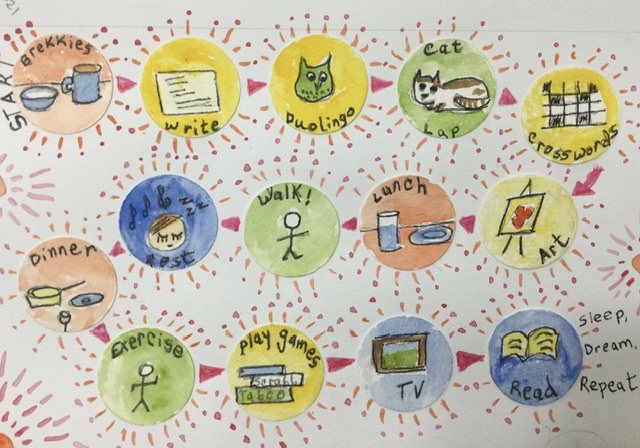
Mapping out the day
But there’s more! For the Art Journal, I have made art I really like. Mapping my day as a board game and planning my ‘dream houses’ (yes, there are more than one!) have kept me happily introspective.
One dream house by the sea…
I have also figured out how to re-write my blogs so they can be printed. I sigh big sighs as I hunt up photos from years ago and cuddle up close to the feelings that they conjure.
…and one in Paris!
All of these are good things. Art, writing, figuring things out, and sunshine. I am enjoying them, but also very aware that I am using them as emotional armor against what seems like an approaching storm in our country. In the coming weeks, I am going to need all the joy I can get.