Every now and then, I go back into the Art Closet and try another few Gelli prints. I am trying to be more methodical so I can photograph the steps as I go and learn what works for me.
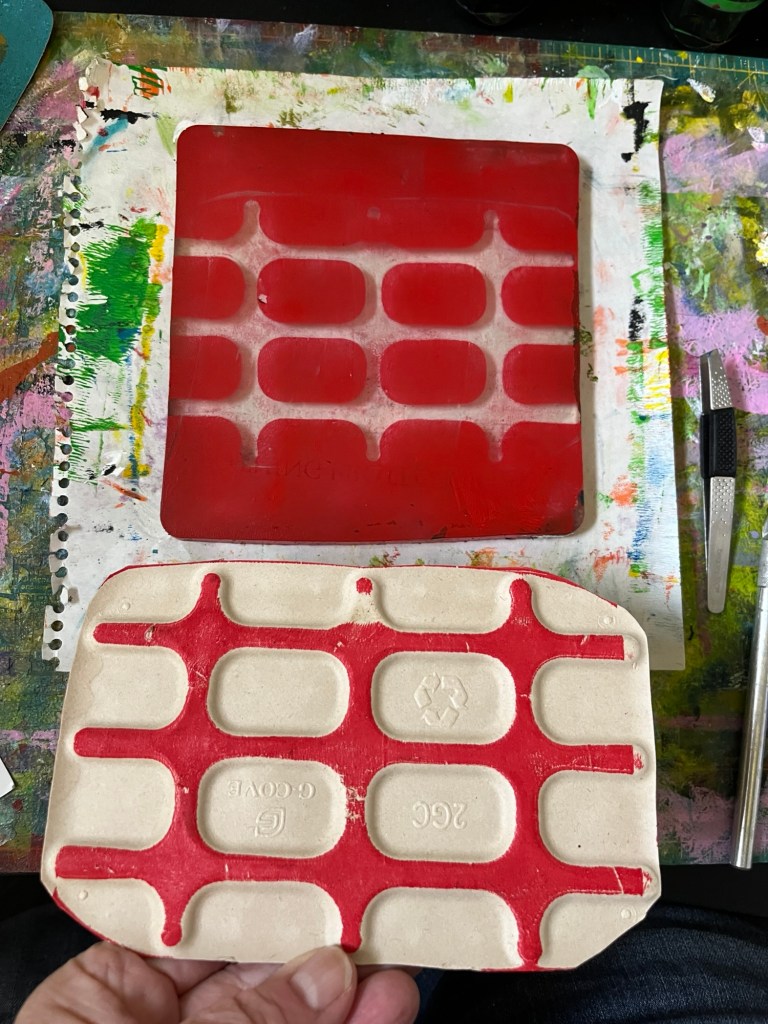
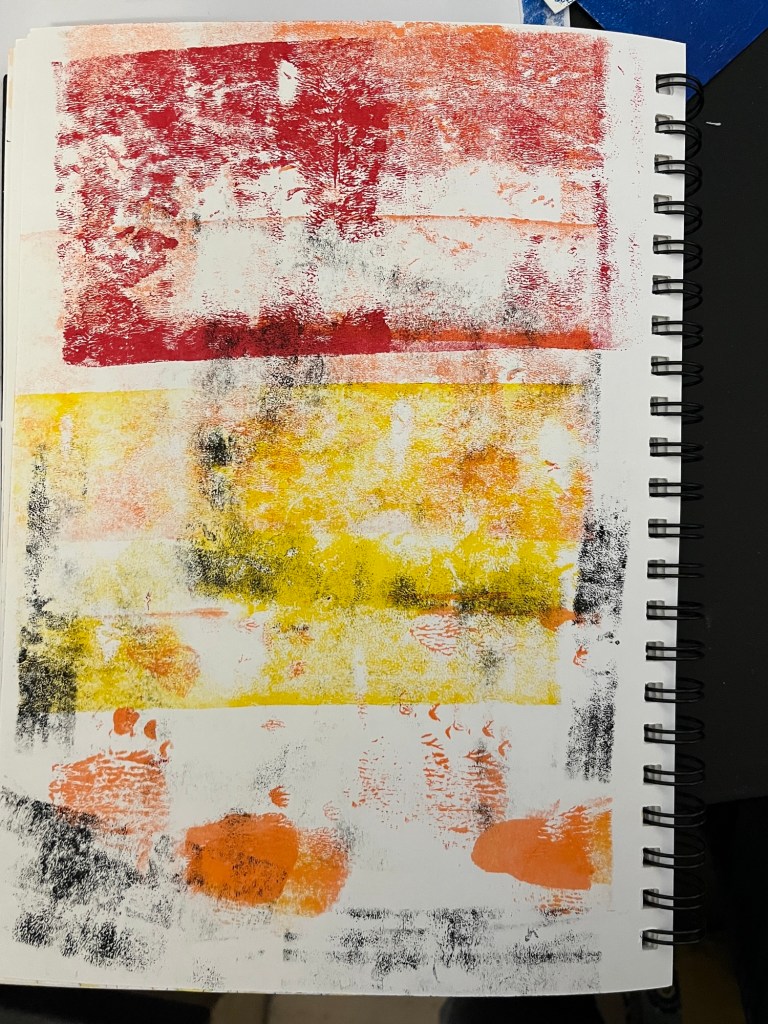
Friday, I started with a bright red plate and made this cool pattern with a cardboard vegetable tray from the market.
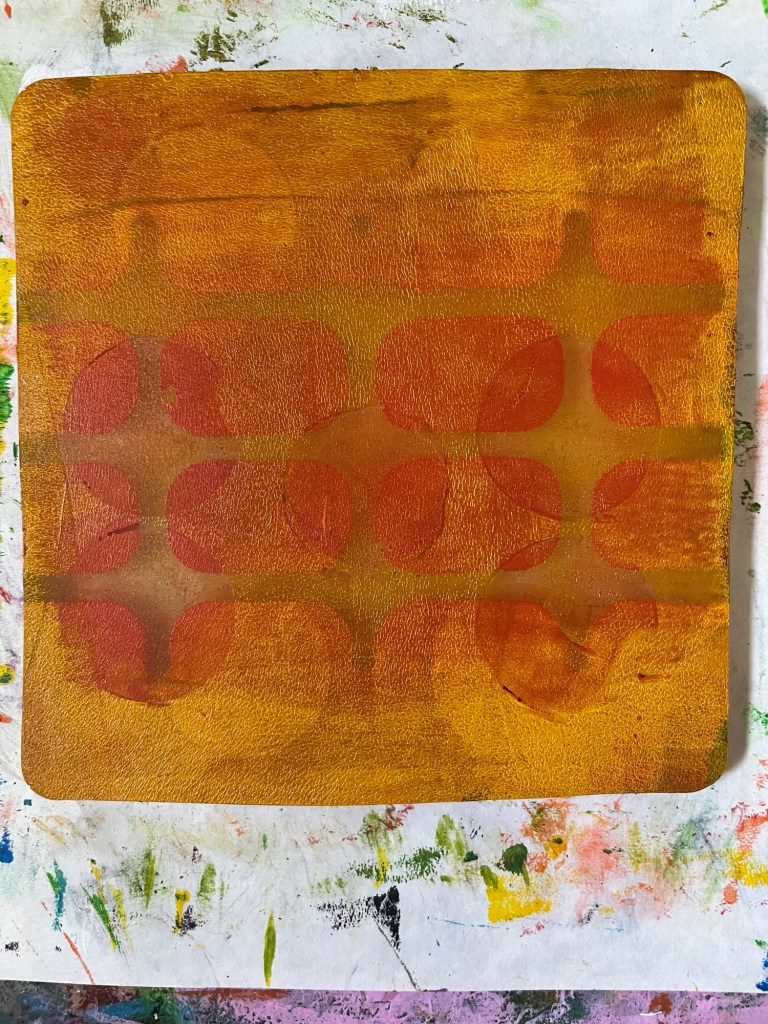
Then, because I always forget that yellow is transparent, I tried to lay some down. I added some orange, to try and make my point.
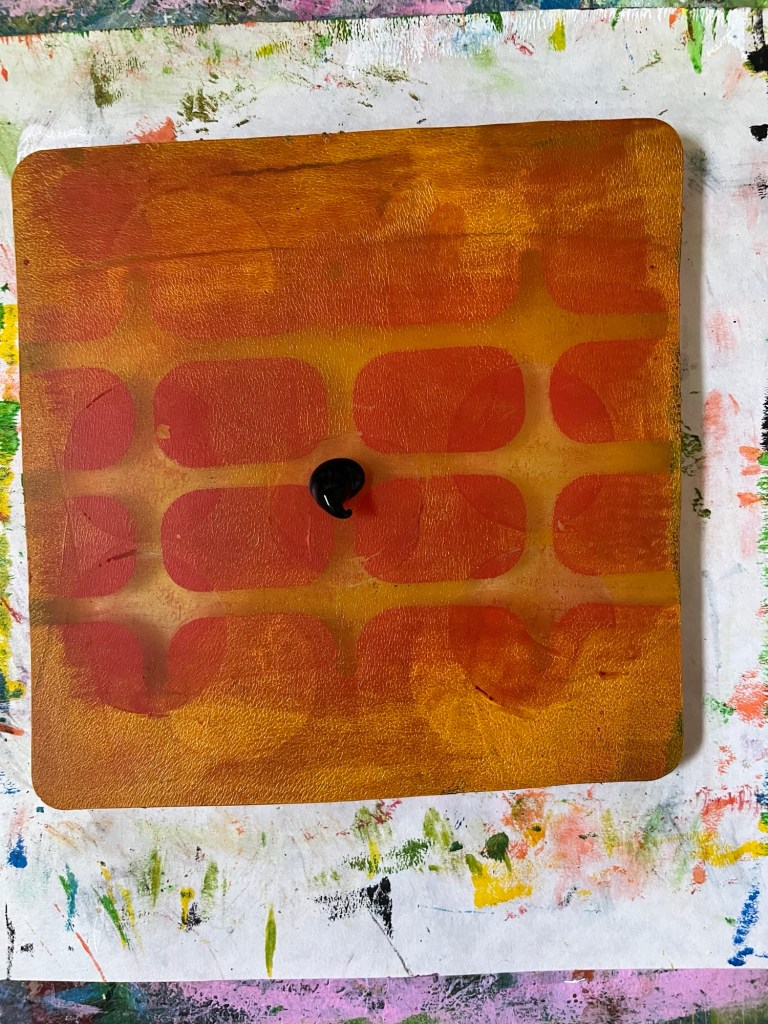
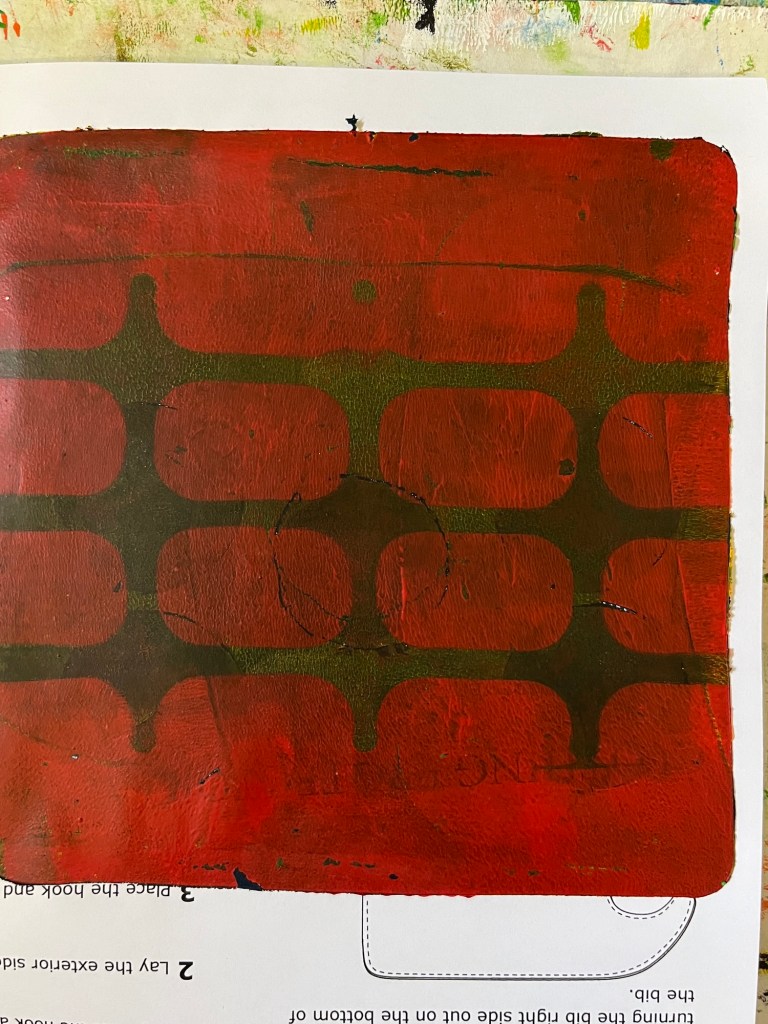
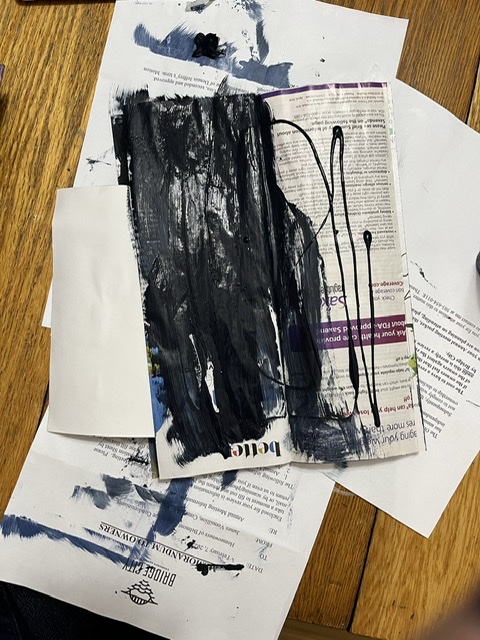
Once everything was good and dry, I put some black on and rolled it out. I like the print, but wish the yellow and orange were more visible.
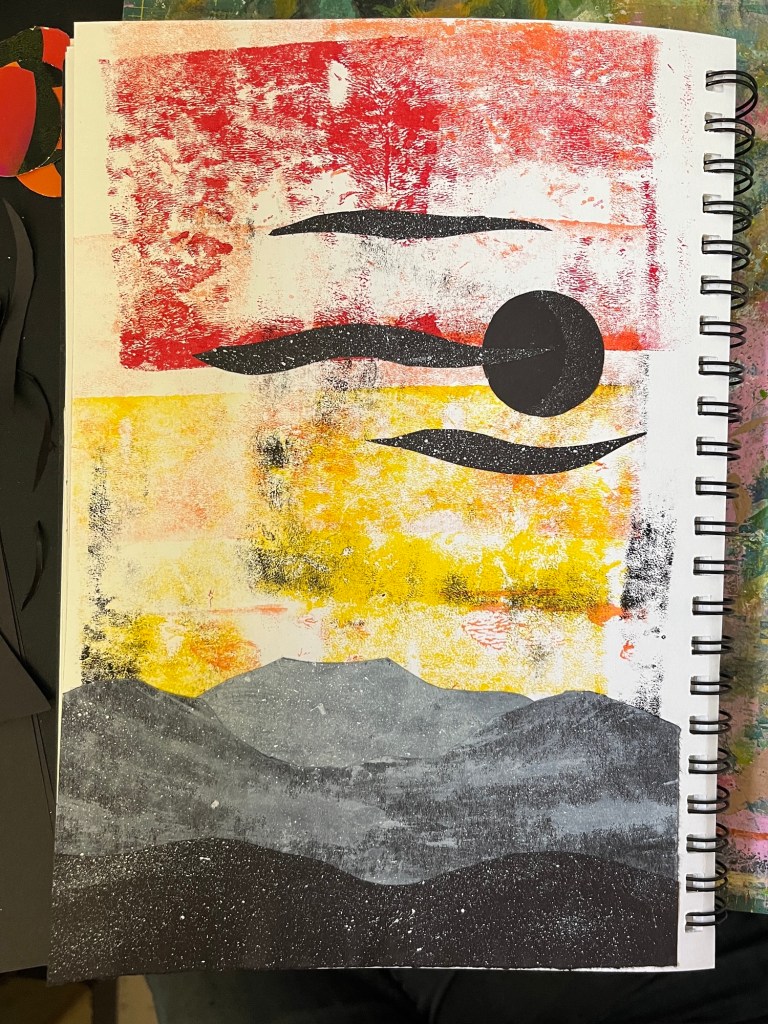
While I was Gelli printing, I used a page in my Art Journal as the rolloff page.
And while you and I were chatting in Saturday, I cut some black paper into a simple sunset landscape. I think it’s done, but I’ll have a look tomorrow.
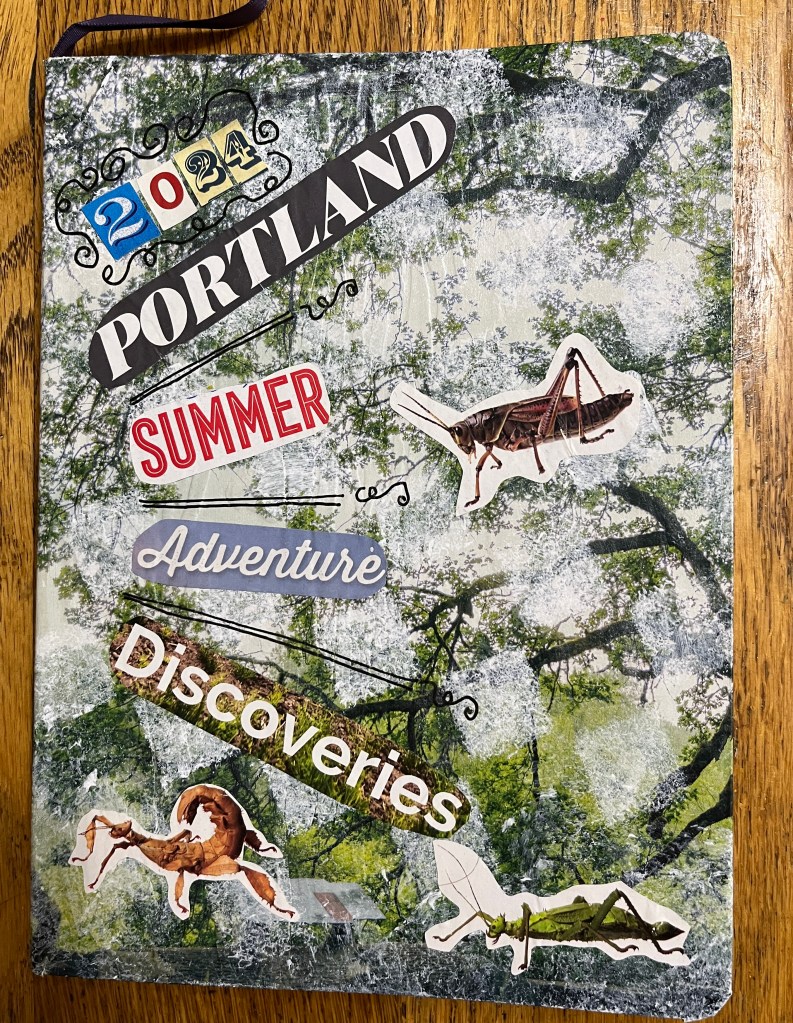
I am getting so excited about my SOAK adventure! Camping out was one of the great joys of my childhood, but I haven’t done it for about 30 years. The list of what I need to take keeps getting longer… snack bars, bug spray, batteries for flashlights, and, as a big change from my other camping experiences, the all-important jellyfish hat.
And, since there will be no internet and only limited electricity, I will need a Journal to record everything so I can tell you about it when I get back.
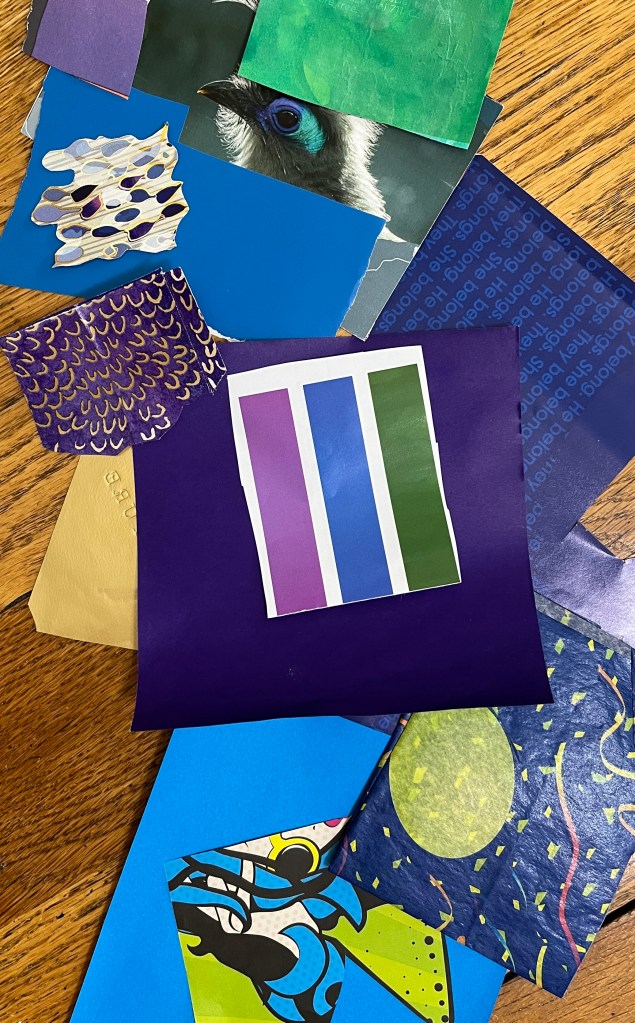
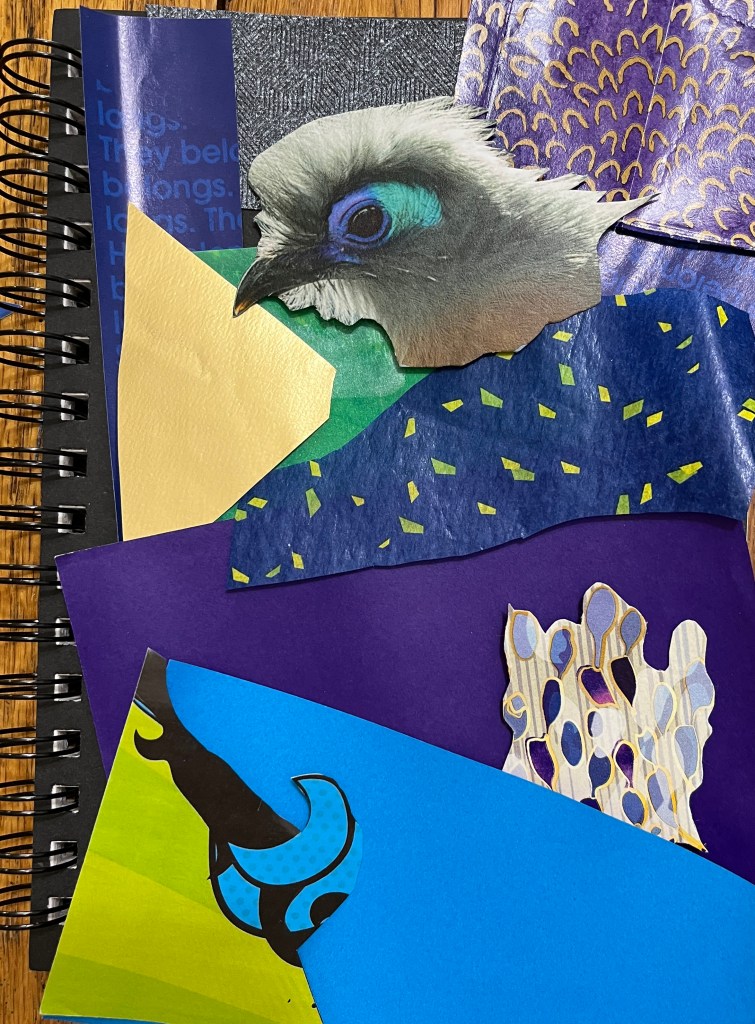
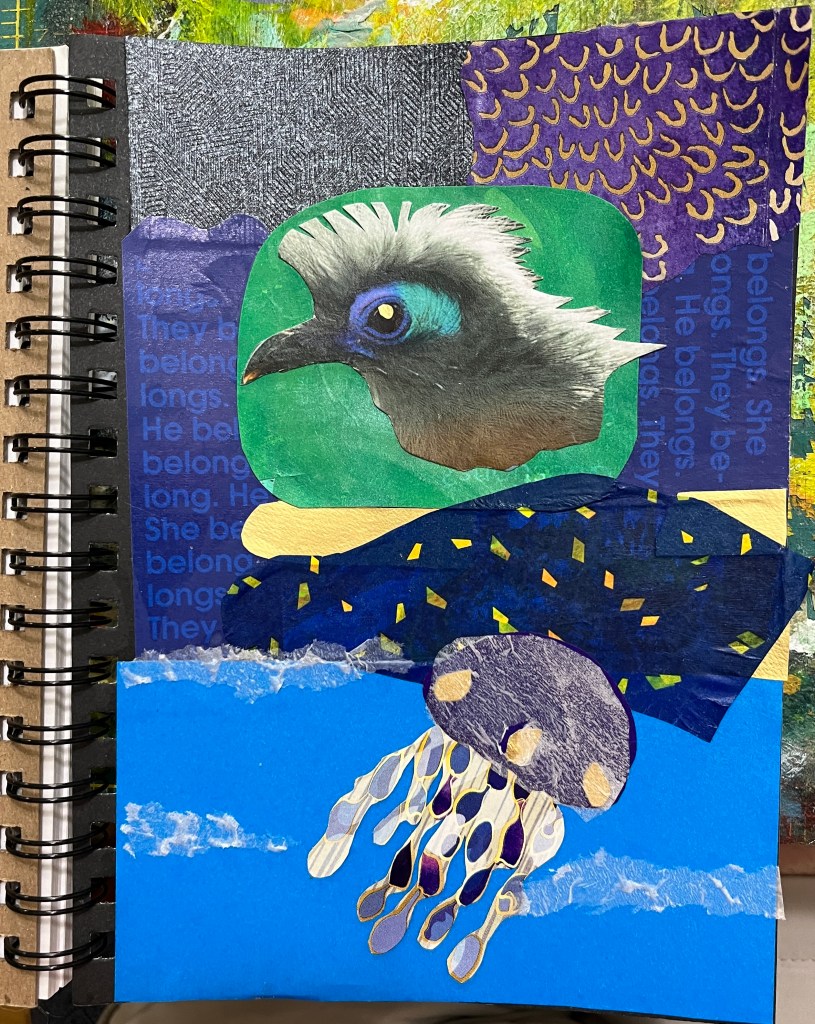
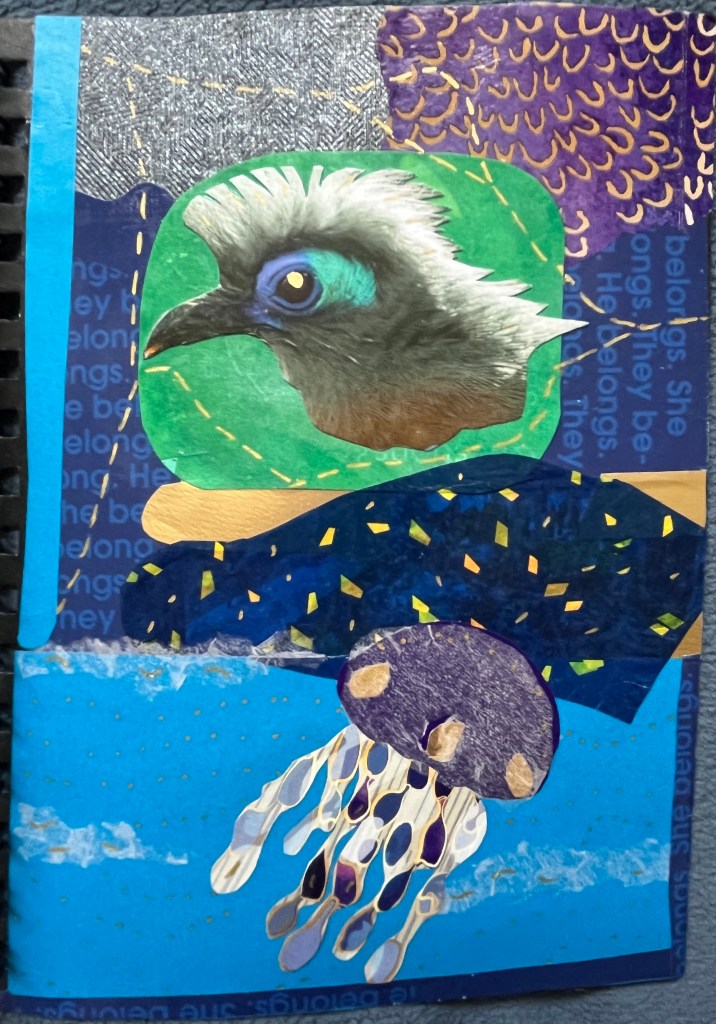
I want the Journal to reflect the colors of the SOAK “Electric Ocean” theme poster, so I dug into my collage boxes and found some good candidates.
I always start off with more bits than I need, winnowing it down as I get fussier about what goes with what.
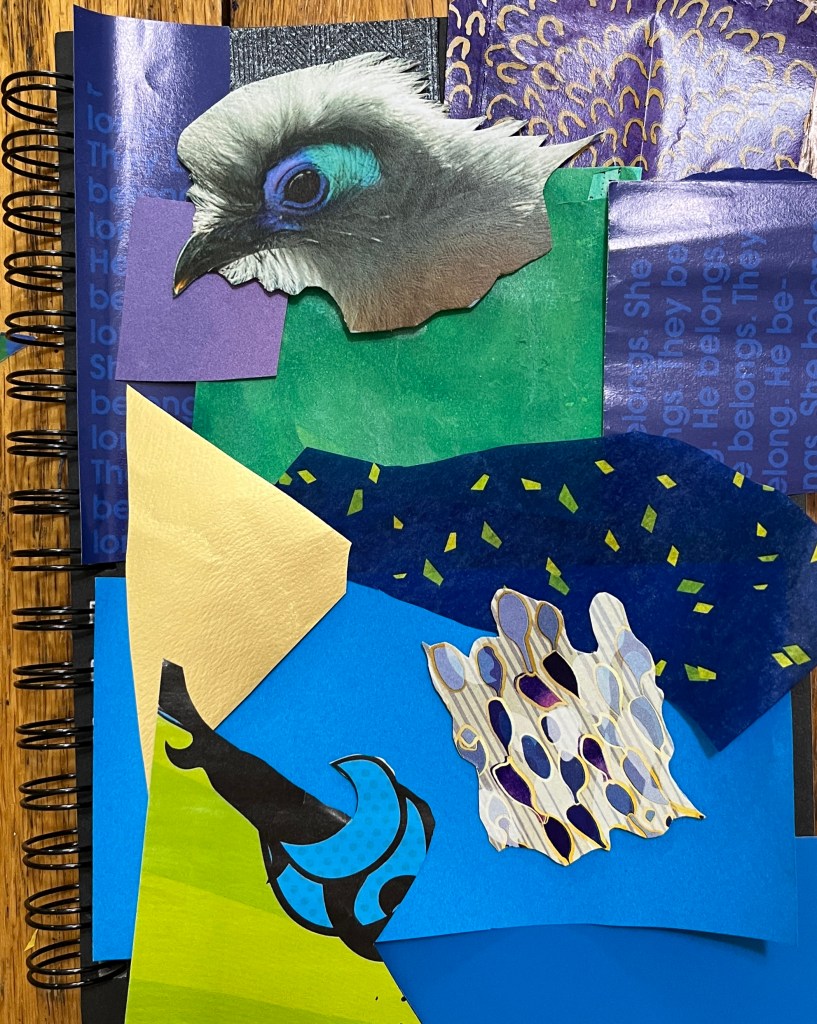
I like the bird head at the top, but is that chunk of gold too much? Is it too jumbled? Do I need a jellyfish?
It got better as I went, and when it was just right, I glued it down. I even found the jellyfish, right there in front of me!
I thought it needed some gold dots on the top, to tie in with the bottom, so I borrowed Auntie Bridgett’s gold Posca marker.
I also have some leftover colored papers to take along with me, to add into the Journal as I go along. I will ‘show’ you all about my SOAK experience when I come to visit!
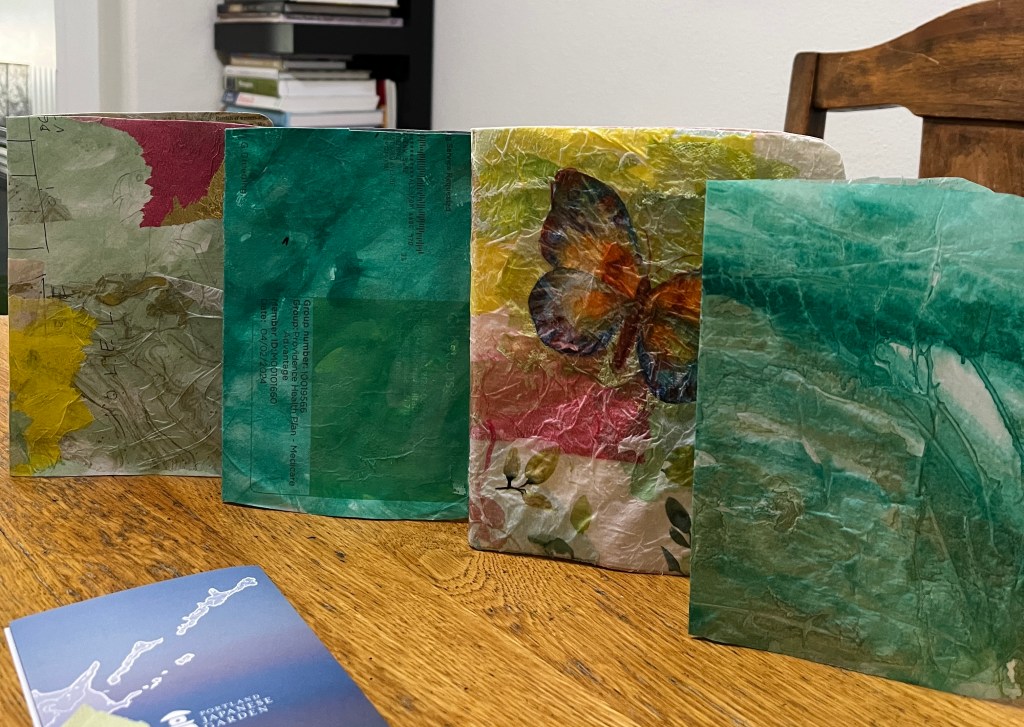
Once we had the journal cover made, it was time for pages. Since this isn’t a journal for writing, but for doing art in, we were free to experiment.
I started gluing images down to scrap paper, which is always fun. Making THIS piece of junk mail look spiffy by sticking on THAT piece of old napkin is very satisfying.
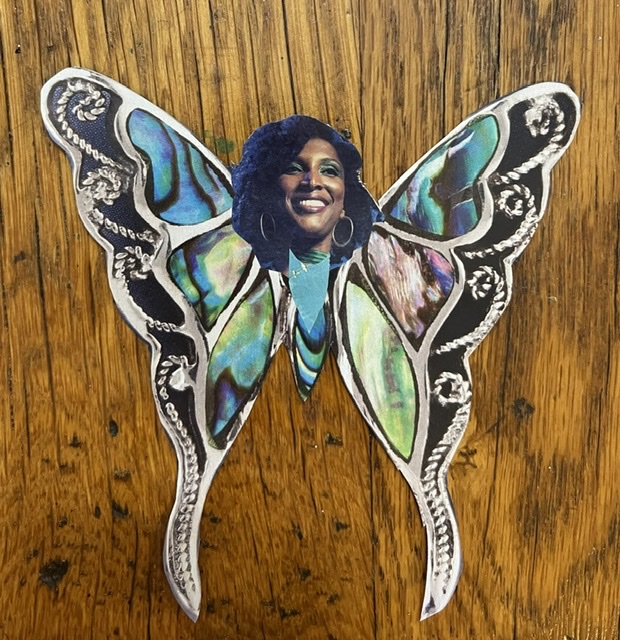
When the pages were dry, I lined them up with the butterfly cover. I love the way the greens and soft pinks go together.
But wait a second! That cartoon dude is SO out of place! He looks like he got into the book through an unlocked window. He’s adorable, but he’ll have to wait for another project.
I kept looking, and more images kept showing up. This little girl and part of a watch face came together nicely. It needs something else, but it will come.
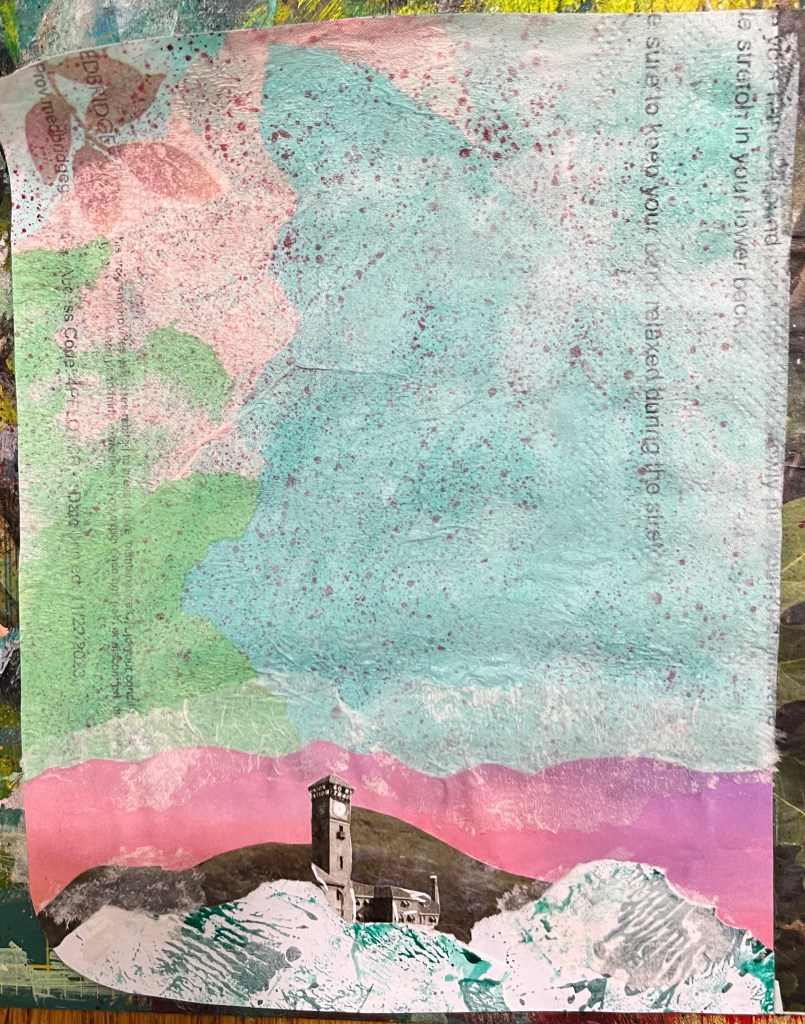
The Zoom Art group got together again this morning and I added this landscape over the splattered page. Not bad, but as it is here, it felt unfinished.
I put it aside and went on with the day. When Cousin Kestrel came over this afternoon, I asked her for advice. She suggested a setting sun with some rays, and I gave it a try.
I love it! Thanks, Kes!
This page of text strips goes with the color scheme and looks suitably cryptic. The splatters add a little character. As I told Ruthie, “Splattery will get you anywhere!”
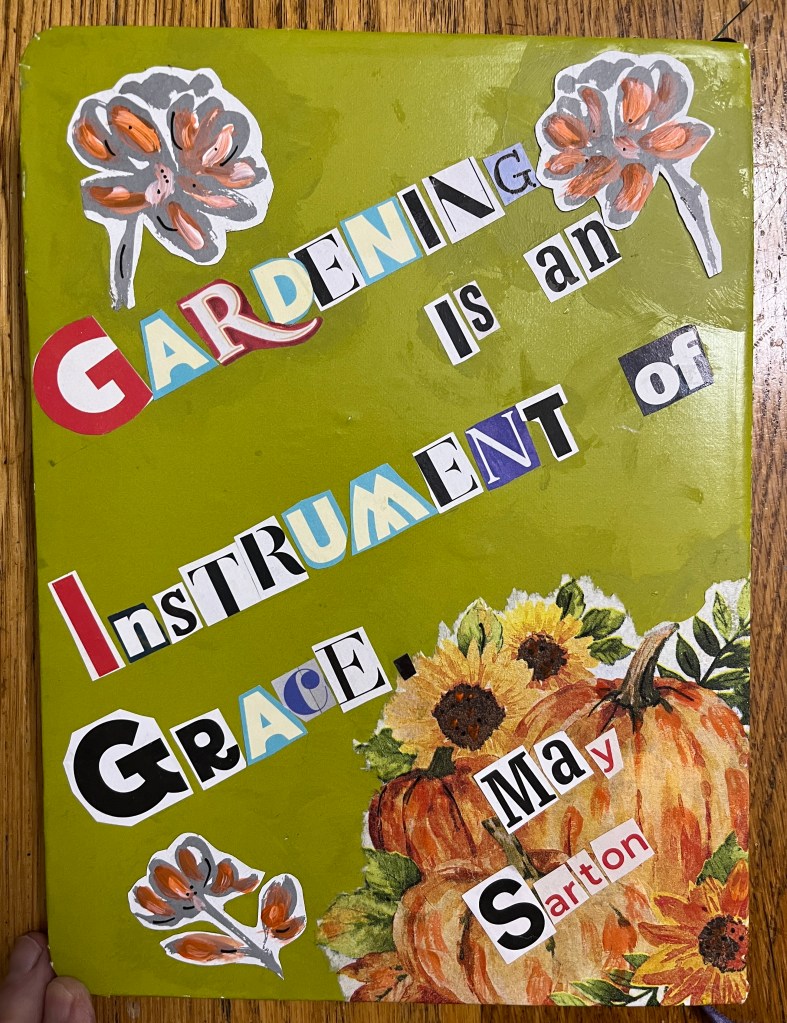
Since there is a garden, there must be a garden journal. For a few years, I made mine from scratch, delighting in learning a new process. Last year, I re-used a found day planner. This year, I looked in the box of books that we are giving away.
I found a book I bought years ago, called “Film Listography,” by Lisa Nola and Jon Stich. I enjoyed it very much, but I haven’t touched the book in about ten years, so I was ready to re-use it. To start the transformation of the cover, I laid down a leafy page from a magazine, then dabbed on some acrylic paint.
This softened the colors so they would be a background for the words. I love how they look all summery together! (And the bugs add a teensy creep factor).
For the back cover, a page from the PAM magazine and a holiday napkin from Ruthie Inman go together for a proper autumnal ending to the book. I used a technique Ruthie taught me to get a nice soft edge on the napkin image. It’s just a little water and a gentle tug.
It still looked a bit empty, so I hunted up a gardening quote I like and gave it the “ransom note” treatment. I added few more flowers and a bit of paint. You think maybe it’s too much?
But I made it for me, and I like it!
Inside the journal, there will be some decisions everyday about how to manipulate the interesting images that are already in the book and include my own news and art. I can’t show you much of the unaltered art, because of the “no use without written permission” rule.
I am really looking forward to a garden-filled, artsy summer.
I have fallen in love with keeping an Art Journal. For a long time, I was intimidated by trying to do ART that was good enough for a BOOK.
But now I see it differently. It is a way to corral my art of a certain period, so I don’t end up with a floating cloud of sketches and color experiments. It also can show my growth as an artist, like we used to keep student portfolios… baby pictures growing to better pictures. (With a fair number of screw-ups in between, of course.)
When I retired, Krista Sabaska gave me a large format journal as a retirement gift. I started using it in 2021. It started out as an “Art with Liza” journal, for drawings we did together during our Zoom calls. You would give me a phrase and I would draw it. This one was “The Paranoid Android is surprised.”
As time went on, it became a place where I could put ideas for other projects. I made a bunch of sketches for Cousin Kestrel’s Christmas present in 2021, then stuck them in the Journal so I would have them all together.
I got more comfortable with making art in the Journal as my insecure ‘student’ brain got used to the fact that I was not going to be graded! It is MY book. I used it for processing lots of ideas, like you moving to Denmark…
And me getting older, by keeping my birthday celebration alive in a collage.
And now, the inevitable has happened. This friendly Journal with a year and a half of art in it … is full. But I can’t stop keeping an Art Journal! It is fun, gives me a place to doodle, and makes me brave by keeping my ideas safe from prying eyes.
Fortunately, Auntie Katie gave me this Journal years ago, and it has been waiting for me.
I knew I needed to do some collage in it right away, to break the ice and introduce myself. The first two pages are very much where my brain is…
Ruthie Inman has done it again, showing me a new way to make an art journal.
This one starts with an old magazine. Since magazines have really thin, cheap paper, you spread glue (or Mod Podge) and fold each page over on itself to give you a thicker page to work on.
I started with the cover, using a Payne’s Grey craft paint and some silver sparkly paint. Then I slathered craft paint over the pages, making sure to let each one dry before pressing the whole thing flat under a pile of books. This step took a few days.
But what sort of art should be in this journal? At another suggestion from Ruthie, I started using the idea of “The Exquisite Corpse”, a drawing game Cousin Kestrel taught me, to play with a new kind of collage.
Cutting different people, animals and things from magazines, I join them together to make some pretty cool Exquisite Corpse style images.
Is there no end to the nonsense I can get into with art supplies? I sure hope not!
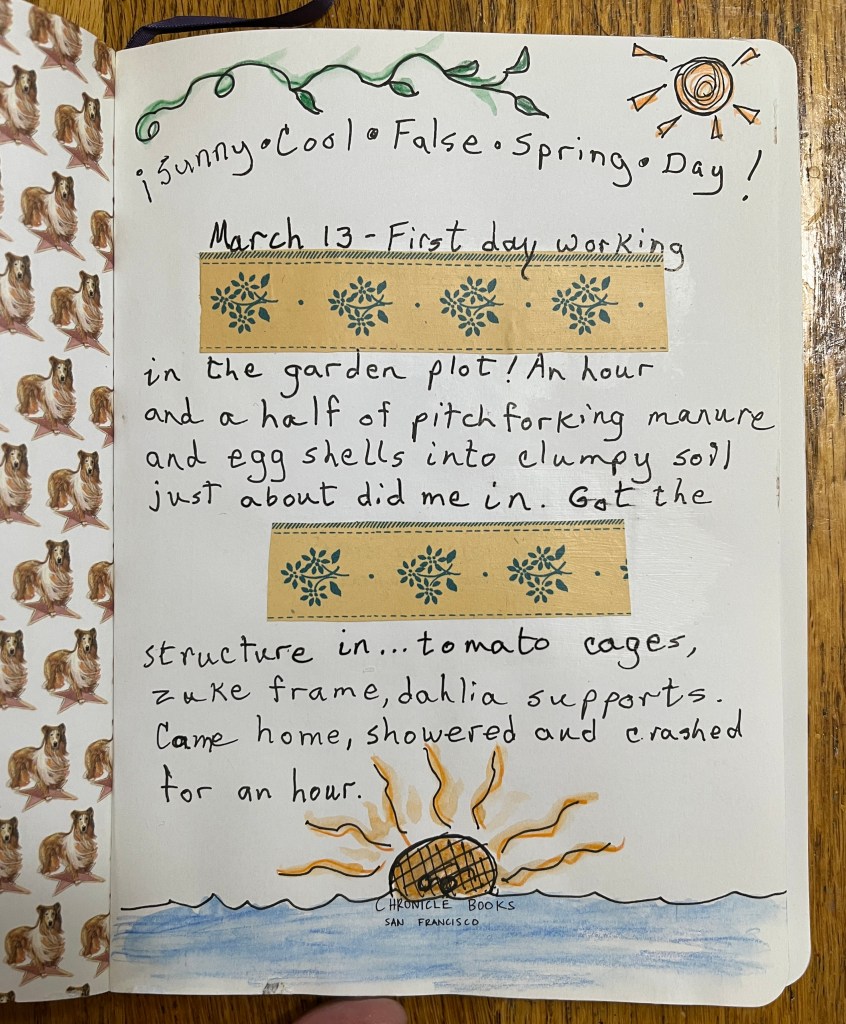
We are coming up on spring, and I am making my garden journal for this year. At the end of this month I will be pulling the burlap off my garden plot in the Blair Community Garden, and I want to be ready to write it all down!
Besides the usual encouragement from Ruth Inman and Bridgett Spicer, I am using “Making Books by Hand” by Mary McCarthy and Philip Manna as a guide.
First, I used the heavy backing of sketch pads for my covers, and layered some thinner tagboard with Mod Podge to make the spine. I glued these down to a nice canvas fabric, put a pile of books on them, and went for a walk. The canvas allows the heavy covers to bend properly.
When the spine was dry I covered the cover with some pretty paper, mitering the corners and folding them inside.
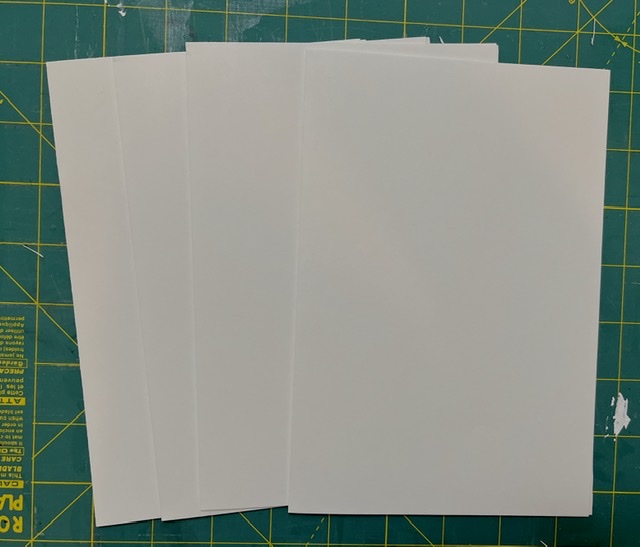
While these dried, I cut the paper for the pages. Each signature, or group of pages, takes four sheets of paper, folded in half. I gave them a nice sharp crease with the edge of my metal ruler.
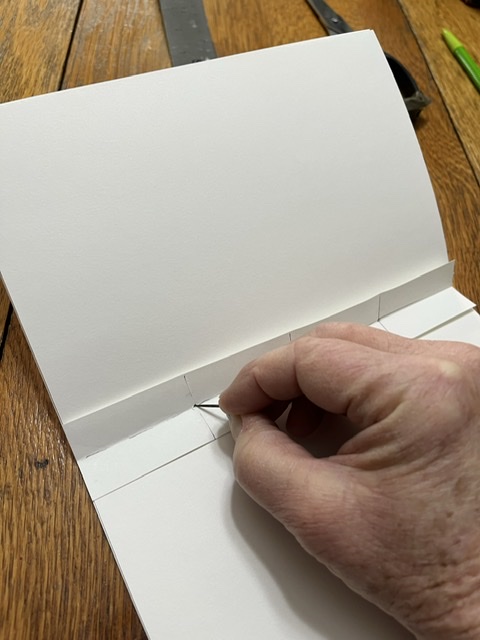
I used a trick from Ruthie to make my measuring device for where to put the stitches in the signatures. A strip of paper as long as my pages are high, folded in half, then each end folded to the center, makes a perfect guide for three holes without nit-picky measuring.
Poking the holes through all the pages with a steel artist’s tack before you sew makes everything easier. Sew the four sheets of each signature together with a strong thread.
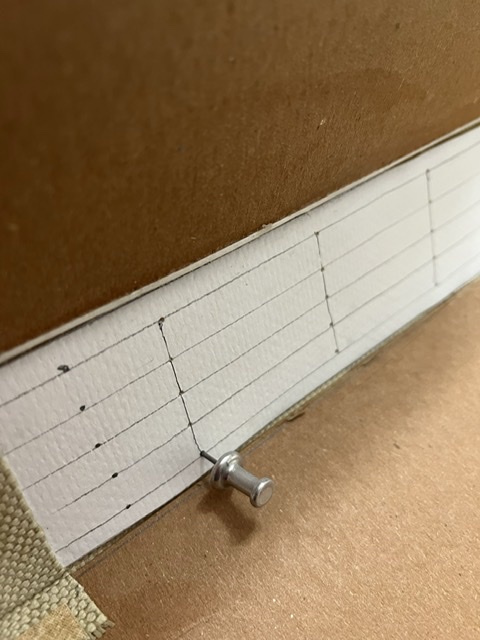
I made five signatures because the spine of my book was wide enough to accommodate them. This will be my thickest book yet!
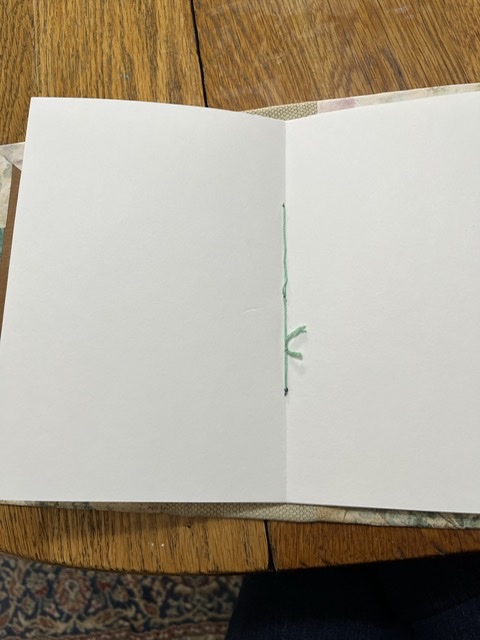
Again, use the steel tack to poke holes for each sewing point. Then sew each signature into the spine with a heavy thread. I used embroidery floss. This is a bit fiddly, but you will get better with practice.
The trickiest bit is making the knot tight. This is easier if you have a friend put their finger on the knot for you while you pull it tight. Trim the ends of the thread short.
Once the signatures are sewn in, apply glue thinly to each of the inside covers and lay the first and last pages against them, pressing the air bubbles out so they are smooth. This will stabilize the book and hold everything together. Put weights on these and wait a few hours.
The last step is to cover the inside covers with pretty paper. Press these flat and let everything dry overnight.
And there it is, my Garden Journal for this year! C’mon, Spring!
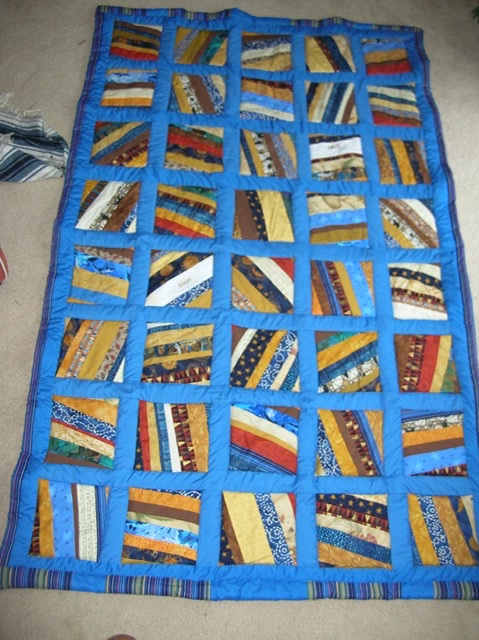
I have always loved making gifts. You great grandma Billie taught me to sew, and I have made baby quilts and wedding quilts for friends and family. I have sewn goofy dolls, Covid-19 masks, and helped with Auntie Katie’s wedding huppa.
A “big boy” quilt, now long outgrown….
I have baked tons of celebratory cookies and rum balls, peanut butter balls, and Bundt cakes for Kosher luncheons. I have even knitted scarves and hats, for those who wouldn’t be upset about a few dropped stitches.
Nifty bug cookies
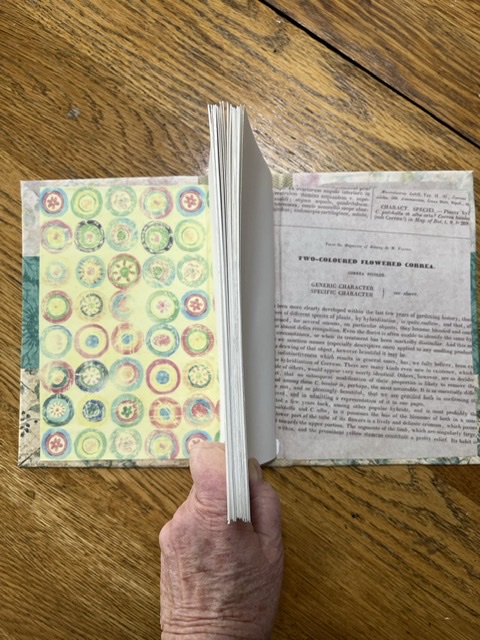
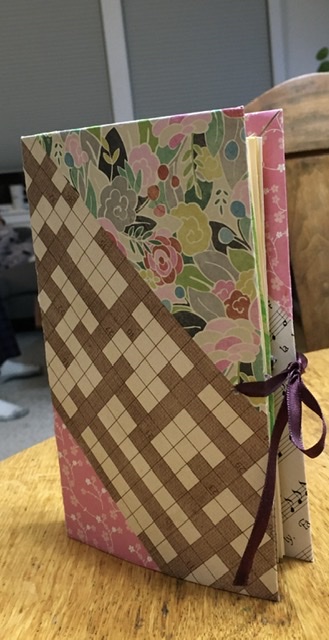
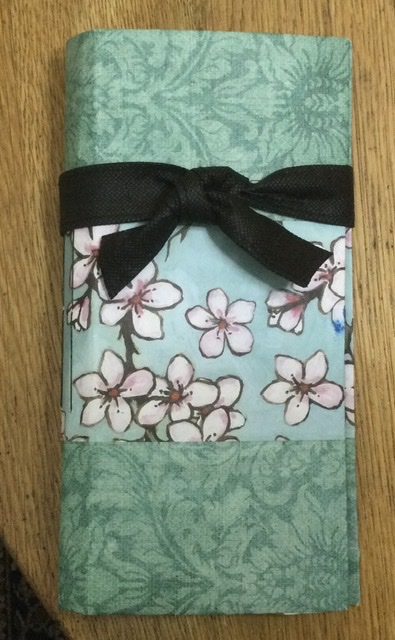
And now I have something new I can make and give to friends: Art Journals!
Art Journal for a friend
I just sent my dear friend Pat a journal, a book built from scratch via lessons from Ruth Inman. It is filled with silly poems, by me and other people. It has thoughts and thanks and bits of art to make her smile.
There isn’t another one like it in the whole world. It was made by the ME I am right now for the Pat that she is right now. It has politics, pets, wine, art, and memories of travel.
I love having a new way to show my special people how much I love them!
A few weeks ago I made a Garden-themed Art Journal, using a saltine cracker box, needle and thread, glue, and papers from Auntie Bridgett’s cupboard. Here is what it looks like so far.
The cover is pretty with flowers, with a recycled tote bag handle for a tie.
Since I am using the journal to keep track of our allotment plot in the community garden, I put in what we want to plant. Acrylic paints applied with a credit card make for interesting swooshes.
Then I got really artsy, and designed a fold-out page of what I hoped the garden would look like. This is optimistic, but I am really happy with how it looks.
And of course, a shopping list.
I can’t wait to be able to add pictures of actual plants! I will keep you posted of how things progress.
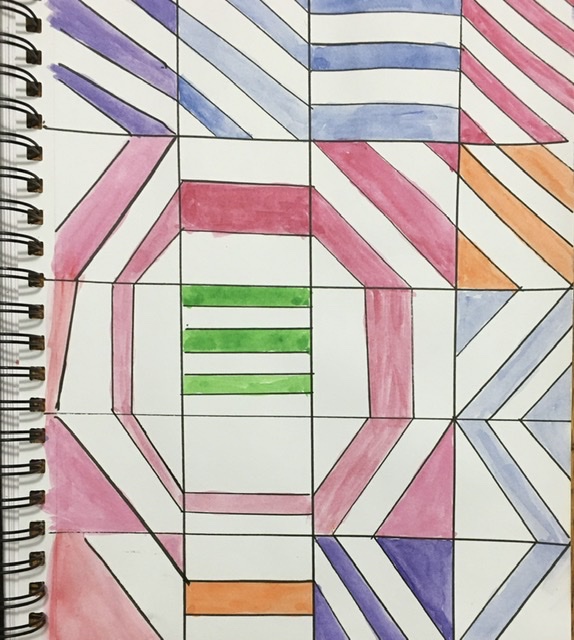
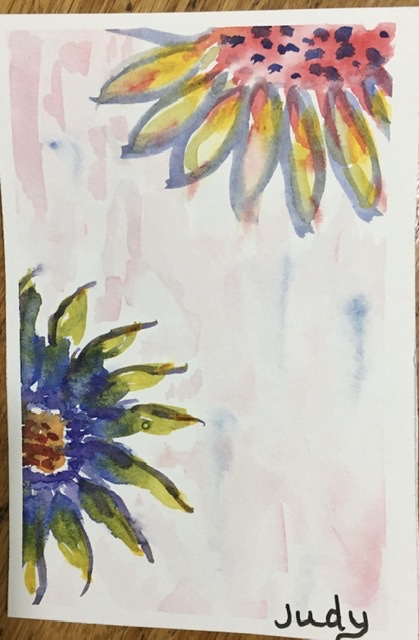
I am still making a new piece of art each day for the Art-Ober mixed media challenge. Subjects like “cactus” and “stripes” tickle my brain! And as I gain confidence, I am willing to paint scenes I never would have tried a few months ago.
While this is all happening, I got a note from the wonderful woman who is caring for my big brother Tim. “I don’t want to tell you what to do, but I’ve got about ten small frames from the Dollar Store…” she said. Ah ha! A project!
So I went through the pictures I’ve done so far, picked my favorites, and made smaller copies to fit into her frames.
Tim has always been an outdoorsy type, fishing and hiking and such, so I chose scenes of flowers and forests.
This picture of a pair of jack rabbits nibbling on a sage brush reminds me so much of our old campsite at Vallecito, it makes me homesick. Great Grandpa Lowell took us there for about a dozen Easter vacations, enjoying the desert before it got too hot.
I made sure to write my name clearly in the pictures, so Tim could remember where they came from and know I am thinking of him.
I hope he enjoys them! I will make more and send them off. You can make me pictures, if you like. I’ll bet I could get some frames from the Dollar Store, too.