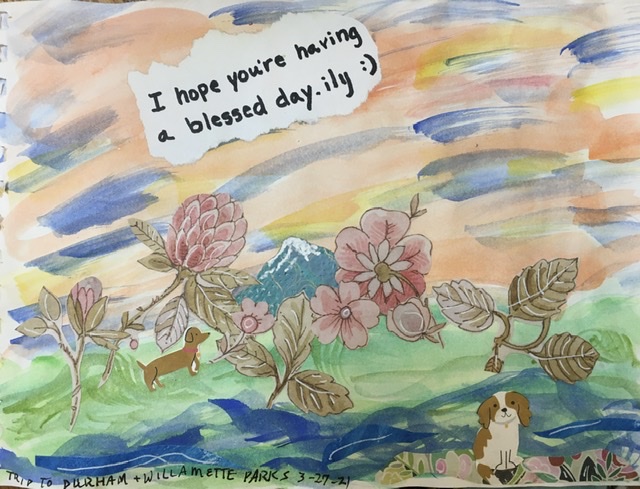
Dear Liza,
Easter Sunday wasn’t as warm or sunny as the day before had been, but it was still nice enough to get out for some fun.
After French practice and crosswords, Auntie Bridgett and I walked by our allotment to see how the seeds are doing. We have sprouts! The radishes and lettuces are sending up tiny green baby bits and I am so excited! I will come by tomorrow with the watering can to make sure they stay nice and moist.

We continued through the neighborhood, past pink drifts and blizzards of cherry blossoms, to the Pix-O-Matic on Burnside. Pix is a fancy French style patisserie. Due to Covid, they have installed high end vending machines to sell their pastries, but also Candy, toys, and odd bits of niftiness. We got a small collection of Easter candies and a pastry called a Shazam to have after dinner. Noticing that Kopi coffee was open, we stopped by and had interesting and delicious Ginger and cardamom coffees, and a blueberry scone. We sat at a tiny table on the sidewalk, watching and listening to all the humanity…..conversations, buses going by, car radios. It was nice to be OUT.

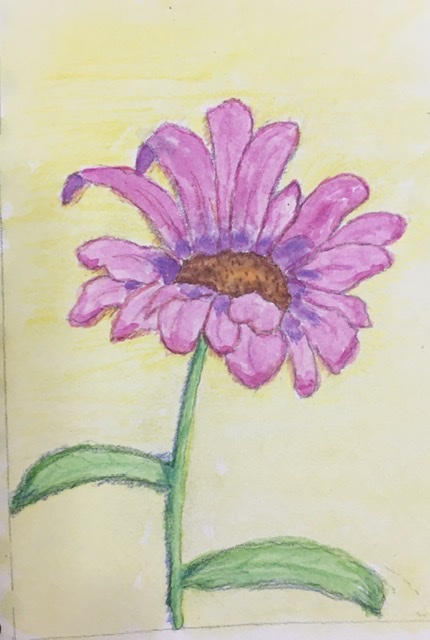
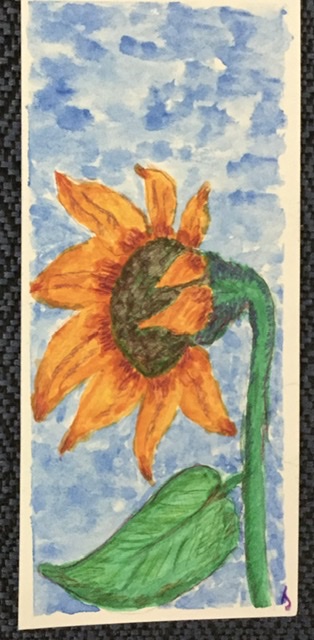
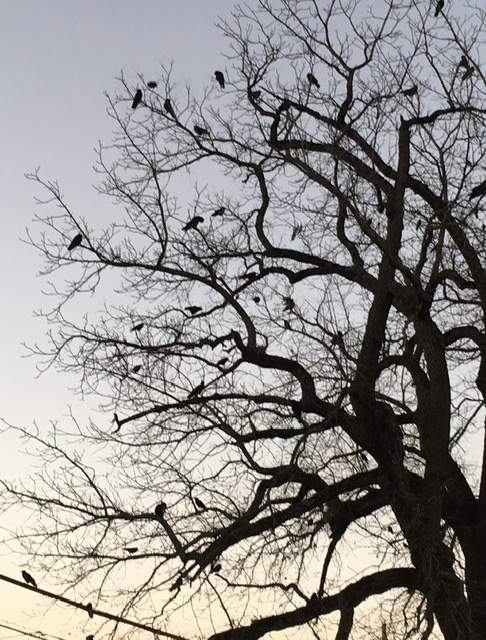
We got home and put the goodies away, did some art, and had lunch. Then Grandpa Nelson joined us and we walked way up into the Laurelhurst neighborhood, loving the spring flowers and blossoms on the hundred year old trees.

We got back in mid-afternoon and it was time to start dinner. I was cooking lamb shanks for the first time, and wanted to give myself time to do it right. Shanks tend to be tough, and need low and slow cooking. I used a recipe from The Spruce Eats online, and they turned out wonderfully! Tender, rich and yummy. I made mint sauce out of our mint from the garden, and it made the lamb even better! Hooray! I love learning how to make new delicious things!

We remembered to save room for the Pix desserts, however. Shazam is an almond cake with caramel and mousse under a paper thin chocolate wrapping. Delicious!

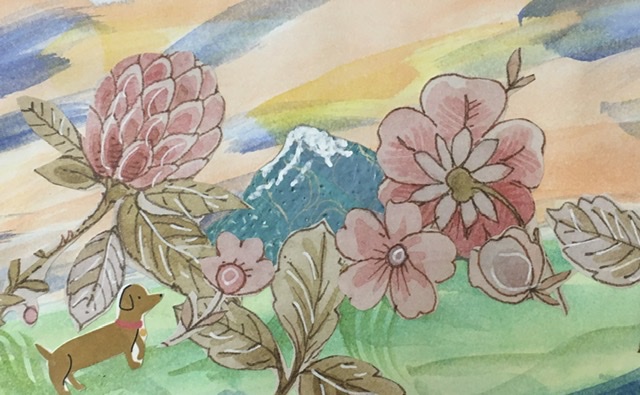
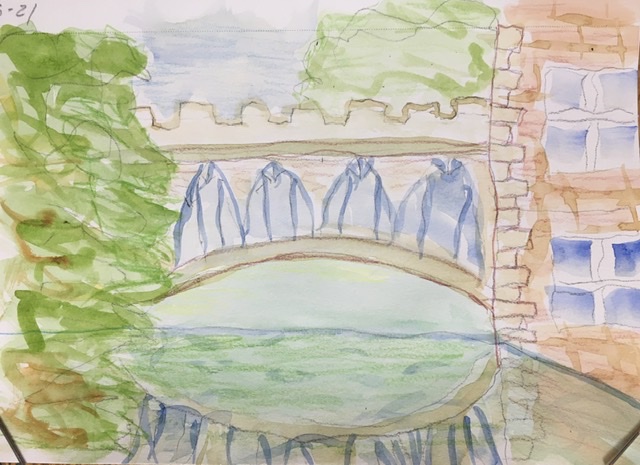
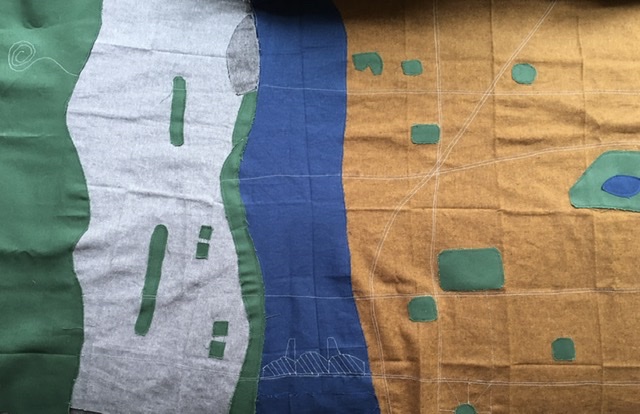
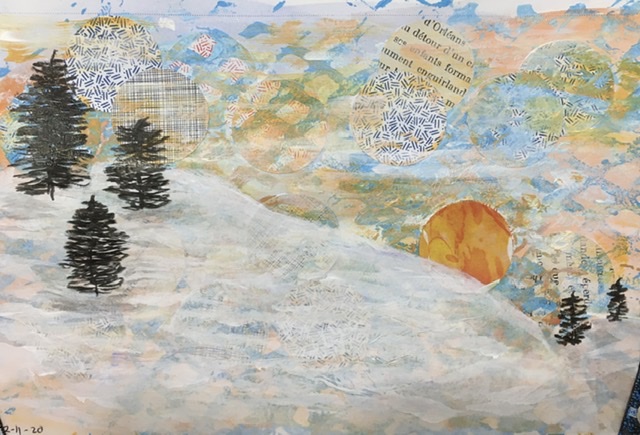
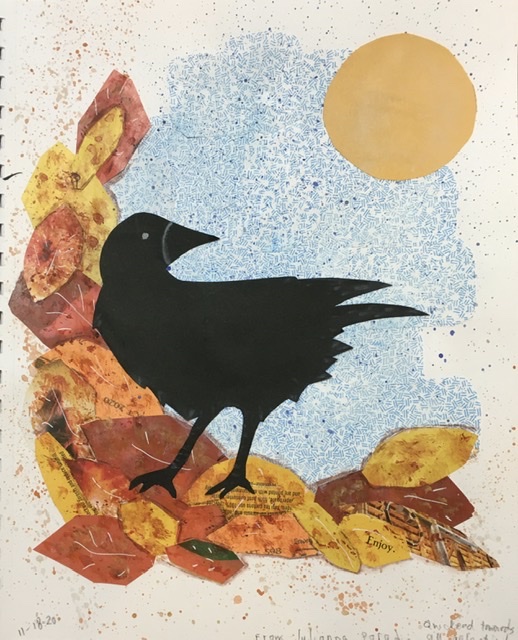
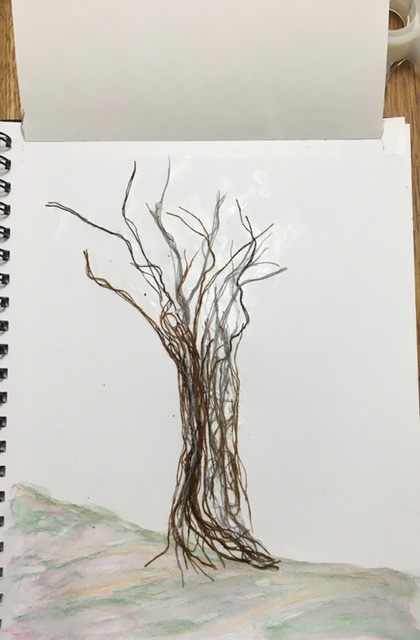
And THEN it was time for my zoom visit with you, Liza. We chatted, giggled, and drew Easter eggs and bunnies. I showed you the collage I’ve been working on (more about that tomorrow) and visited with your mommy and daddy.
We finished off the busy day with “Escape from the Chateau” and working on a new jigsaw puzzle, and headed for bed.
Not bad for an ‘isolated’ Easter.
Love,
Grandma Judy